Have you ever driven past a car so clean it looked brand new, even if it was a vintage Ford Mustang or a classic Chevrolet Corvette? That, my friends, is the power of detailing. It’s more than just a car wash, it’s an art form that restores your car’s beauty inside and out, leaving it looking like it just rolled off the showroom floor. Today, we’re going to break down the steps to detail a car, so you can achieve that same level of perfection at home.
Understanding Car Detailing: More Than Meets the Eye
Before we dive into the steps, let’s talk about what car detailing really means. It’s about meticulous cleaning, restoration, and protection of every nook and cranny of your car. Imagine it like this: washing your car is like tidying your house, while detailing is like deep cleaning and redecorating.
From a mechanic’s perspective, like myself, detailing isn’t just about aesthetics. It’s about preserving your car’s value and catching minor issues before they escalate. A tiny rust spot, for instance, can quickly turn into a major repair if not addressed early on.
“Think of detailing as an investment,” says renowned automotive expert, Dr. Emily Carter, author of “The Complete Car Care Manual.” “Regular detailing can actually save you money on repairs in the long run.”
Steps to Detail Your Car Like a Pro:
Ready to give your car the ultimate spa treatment? Here’s your step-by-step guide to detailing success:
1. The Great Wash:
- Pre-wash: Begin by rinsing off loose dirt and grime with a pressure washer. Focus on areas like wheel wells, where dirt tends to accumulate.
- Two-Bucket Wash: Use two buckets – one with soapy water and one with clean water for rinsing your wash mitt. This method prevents dirt from being transferred back onto your car’s paint.
- Wheels and Tires: Use a dedicated wheel cleaner and brush to tackle brake dust and grime on your wheels. Don’t forget to scrub your tires too!
2. Decontamination: The Key to a Flawless Finish
- Clay Bar Treatment: After washing, run your hand over the paint. If it feels rough, you need to use a clay bar to remove embedded contaminants like industrial fallout and tree sap.
- Iron Remover: This step is crucial for removing iron particles that can embed themselves in your paint and cause damage over time.
3. Polishing: Bringing Back the Shine
- Assess the Paint: Check for swirl marks, scratches, and oxidation. If your paint is in good condition, you may be able to skip this step.
- Polishing Compound: Use a polishing compound with a dual-action polisher to remove imperfections and restore your car’s shine.
4. Protection: Shielding Your Car from the Elements
- Wax or Sealant: Apply a layer of carnauba wax or sealant to protect your paint from UV rays, water spots, and other environmental contaminants. This step will also enhance the gloss and depth of your car’s paint.
5. Interior Detailing: Don’t Forget the Inside!
- Vacuuming: Thoroughly vacuum the carpets, seats, and floor mats to remove dirt, dust, and debris.
- Cleaning and Conditioning: Use appropriate cleaners and conditioners for your car’s interior surfaces, including leather, vinyl, and plastic.
- Windows and Mirrors: Clean your windows and mirrors with a streak-free glass cleaner for crystal clear visibility.
6. The Finishing Touches:
- Tire Dressing: Apply a tire dressing to give your tires a deep black shine and protect them from cracking.
- Final Inspection: Take a step back and admire your handiwork. Look for any missed spots or areas that need additional attention.
 Essential Car Detailing Tools
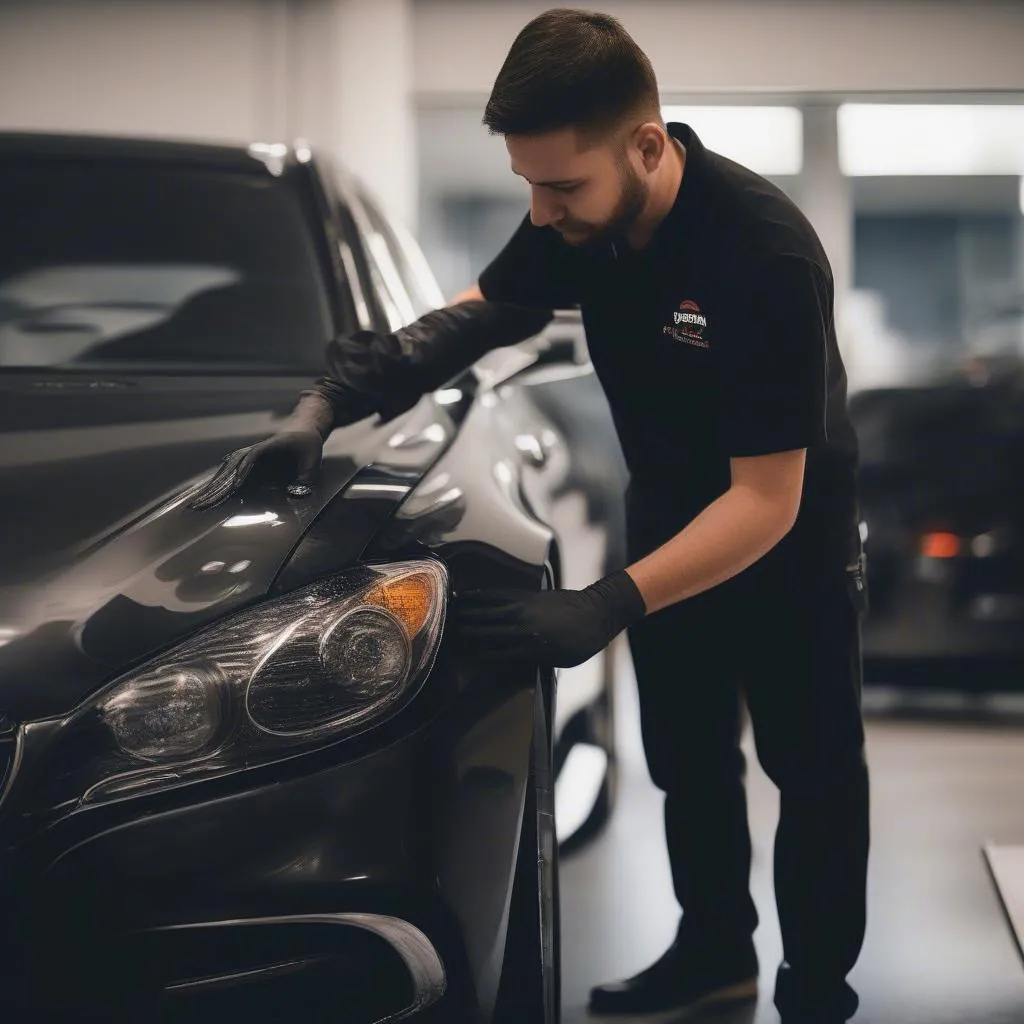 Professional Car Detailing