Have you ever wondered what’s going on under the hood of your car? Or maybe you’ve been curious about the codes that pop up on your dashboard? You’re not alone! Many car enthusiasts are drawn to the world of diagnostics, and making your own OBD scanner can be a rewarding and cost-effective way to delve deeper into your vehicle’s inner workings.
Understanding the Importance of an OBD Scanner
An OBD (On-Board Diagnostics) scanner is like a window into your car’s engine and other systems. It reads diagnostic trouble codes (DTCs) stored by the car’s computer, providing valuable insights into potential issues.
Imagine you’re driving down the road, and your car suddenly starts sputtering. A mechanic might charge you a hefty sum for a diagnostic scan, but with your own OBD scanner, you can diagnose the problem yourself and potentially save hundreds of dollars.
Why DIY?
DIYing your own OBD scanner offers several advantages:
- Cost-effectiveness: Commercial OBD scanners can be expensive, while building your own can be significantly cheaper.
- Learning experience: You’ll gain valuable knowledge about your car’s electrical system and how it communicates with the computer.
- Customization: You can tailor your OBD scanner to your specific needs, incorporating features you desire.
DIY OBD Scanner: The Basics
What You’ll Need
- Microcontroller: An Arduino or Raspberry Pi is a popular choice.
- OBD-II Connector: This is the interface between your scanner and your car.
- Display: A small LCD screen will allow you to view the diagnostic data.
- Software: You’ll need software to communicate with the OBD-II connector and interpret the data.
- Soldering iron, wires, and other basic electronics tools.
The Process
- Choosing Your Microcontroller: This is the brain of your OBD scanner. The Arduino and Raspberry Pi are both excellent options, offering different levels of processing power and programming flexibility.
- Connecting to the OBD-II Connector: The OBD-II connector is a standardized port found in most cars built after 1996. You’ll need to connect the microcontroller to it using appropriate wiring.
- Writing the Software: This is where the magic happens. You’ll need to write code to communicate with the OBD-II connector, retrieve diagnostic data, and display it on the LCD screen.
- Testing and Troubleshooting: Once everything is assembled, test your DIY OBD scanner on your car and troubleshoot any issues.
Troubleshooting Your DIY OBD Scanner
Common Problems and Solutions
- No communication: Ensure proper wiring between the microcontroller and the OBD-II connector. Check the power supply and the software configuration.
- Incorrect data: Verify that the software is compatible with your car’s protocol. Make sure the microcontroller is receiving the correct signals from the OBD-II connector.
- Error messages: Refer to the OBD-II code definitions to understand the meaning of the error messages.
Resources and Guidance
You’re not alone in this DIY journey! Numerous online resources and communities can provide support and guidance. Here are some valuable resources:
- Arduino Project Hub: This website offers a wealth of information and tutorials for building various electronics projects, including DIY OBD scanners.
- Raspberry Pi Foundation: The foundation provides extensive documentation and support for using Raspberry Pi for various purposes, including car diagnostics.
- Online forums and communities: Search for forums and communities dedicated to car enthusiasts, DIY projects, and OBD scanners.
Frequently Asked Questions
Q: Can I use a DIY OBD scanner on any car?
A: Most cars built after 1996 are equipped with an OBD-II connector. However, some older cars may have different protocols that may not be compatible with a standard DIY scanner.
Q: What software can I use for my DIY OBD scanner?
A: There are many open-source and commercial software options available for OBD-II communication. Popular choices include:
- ELM327: A widely used OBD-II interface that supports various software options.
- OpenXC: An open-source project that allows you to connect to your car’s computer and access real-time data.
- OBD-II Scanner Apps: There are various smartphone apps available that can connect to OBD-II devices and provide diagnostic information.
Q: Is it safe to modify my car’s electrical system?
A: It’s essential to exercise caution and follow safety procedures when working with electrical systems. Ensure you have a good understanding of basic electrical concepts and use appropriate tools and techniques.
Q: Can a DIY OBD scanner be used to modify my car’s performance?
A: While some DIY OBD scanners can access engine parameters, modifying these parameters without proper knowledge can damage your car’s engine. It’s crucial to consult with a qualified mechanic or tuner before making any adjustments.
Final Thoughts
Building your own OBD scanner can be a rewarding project for car enthusiasts who want to delve deeper into their vehicles’ workings. However, it’s important to approach this project with safety in mind and consult with resources and communities for guidance and support.
Remember, like with any technical endeavor, patience and persistence are key. Don’t be afraid to experiment and learn from your mistakes. The knowledge you gain along the way will be invaluable in your car-owning journey!
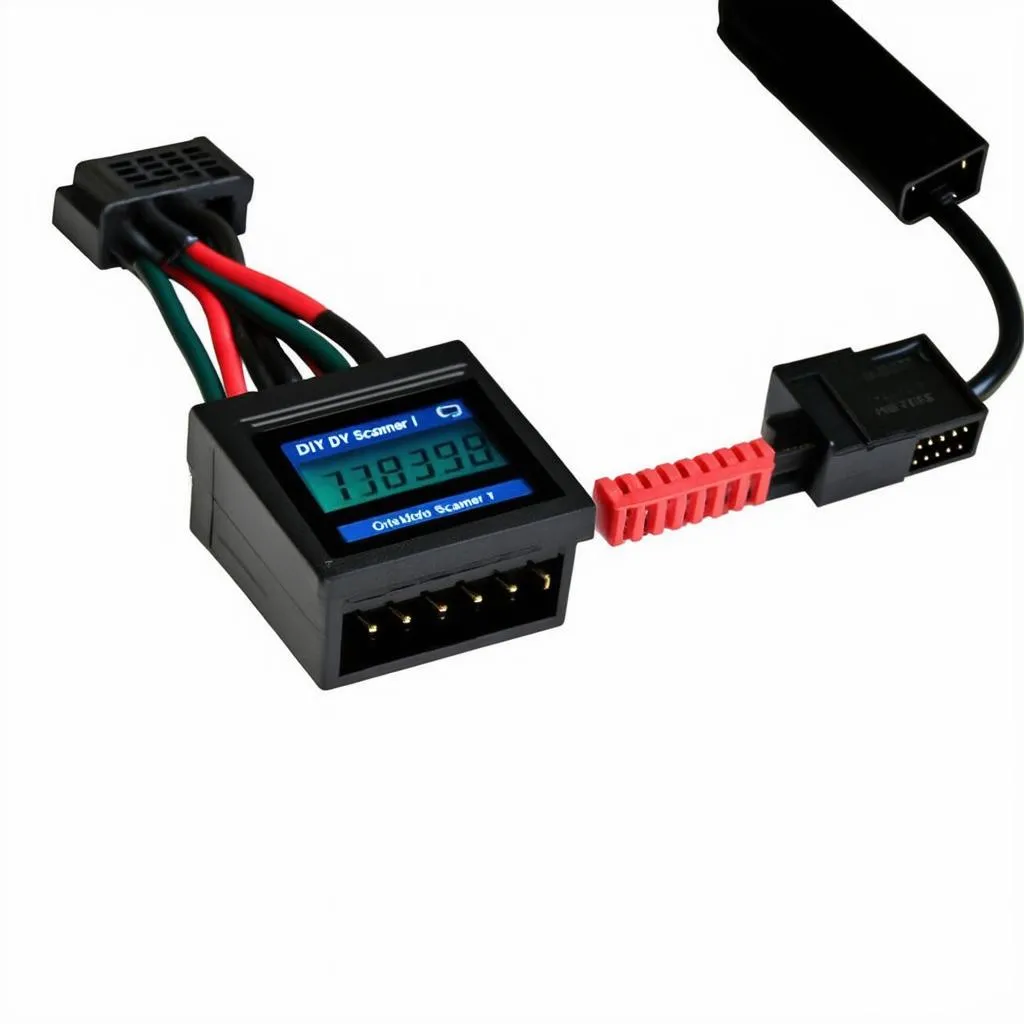 obd-scanner-for-diagnostics
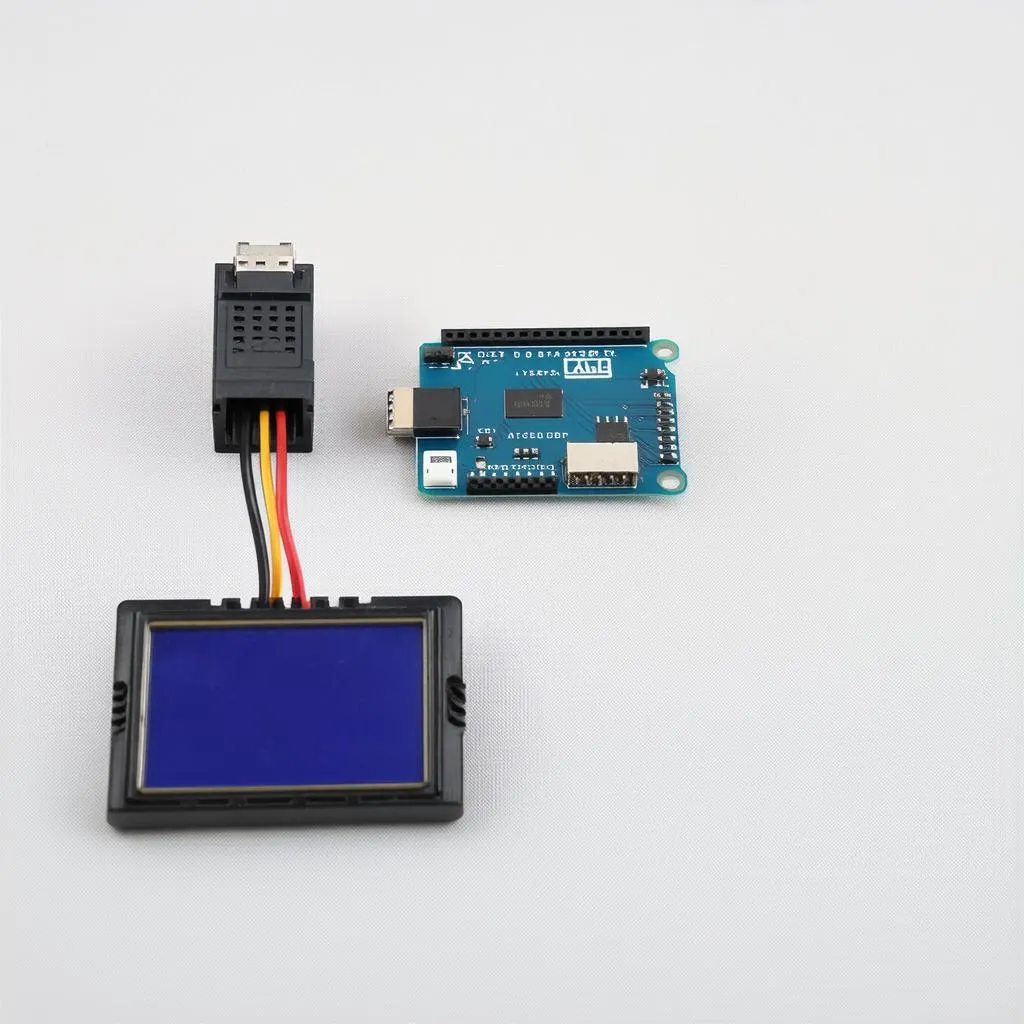 obd-scanner-arduino
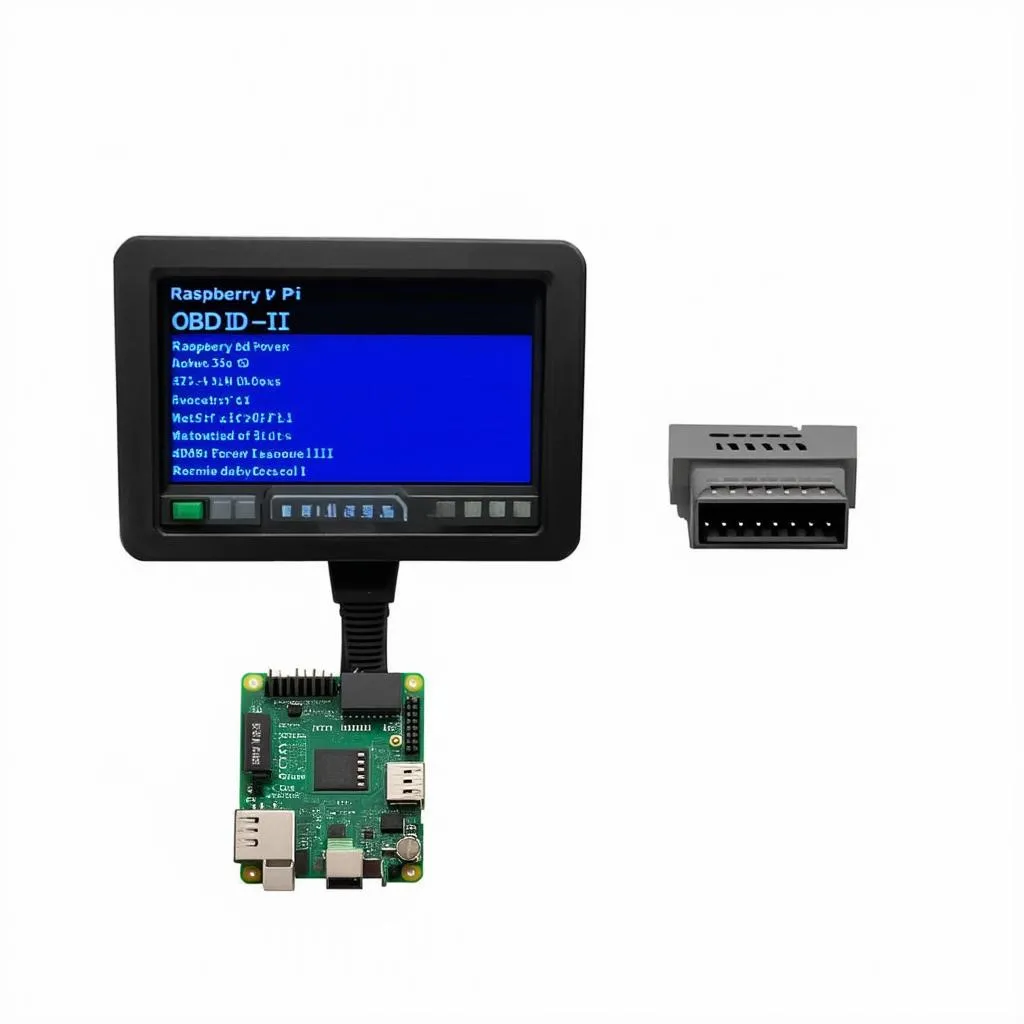 obd-scanner-raspberry-pi
Need help with your car’s diagnostics? Contact our team of expert technicians at Whatsapp: +84767531508. We are available 24/7 to assist you with any OBD scanner or diagnostics needs.