Ever been there? You know, that moment when you’re meticulously applying touch-up paint to a tiny chip on your prized Porsche 911, only to realize it looks worse than the original scratch? Don’t fret! We’ve all been there. Removing touch-up paint mishaps is a common car care conundrum, and luckily, it’s usually fixable.
This guide will walk you through the how-tos of removing touch-up paint like a pro, ensuring your car’s finish looks as smooth as a freshly paved German autobahn.
Understanding the Touchy Subject of Touch-Up Paint
Before we dive into the nitty-gritty of removing touch-up paint, let’s understand why it sometimes looks out of place.
The Science Behind the Struggle:
Automotive paint is a complex beast. It’s not just about color; it’s about layers—primer, base coat, clear coat—all applied with expert precision at the factory. When you use touch-up paint, even one perfectly matched to your car’s color code, you’re essentially adding another layer on top. This can result in an uneven texture or a slightly raised “blob” if not applied carefully.
Why We Still Love (and Need) Touch-Up Paint:
Despite the potential for mishaps, touch-up paint remains a valuable tool for car owners. As Robert Parker, author of “The Complete Guide to Automotive Paint Repair,” wisely states, “Think of touch-up paint as a first line of defense against rust and further paint damage, not necessarily a perfect cosmetic solution.” It’s all about protecting your investment, especially when a rogue shopping cart in a busy Los Angeles parking lot leaves its mark on your fender.
The Great Touch-Up Paint Removal Guide
Okay, enough with the why—let’s get to the how. Here’s a breakdown of how to remove touch-up paint gone awry:
1. Assess the Situation
Before you grab any tools, examine the botched touch-up job. Is it a fresh application, still soft and tacky? Or has it cured and hardened? The approach differs slightly depending on the answer.
2. Gather Your Arsenal (of Car Care Products)
For this mission, you’ll need:
- Microfiber cloths: Lots of them! These soft cloths prevent scratching.
- Car wash soap: Opt for a pH-neutral formula to avoid stripping wax.
- Detailing clay: This magical stuff removes bonded contaminants.
- Compounding or polishing compound: For smoothing out rough edges.
- Wax or sealant: To protect your car’s finish.
3. Removal Techniques: Fresh vs. Cured Paint
Fresh Touch-Up Paint:
- Act Fast: The sooner you address it, the easier the removal.
- Soapy Solution: Mix a mild car wash soap solution and gently wipe the area with a microfiber cloth. The soap helps break down the uncured paint.
Cured Touch-Up Paint:
- Careful Claying: After washing your car, use a detailing clay bar and lubricant (usually included with the clay) to gently glide over the area. The clay will pick up the excess paint without damaging the clear coat.
- Polishing Power: If the clay doesn’t fully remove the touch-up paint, use a polishing or rubbing compound with a microfiber applicator pad. Apply minimal pressure and work in circular motions.
- Wax On, Wax Off: After removing the excess paint, it’s crucial to protect the area with a layer of wax or sealant.
4. Seek Professional Help When Needed
If you’re dealing with a large area, a deep scratch, or simply don’t feel confident tackling the removal yourself, don’t hesitate to consult a professional detailer or auto body shop. They have the expertise and tools to achieve a flawless finish.
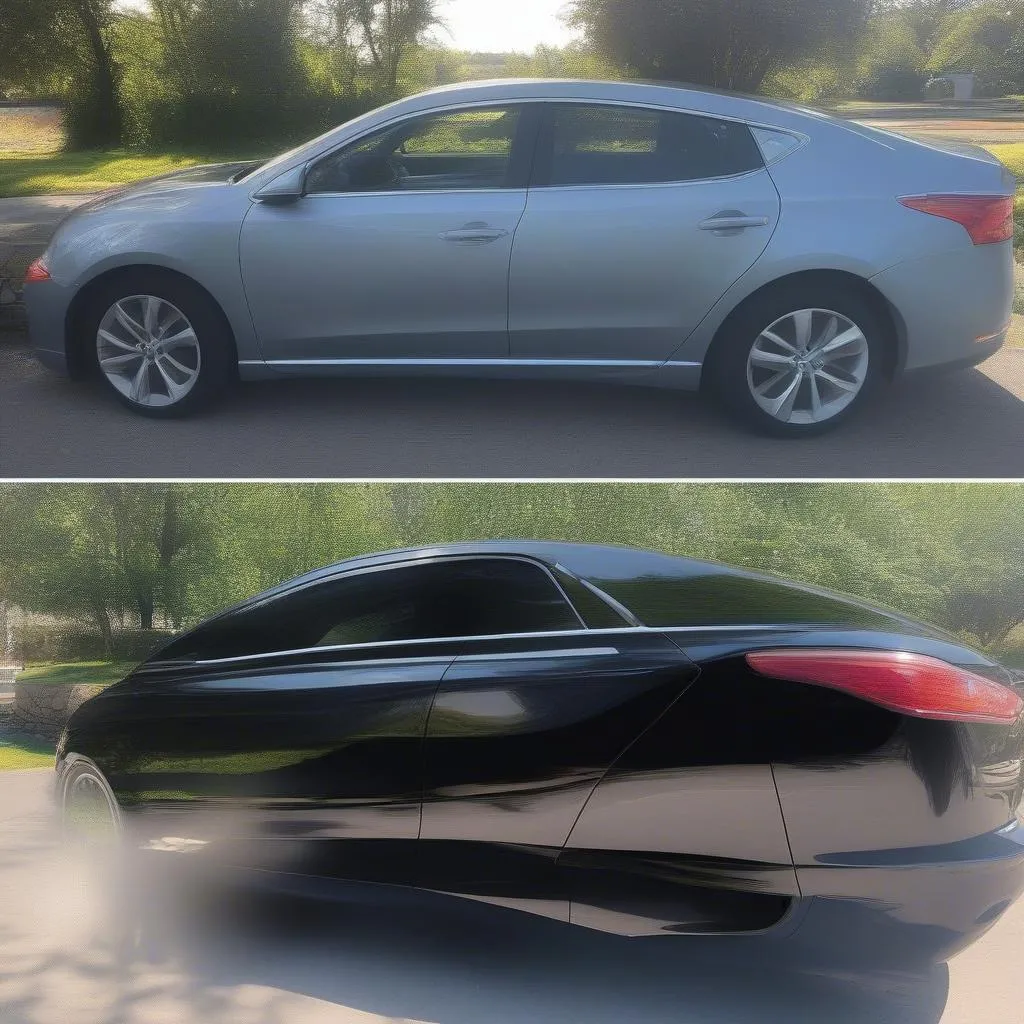 Touch-up Paint Removal Before & After
FAQs: Your Touch-Up Paint Questions Answered
Can I use nail polish remover to remove touch-up paint?
A big no-no! Nail polish remover contains harsh chemicals that can strip your car’s clear coat, leading to more damage. Stick to car-specific products.
How can I prevent touch-up paint mishaps in the future?
Practice makes perfect! Start by applying a tiny amount of paint to a hidden area of your car to get a feel for it. Use a toothpick or a fine-tip brush for precise application.
Is it better to use a brush or a pen applicator for touch-up paint?
It depends on the size and type of scratch. Pens are great for small chips, while brushes offer more control for larger areas.
More Car Care Conundrums Solved
- Need a sparkling clean car? Check out our guide to the best car washes in Chino Hills.
- Want to learn more about maintaining that showroom shine? We’ve got you covered!
Need Expert Help? We’re Just a Call Away!
Still feeling uncertain about tackling touch-up paint removal on your own? We get it! Our team of automotive experts is standing by to assist with all your car care needs, from diagnostic tools to paint correction. Contact us via WhatsApp at +84767531508 and let’s get your car looking its best.
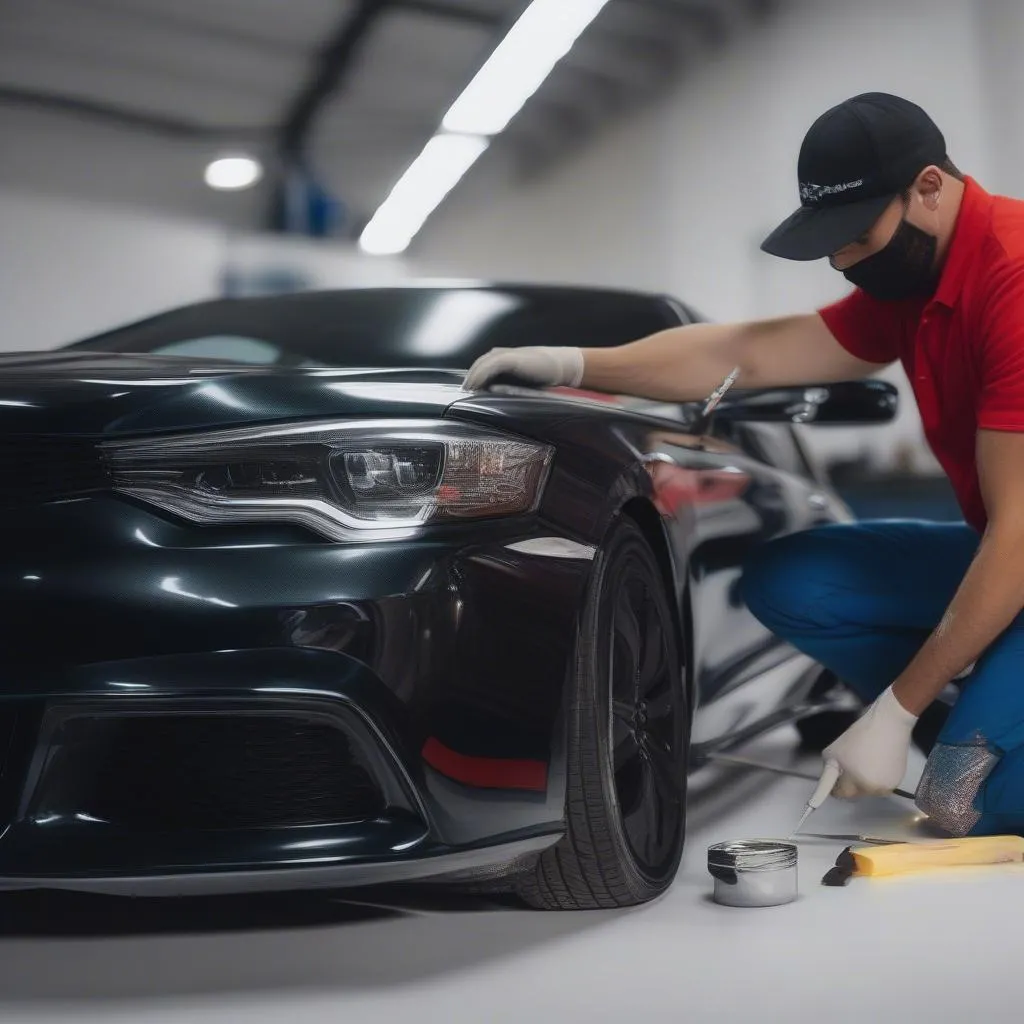 Professional Touch-Up Paint Removal
Remember, It’s All About the Journey (and the Destination)
Removing touch-up paint might seem daunting, but with the right approach and a bit of patience, you can restore your car’s finish to its former glory. And hey, even if things don’t go perfectly, remember that every scratch and imperfection tells a story of your car’s journey.