Upgrading or replacing fuel injectors in your car can sometimes lead to compatibility issues, especially when dealing with different generations of On-Board Diagnostics (OBD) systems. One common challenge arises with injector clips – the electrical connectors that link your car’s wiring harness to the fuel injectors. This guide will walk you through a practical modification to address OBD injector clip mismatches, ensuring a smooth and effective injector swap.
Understanding the nuances of OBD injector clips is crucial for any car enthusiast or DIY mechanic. Different OBD generations, such as OBD0 and OBD1, often feature distinct injector clip designs. When upgrading or replacing injectors, you might find that the clips on your new injectors don’t directly fit your existing wiring harness. Instead of replacing the entire harness, a simple modification to the injector clips can bridge this gap.
This article focuses on modifying OBD1 injector clips to be compatible with an OBD0 harness. The process involves carefully reshaping the injector clip using a Dremel or similar rotary tool. This allows for a secure and functional connection without the need for extensive wiring changes. While the example focuses on OBD0 and OBD1, the underlying principles of clip modification can be applied to other scenarios where injector clips are slightly incompatible.
Step-by-Step Guide to Modifying OBD1 Clips for OBD0 Harnesses
Before starting, ensure you have the correct replacement injectors and understand the specific differences in the clip designs between your old and new injectors. Safety first: always disconnect your car battery before working on any electrical components.
Tools You’ll Need:
- Replacement Fuel Injectors (OBD1 in this example)
- Dremel or Rotary Tool with a fine cutting bit
- Safety Glasses
- Work Gloves
- Clean Rags
- Optional: Heat shrink tubing and soldering iron for wire repair if needed
Modification Steps:
-
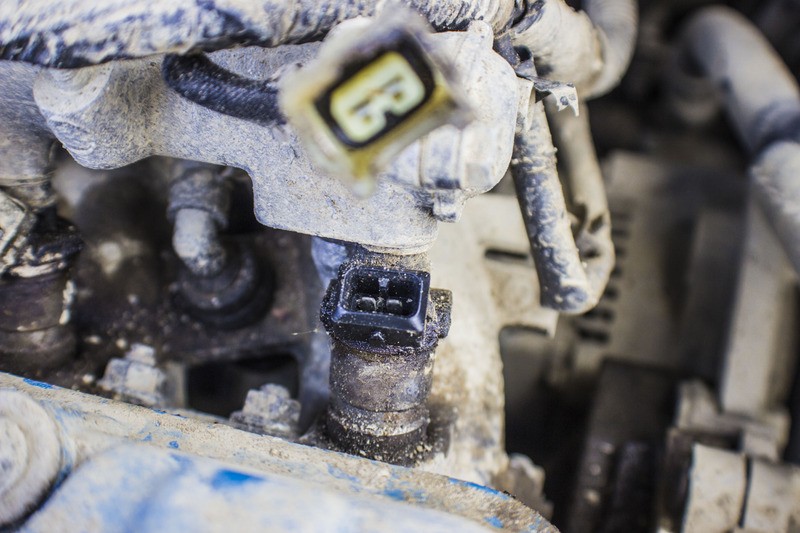
Identify the Clip Difference: Examine both your OBD0 and OBD1 injector clips. Notice the guide or track lines on each. OBD0 clips often have a central line, while OBD1 clips may have lines on the top. The key is to modify the OBD1 clip to match the OBD0 interface.
-
Prepare the OBD1 Injector Clip: Locate the two lines at the top of the OBD1 injector plug. These are the areas that need to be carefully removed to allow the clip to fit into the OBD0 harness connector.
-
Carefully Grind Down the Guides: Using your Dremel with a thin attachment, gently grind down the two guide lines on the top of the OBD1 injector clip. Work slowly and test the fit frequently to avoid removing too much material. The goal is to create a smooth surface where the lines were.
-
Test the Fit: After grinding, test fit the modified OBD1 injector clip into your OBD0 harness connector. It should now clip in securely without force. “If it clips, it fits!”
-
Successful Connection: Once the clip modification is complete, the OBD1 injector should connect seamlessly to your OBD0 harness.
Injector Cleaning and Maintenance
While you have your injectors removed, it’s a good opportunity to inspect and clean them. Dirty or clogged injectors can lead to poor engine performance, fuel inefficiency, and even damage.
-
Inspect for Blockages: Examine the injector tips for any signs of carbon buildup or blockage. In the original example, a stuck injector hat was identified.
-
Clean Injector Seats: Clean the injector seats to ensure a proper seal. Remove any carbon deposits or debris.
-
O-Ring Inspection: Check the injector O-rings for wear or damage. Replace them if necessary to prevent fuel leaks.
Reassembly and Testing
-
Reinstall Injectors: Carefully reinstall the modified and cleaned injectors into your engine. Ensure they are properly seated and the clips are securely fastened.
-
Wiring Harness Modification (If Necessary): In some cases, you might need to modify the resistor plug wires on your harness. The original post shows cutting and soldering wires. If you choose to do this, proceed with caution and ensure proper wiring connections. However, with clip modification, this step might be avoidable.
-
Test Run: Reconnect your car battery and start your engine. Check for any fuel leaks and monitor engine performance. In the original example, the modification resolved rich fuel smell and improved throttle response.
Conclusion
Modifying OBD injector clips is a practical solution for overcoming compatibility issues when upgrading or replacing fuel injectors. By carefully reshaping the clips, you can ensure a proper electrical connection without resorting to complex wiring harness changes. Remember to prioritize safety, take your time, and always double-check your work. This modification, combined with injector cleaning, can contribute to improved engine performance and fuel efficiency. Always consult your vehicle’s service manual and exercise caution when performing automotive modifications.

