For years, car owners relied on professional mechanics to decipher the mysteries behind the dreaded check engine light. The sudden illumination of this warning symbol often triggered anxiety and uncertainty. Fortunately, the advent of user-friendly OBD2 scanners like the Ancel AD410 has empowered vehicle owners to take control of their car’s diagnostics.
The Ancel AD410 stands out as an accessible and effective tool. While categorized as a best budget OBD2 scanner, it boasts capabilities comparable to many professional-grade scanners. This makes it an ideal choice for DIY enthusiasts and anyone keen on understanding their vehicle’s health independently. Its straightforward operation is a key advantage. This guide will walk you through the simple steps on How To Use An Ancel 410 Obd2 Scanner to diagnose your car’s issues effectively.
Step 1: Locate the OBD2 Port (DLC) in Your Vehicle
Before you can begin scanning, you need to access your car’s computer, also known as the Engine Control Unit (ECU). This unit diligently records diagnostic trouble codes whenever it detects a problem. The gateway to the ECU is the Diagnostic Link Connector, commonly referred to as the OBD2 port.
Typically, you can find the OBD2 port located beneath the driver’s side dashboard, just under the steering wheel column. It’s a 16-pin trapezoidal connector, and sometimes it might be covered by a small flap. If it’s not immediately visible there, explore locations like the center console area or even the passenger side dashboard. For a precise location, your car’s owner’s manual is an invaluable resource and can save you time searching.
Step 2: Establish Connection with Your Ancel AD410 Scanner
Once you’ve identified the OBD2 port, the next step is to connect your Ancel AD410 scanner. Ensure your vehicle’s ignition is turned off before plugging in the device. Take the connector end of the AD410 cable – you’ll see a male 16-pin trapezoidal plug. Carefully insert this plug into the OBD2 port in your car.
After securely connecting the scanner, turn your car’s ignition to the “key on, engine off” (KOEO) position. Do not start the engine at this stage. The Ancel AD410 is designed to draw power directly from your car’s battery through the OBD2 port. Once connected and the ignition is on, the scanner will power up automatically within moments.
Step 3: Vehicle Information Input – Automatic or Manual
Budget OBD2 scanners often require manual input of the Vehicle Identification Number (VIN), along with the vehicle’s year, make, and engine type. The VIN is a unique identifier for your car and is usually found on the driver’s side dashboard, visible through the windshield.
However, the Ancel AD410 simplifies this process. Instead of manual entry, this code reader is designed to automatically retrieve your vehicle’s information directly from the ECU. Upon powering up, the AD410 will communicate with your car’s computer to obtain the necessary details, streamlining the diagnostic process and eliminating potential input errors.
Step 4: Initiate the Diagnostic Scan
With the scanner powered on and connected, navigate the menu displayed on the Ancel AD410 screen. Use the navigation buttons to scroll through the options. You will typically find an option like “Scan” or “Diagnostic Scan.” Select this option to begin the diagnostic process.
The Ancel AD410 will then scan your vehicle’s systems for any stored trouble codes. It’s important to understand that OBD2 scanners typically identify two types of codes: pending and active. Active codes are current issues that have triggered the check engine light. Pending codes indicate intermittent problems or issues that the system has detected but haven’t yet met the threshold to activate the check engine light. A recurring pending code may eventually become an active code if the problem persists.
While some basic scanners only show the fault code itself, the Ancel AD410 offers a valuable feature: it allows you to select and view specific codes. This can be helpful in focusing on particular issues or systems within your vehicle.
 Ancel AD410 OBD2 scanner connected to a car's OBD2 port for diagnostics
Step 5: Understanding and Interpreting OBD Codes
Once the scan is complete, the Ancel AD410 will display any detected OBD codes. Understanding these codes is crucial for effective diagnosis. The AD410 conveniently provides a brief explanation of the code’s meaning directly on its screen, saving you time from looking up basic definitions immediately. OBD codes follow a standardized format: a letter followed by four numerical digits.
The initial letter indicates the vehicle system where the fault originated:
- P (Powertrain): Relates to the engine, transmission, fuel system, and emission control systems.
- C (Chassis): Indicates issues with components like power steering, suspension, and braking systems.
- B (Body): Refers to problems within the body systems, including airbags, interior electronics, and comfort features.
- U (Network/Undefined): Signifies communication issues within the vehicle’s network or problems that don’t fit into the other categories.
The first number following the letter further clarifies the code type. “0” generally indicates a generic, industry-standard code, while “1” signifies a manufacturer-specific code. The subsequent digits pinpoint the specific component and nature of the problem.
Step 6: Record and Utilize the Diagnostic Information
The Ancel AD410 is a powerful diagnostic tool; however, it’s important to remember that it is designed for diagnosis, not repair. It identifies the problem areas in your vehicle by providing the OBD codes, allowing you to share this information with a professional mechanic for repair, or to guide your own DIY repair attempts if you have the skills and tools.
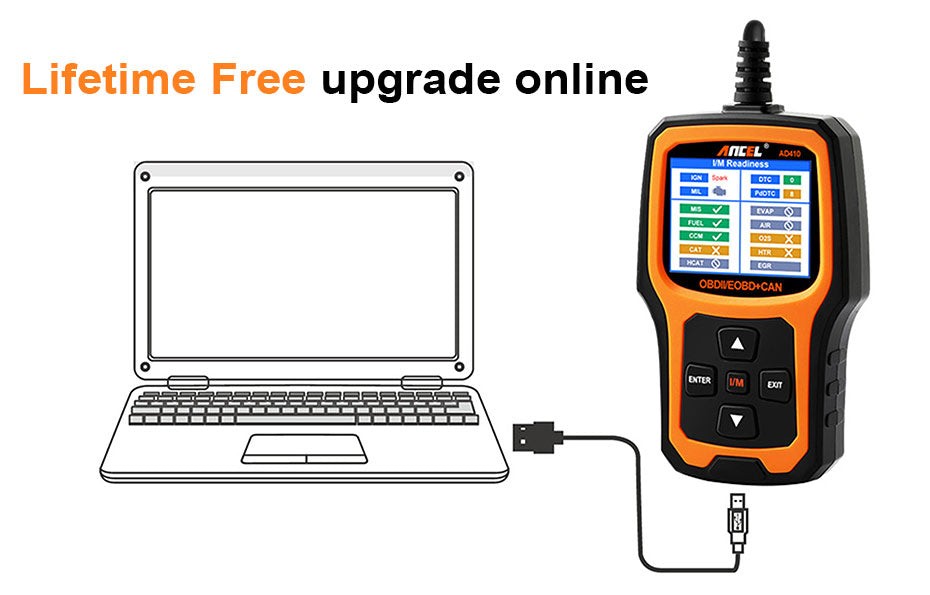
Before turning off the ignition, make sure to record the displayed OBD codes. You can manually write them down or, depending on the AD410 model features, you might be able to save them within the scanner’s memory or transfer them to a computer via a USB connection (refer to your scanner’s manual for specific functionalities).
These recorded codes are invaluable. They will help you determine whether the problem is something you can tackle yourself or if it requires professional attention from a qualified technician.
Step 7: Resetting the Check Engine Light (CEL)
After addressing the issues indicated by the OBD codes and completing any necessary repairs, the check engine light should ideally turn off automatically. However, if you need to clear the light manually – perhaps after temporary troubleshooting or before taking your car to a mechanic – the Ancel AD410 allows you to reset the CEL.
To do this, navigate through the scanner’s menu to find the “Reset” or “Clear Codes” function. Selecting this option will command the scanner to erase the stored diagnostic trouble codes, which in turn will typically turn off the check engine light.
It’s crucial to understand that resetting the CEL without fixing the underlying problem is only a temporary solution. The light will reappear if the issue persists. The check engine light is a vital warning system, and ignoring it can lead to more significant vehicle damage over time. If the CEL comes back on after resetting, it’s a clear indication that further investigation and repair are required.
Key Features of the Ancel AD410 OBD2 Scanner
The Ancel AD410 is praised for providing a rich set of features in a budget-friendly package. Beyond basic code reading, it offers:
- Fast and Accurate Diagnostics: Quickly and reliably reads error codes.
- Check Engine Light Control: Allows for resetting the CEL after repairs.
- Live Data Stream: Provides real-time data from vehicle sensors, which can be invaluable for advanced diagnostics and understanding system behavior.
- Emissions Readiness Testing: Helps determine if your vehicle is ready for emissions testing.
These features empower both DIYers and professional mechanics with efficient diagnostic capabilities, making the Ancel AD410 a valuable tool in any car care toolkit.
Conclusion
The Ancel AD410 OBD2 scanner is a standout choice in the market of affordable diagnostic tools. It provides essential functionalities and user-friendliness, making it highly recommended for car owners, particularly those who prefer a hands-on approach to vehicle maintenance. If you’re in the market for a reliable and budget-conscious scanner, the AD410 is a strong contender. You can purchase the Ancel AD410 and explore other ancel OBD2 scanner options directly from the Ancel website.
FAQs
Where is the OBD2 port typically located in a vehicle?
The OBD2 port is generally found under the driver’s side dashboard, beneath the steering wheel column.
How do I connect the Ancel AD410 to my car?
Connect the Ancel AD410 to the OBD2 port using the provided cable with the vehicle’s ignition turned off. Then, turn the ignition to the “key on, engine off” position to power the scanner.
What do the OBD codes mean on the Ancel AD410?
OBD codes represent specific faults in your vehicle’s systems. The first letter indicates the system (P-Powertrain, C-Chassis, B-Body, U-Network), and the subsequent numbers specify the exact problem.
Can the Ancel AD410 fix my car?
No, the Ancel AD410 is a diagnostic tool. It identifies problems by reading OBD codes, but repairs must be performed separately.
Is the Ancel AD410 easy to use for beginners?
Yes, the Ancel AD410 is designed to be user-friendly, even for beginners. Its intuitive menu and clear display make it straightforward to operate.