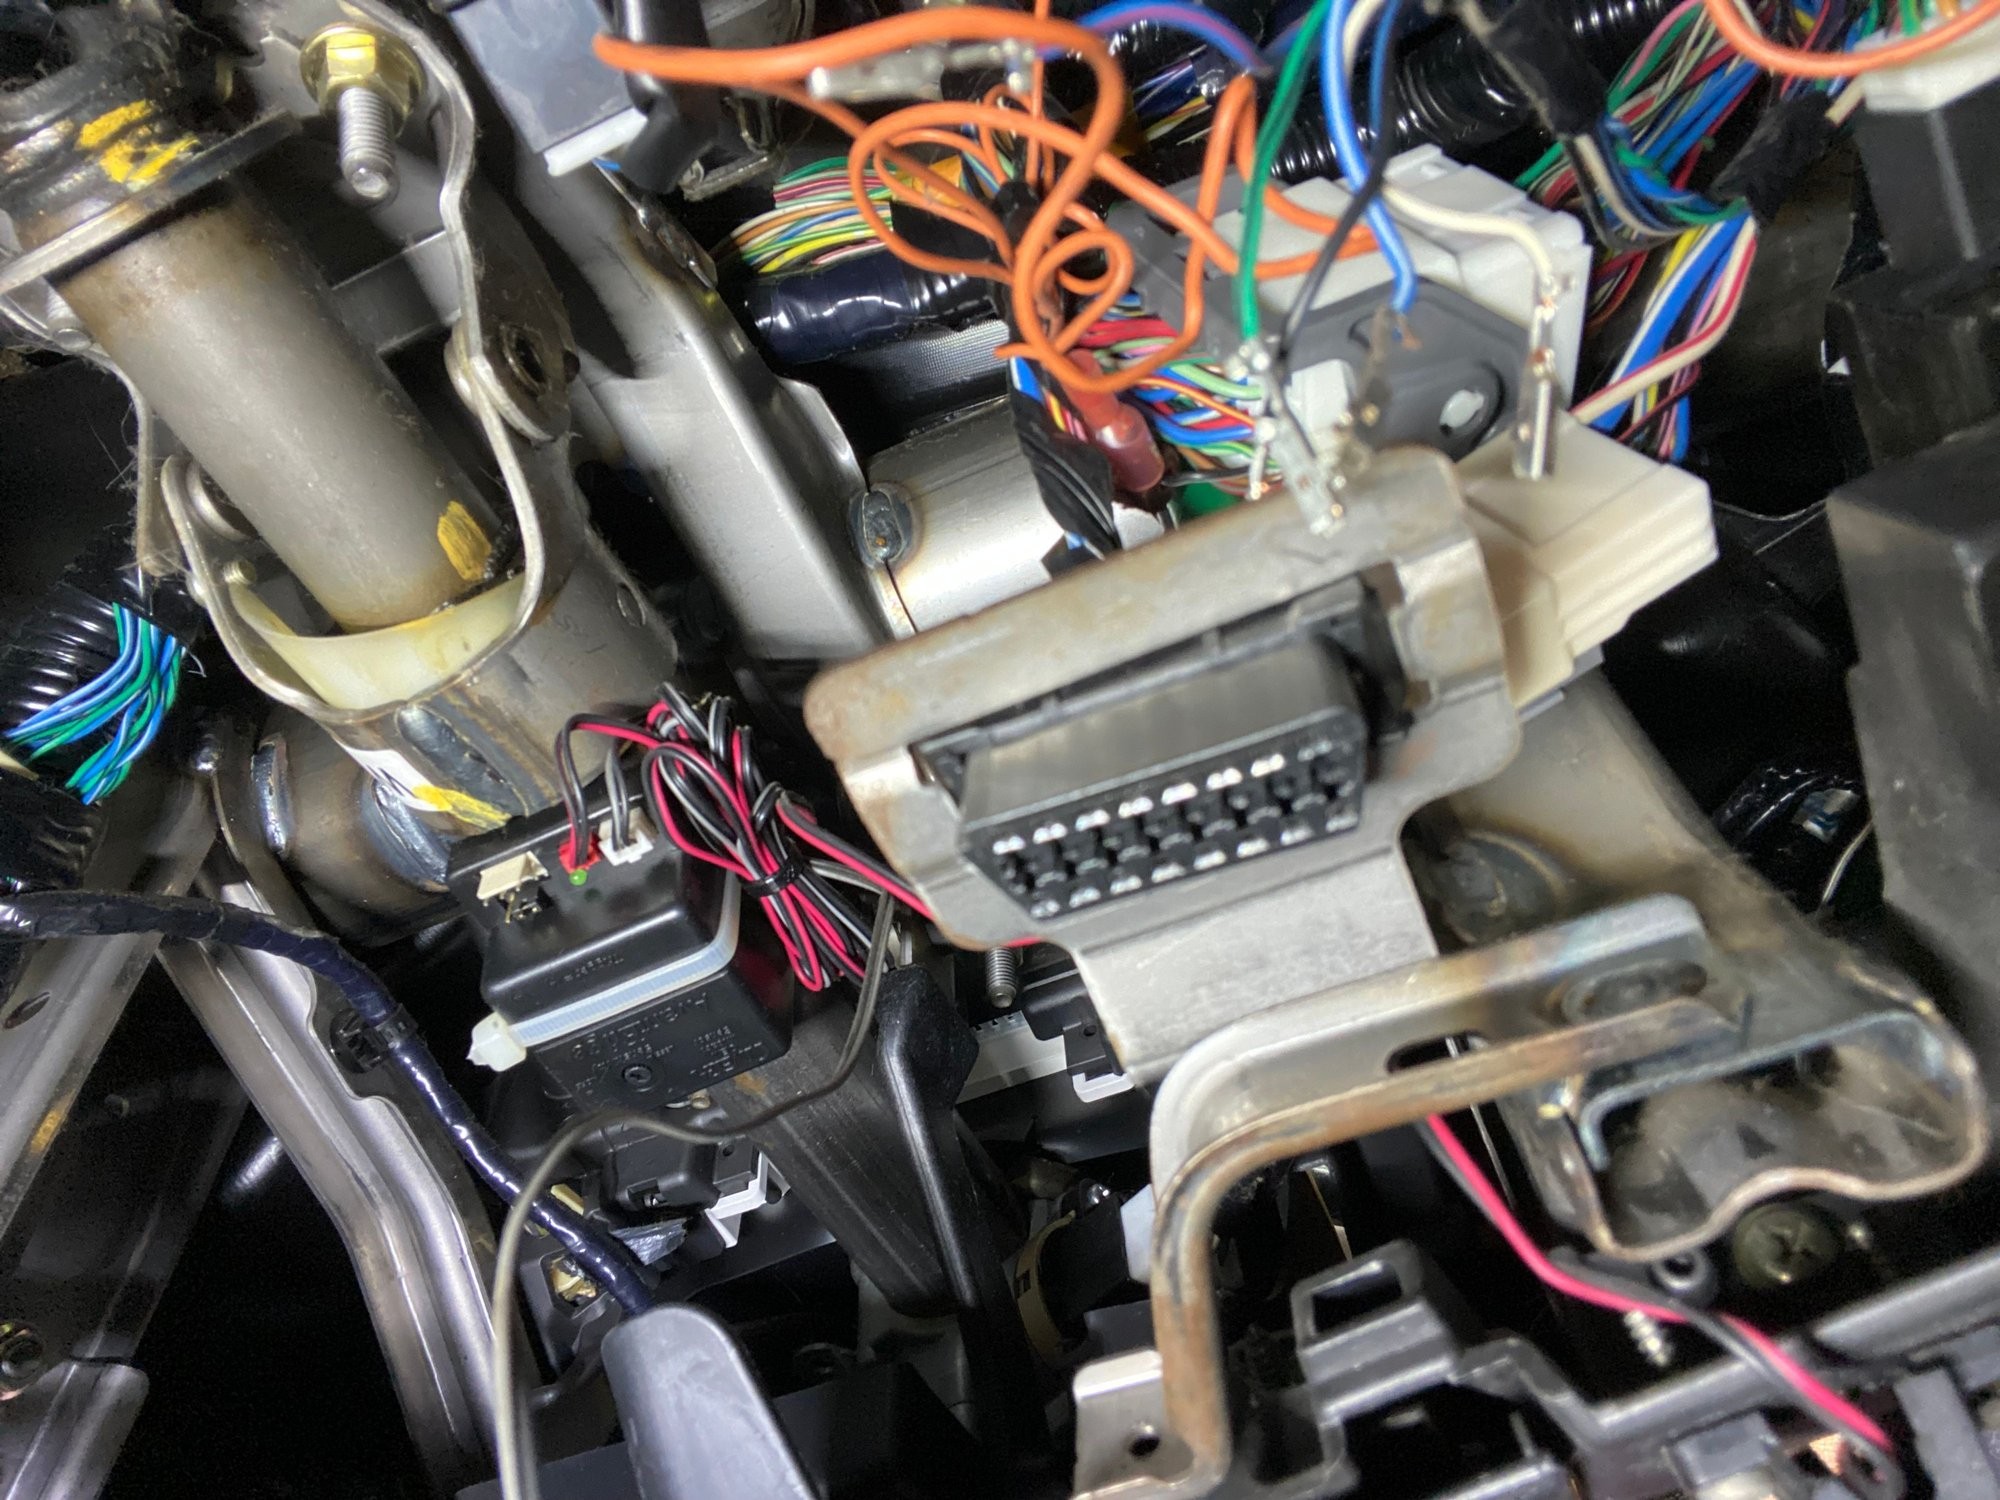
A loose OBD2 connection can be a frustrating issue for any car owner. The On-Board Diagnostics II (OBD2) port is crucial for diagnosing vehicle problems, emissions testing, and accessing important car data. When this port becomes loose, it can lead to intermittent connections, preventing proper communication with diagnostic scanners and potentially causing inaccurate readings or a complete inability to connect. Fortunately, fixing a loose OBD2 connection is often a straightforward DIY task that can save you a trip to the mechanic. This guide will walk you through the process, ensuring a stable and reliable connection for your diagnostic needs.
Identifying a Loose OBD2 Connection
Before diving into the fix, it’s important to confirm that the OBD2 port is indeed loose. Common symptoms include:
- Scanner connection issues: Your OBD2 scanner or code reader frequently loses connection or fails to connect at all.
- Port movement: You can physically wiggle the OBD2 port in its housing, indicating it’s not securely mounted.
- Intermittent diagnostic errors: You might experience sporadic check engine lights or sensor readings that seem unreliable.
If you notice these signs, there’s a good chance your OBD2 port needs attention.
Tools You’ll Need
To fix a loose OBD2 connection, you’ll need a few basic tools:
- Small flathead screwdriver or probe: Essential for releasing plastic tabs and adjusting connector terminals. Precision probe sets, often used in electronics repair, work exceptionally well.
- Small bent nose pliers (optional): May be helpful for manipulating wires and terminals in tight spaces.
- Good lighting: A well-lit workspace is crucial for seeing the small components and ensuring accurate repairs.
- Camera or phone (optional): Taking pictures before disconnecting wires can be extremely helpful for reassembly.
Step-by-Step Guide to Fixing a Loose OBD2 Port
This guide focuses on tightening the existing connections within the OBD2 port. If the port itself is physically broken, replacement might be necessary.
Step 1: Removing the OBD2 Port from the Bracket
The first step is to access the back of the OBD2 port. Typically, the port is held in place by a bracket, often located under the dashboard on the driver’s side.
Locate the plastic tabs on the sides of the OBD2 port that secure it to the bracket. Using your flathead screwdriver or probe, gently push these tabs inwards, one at a time. While pushing a tab, try to push the OBD2 port upwards or outwards from the bracket. It can be helpful to apply pressure to one side of the port while manipulating the opposite tab.
Bracket and Port
Step 2: Accessing the Wiring
Once the OBD2 port is free from the bracket, you’ll see the back side where the wires are connected. Before proceeding, it’s highly recommended to take pictures of the wiring and note down the color order and positions. This will be invaluable during reassembly.
Look for a white plastic retainer clip on the back of the port. This clip secures the wires in place. You need to carefully remove this clip to access the individual wire connectors. Use your probe to gently lift or push the white plastic piece. Often, one end of the white tab is tucked under a black tab. Slide your probe underneath to free it completely.
Step 3: Tightening the Connectors
Now, you need to release each wire individually from the OBD2 port connector. Look closely at the connector where each wire enters. You’ll see a small plastic tab that locks the wire in place.
Insert your probe into the connector, aiming to press down on this small plastic tab. When you successfully press the tab, you should feel the wire loosen slightly. Gently pull the wire from the back of the connector. Avoid forcing it; if it doesn’t release easily, readjust your probe and try again. Repeat this process for each wire.
The issue with a loose OBD2 connection often lies in the internal metal tab within each connector that makes contact with the OBD2 scanner pins. Over time, these tabs can become bent outwards, losing their tightness.
To fix this, take your probe and insert it into the front of the wire connector (the side that plugs into the OBD2 port). You need to carefully rebend the internal metal tab inwards to increase the contact pressure. Gently push the probe towards the end of the connector where the metal tab is bent, effectively pushing the tab back into a tighter position.
Step 4: Reassembling the OBD2 Port
After tightening the connectors, carefully push each wire back into its correct position in the OBD2 port, referencing the pictures or notes you took earlier. You should feel a click as each terminal locks back into place. Again, avoid forcing them. If a wire is difficult to insert, small bent nose pliers can help guide it, but be careful not to bend the wire near the crimped terminal.
Once all wires are secure, re-install the white plastic retainer clip to hold them firmly in place. Finally, push the OBD2 port back into its bracket until the plastic tabs click and secure it.
Probe Tools
Conclusion
By following these steps, you can often fix a loose OBD2 connection and restore reliable communication with your car’s diagnostic system. While this method is usually effective for loose connections caused by bent terminals, remember that this might be a temporary fix. For severely damaged ports or terminals, replacing the OBD2 port or individual terminals might be necessary for a long-term solution. However, this DIY approach is a cost-effective first step in addressing OBD2 connection issues and can save you from unnecessary repair shop visits.
