If you’ve ever tried to access or remove your OBD2 scanner port, you might have encountered a frustratingly stubborn shroud or cover. Many online guides suggest reaching blindly behind the dashboard and squeezing clips with little success. However, there’s a much simpler and more effective method to disconnect your OBD2 scanner by carefully removing this shroud. This guide will show you the easy way to do it, ensuring you can access your OBD2 port without unnecessary hassle.
Understanding the OBD2 Port Shroud
The On-Board Diagnostics II (OBD2) port is your car’s diagnostic gateway, allowing mechanics and car owners to read vehicle data and diagnose issues using an OBD2 scanner. Often, this port is surrounded by a plastic shroud or housing, designed to protect it and blend it into the dashboard. While functional, this shroud can sometimes get in the way when you need to connect or disconnect your scanner, or if you need to access the port for any maintenance.
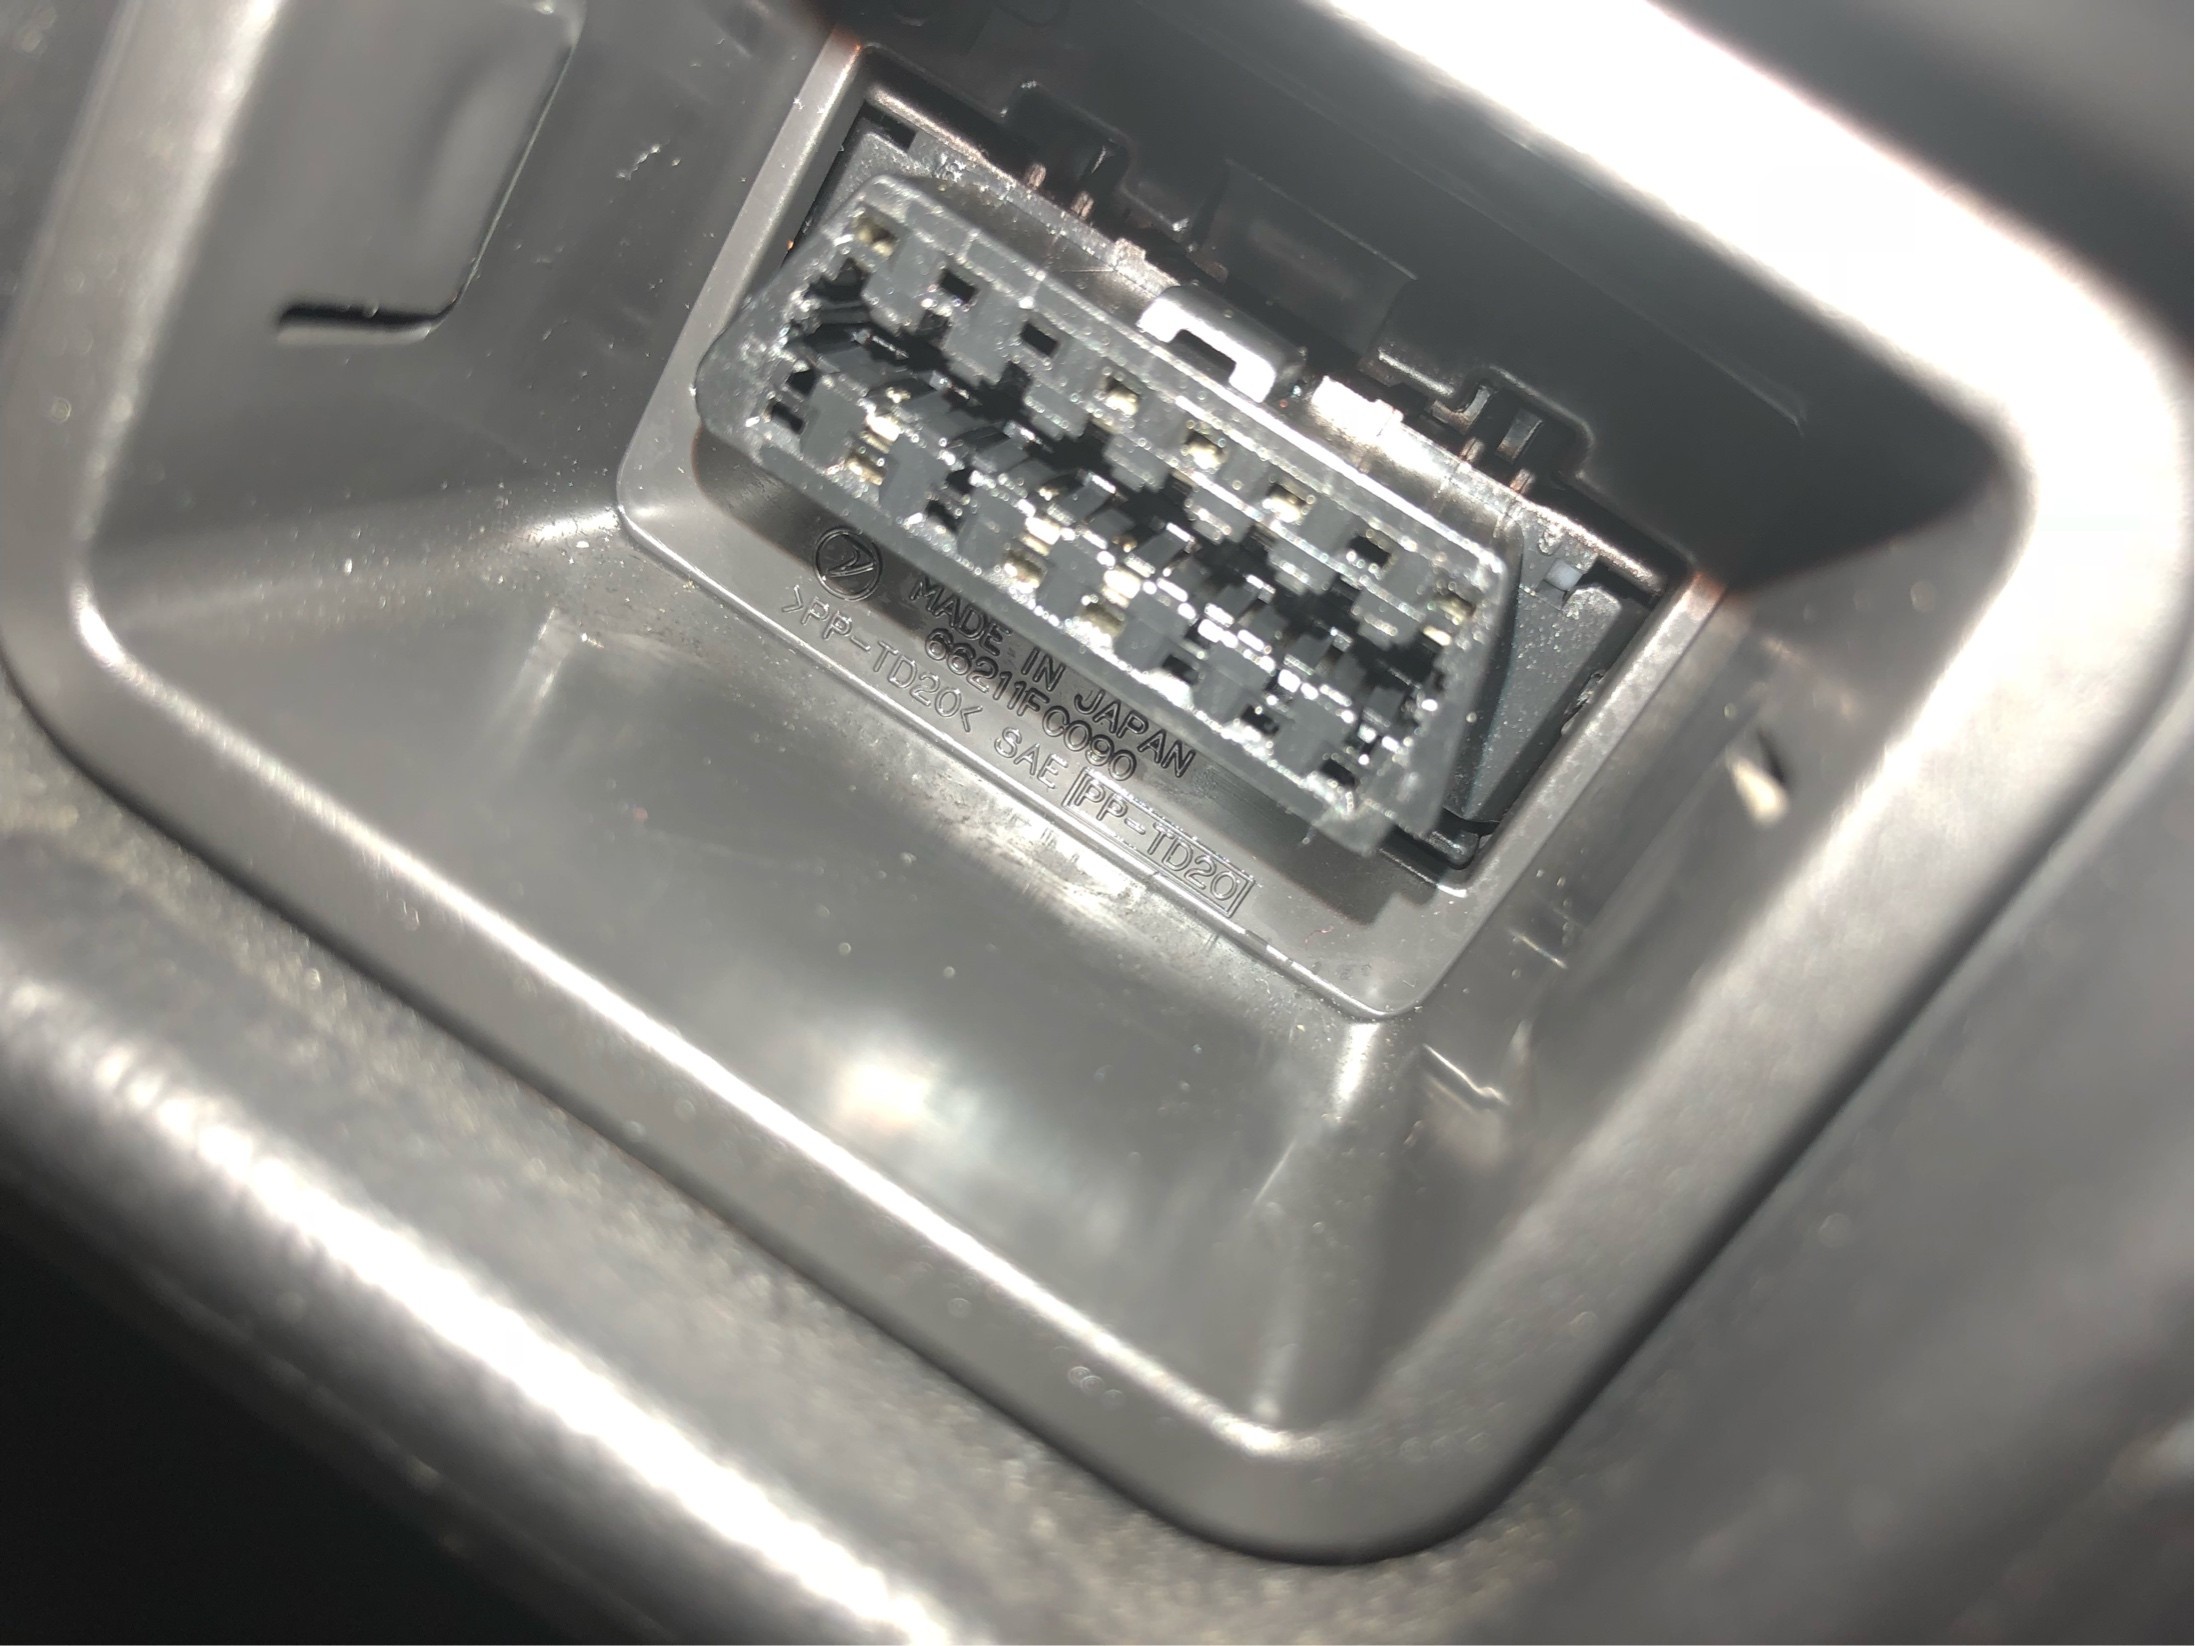
Let’s take a closer look at the area we’re working with. This is the typical view you’d have from the driver’s seat, looking down at the OBD2 port:
As you can see in the image, the OBD port itself is the connector with the multiple pin holes. The shroud is the surrounding plastic housing that we need to detach. Notice the clip-like feature visible on the upper left of the shroud. It’s natural to assume squeezing this from behind is the key, but as we’ll see, that’s not the most efficient approach.
The Easy Way to Disconnect the OBD2 Scanner Shroud
Many guides recommend fumbling behind the dash to squeeze and release hidden clips. However, space is limited, and the clips are not easily accessed from behind. The following image demonstrates the challenge:
As you can see, even with the shroud removed, the space to squeeze any clips from behind while it’s installed is minimal, indicated by the thumb in the picture. Direct squeezing is often ineffective due to the limited access and the position of the retaining clips.
Instead of struggling from behind, the most straightforward method involves using a non-marring pry bar to gently lever the shroud from the driver’s side while simultaneously applying a push from behind the dashboard. Here’s a step-by-step guide:
- Prepare Your Tool: Obtain a non-marring plastic pry bar or a similar tool designed for interior trim work. This will prevent scratches or damage to your dashboard.
- Locate the Driver’s Side Edge: Identify the edge of the OBD2 port shroud closest to the driver’s side of the vehicle.
- Gently Pry and Push: Carefully insert the pry bar between the driver’s side edge of the shroud and the surrounding dashboard trim. Apply gentle outward pressure to lever the shroud outwards. Simultaneously, if possible, reach behind the dash and push the shroud outwards from the back.
- Work Both Sides if Necessary: You may need to repeat the prying and pushing process on both sides of the shroud to fully disengage the clips. Be patient and avoid using excessive force.
- Shroud Removal: Once the clips are released, the shroud and OBD2 port will become loose from the dashboard. You can then gently maneuver it out. Be aware that there will be limited slack in the wiring connected to the OBD2 port. If you need to detach the port completely for further access, you’ll notice clips on each side of the port itself (to the left of the thumb in the image above) that can be gently pressed to release it.
Reinstalling the OBD2 Port Shroud
Reinstalling the OBD2 port shroud is as simple as reversing the removal process. Align the shroud with the opening in the dashboard and gently push it back into place. You should hear and feel it snap securely back into its original position.
Conclusion
Disconnecting your OBD2 scanner or accessing the port doesn’t need to be a struggle. By using a non-marring pry bar and the levering technique described, you can easily remove the OBD2 port shroud without resorting to difficult and often ineffective methods. This approach is gentle, efficient, and minimizes the risk of damage to your vehicle’s interior. Remember to always be careful and patient when working with your car’s components.