IMPORTANT: In California, relocating the in-vehicle diagnostic connector using HRN-GS16K2 as described in these instructions is currently prohibited. For direct plug-in installation guidance without relocation, refer to HRN-GS16K2 Installation – Direct Plug-In. Alternatively, use extension/conversion harnesses for direct GO device installation into the OBDII port or other emissions diagnostic data link connector ports. More information on Geotab harnesses and adapters can be found in Harness Identification and Application.
IMPORTANT: This universal harness kit HRN-GS16K2 is designed for most light-duty and medium-duty vehicles but is not intended for generic heavy-duty applications. For heavy-duty trucks, always prioritize vehicle-specific harnesses offered by Geotab or the vehicle manufacturer (see Harness Identification and Application [PUB] and Harness Assessment Cheat Sheet GUIDE V2.0 [PUB]). If a heavy-duty truck-specific harness isn’t available, use the adapter harness (HRN-CG13S1) with any 16-pin (OBDII) installation to prevent potential GO device damage.
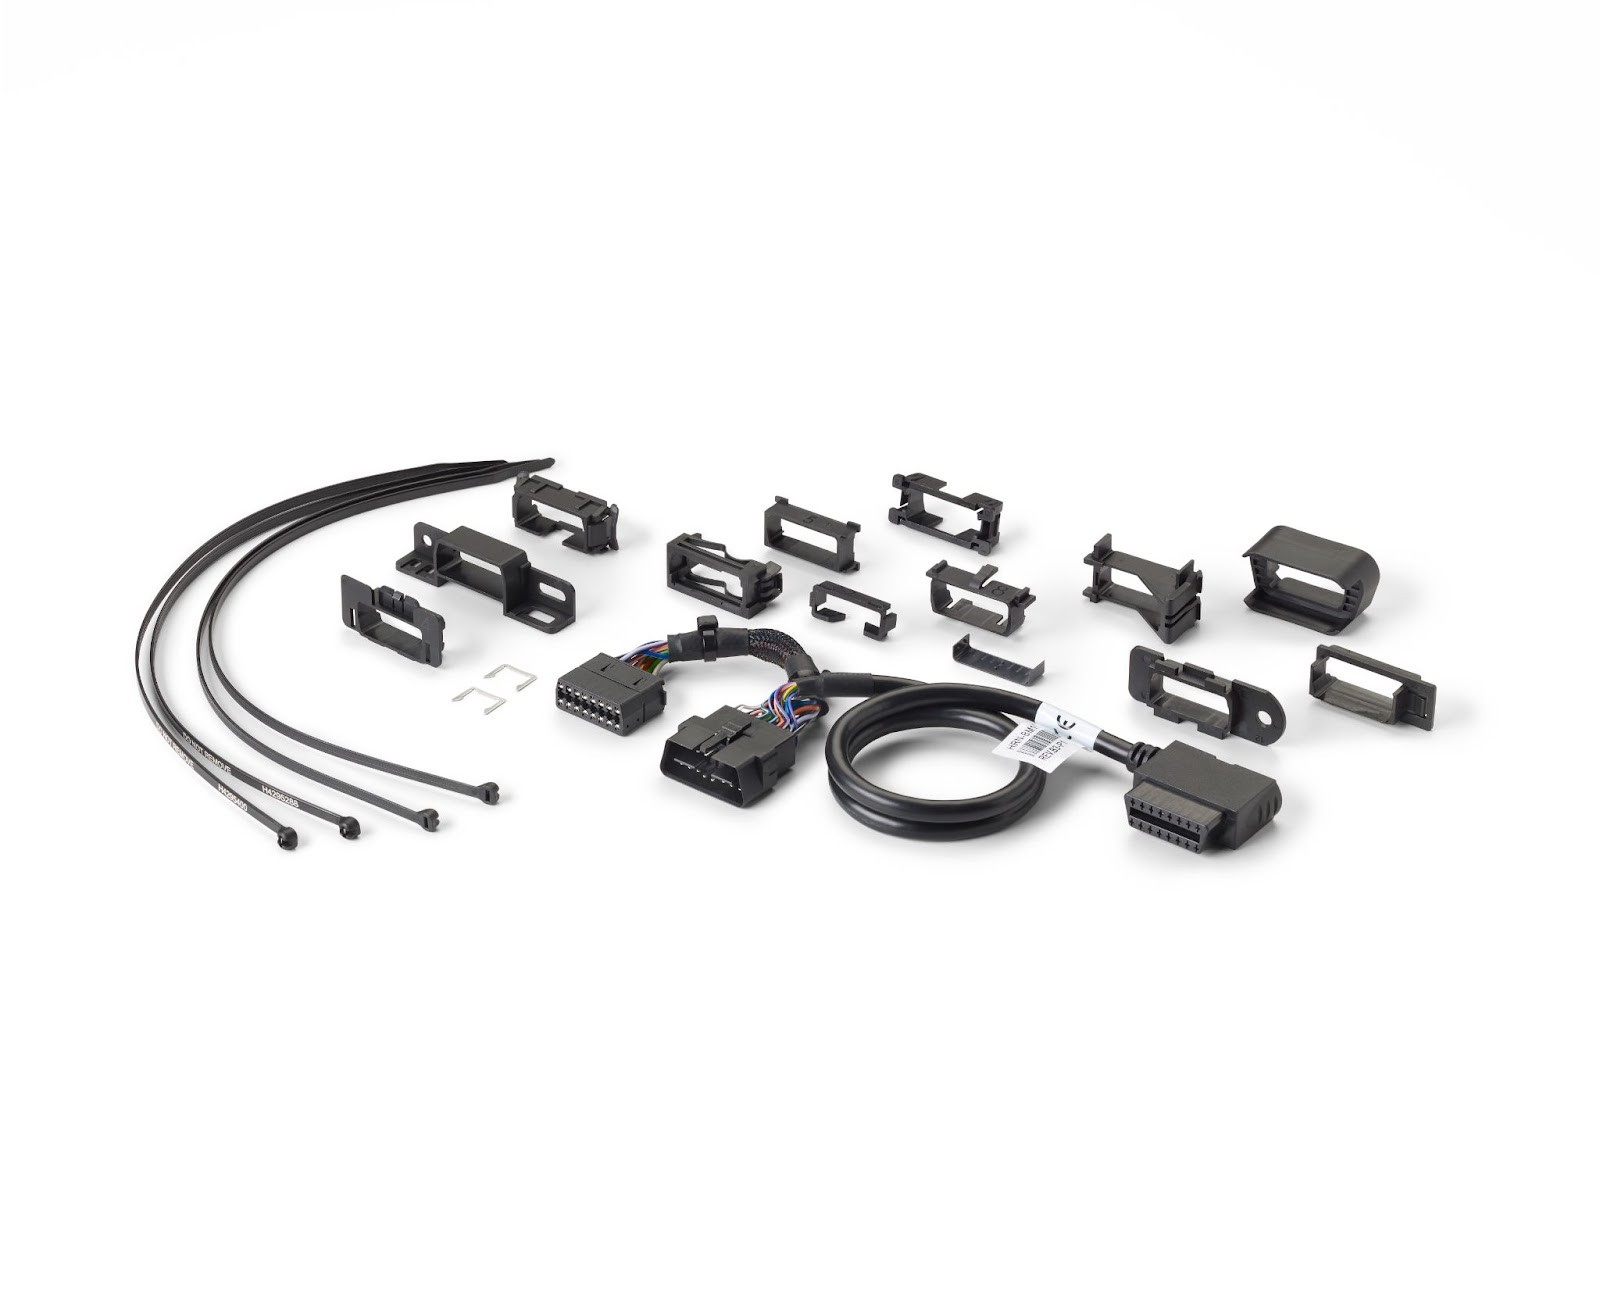
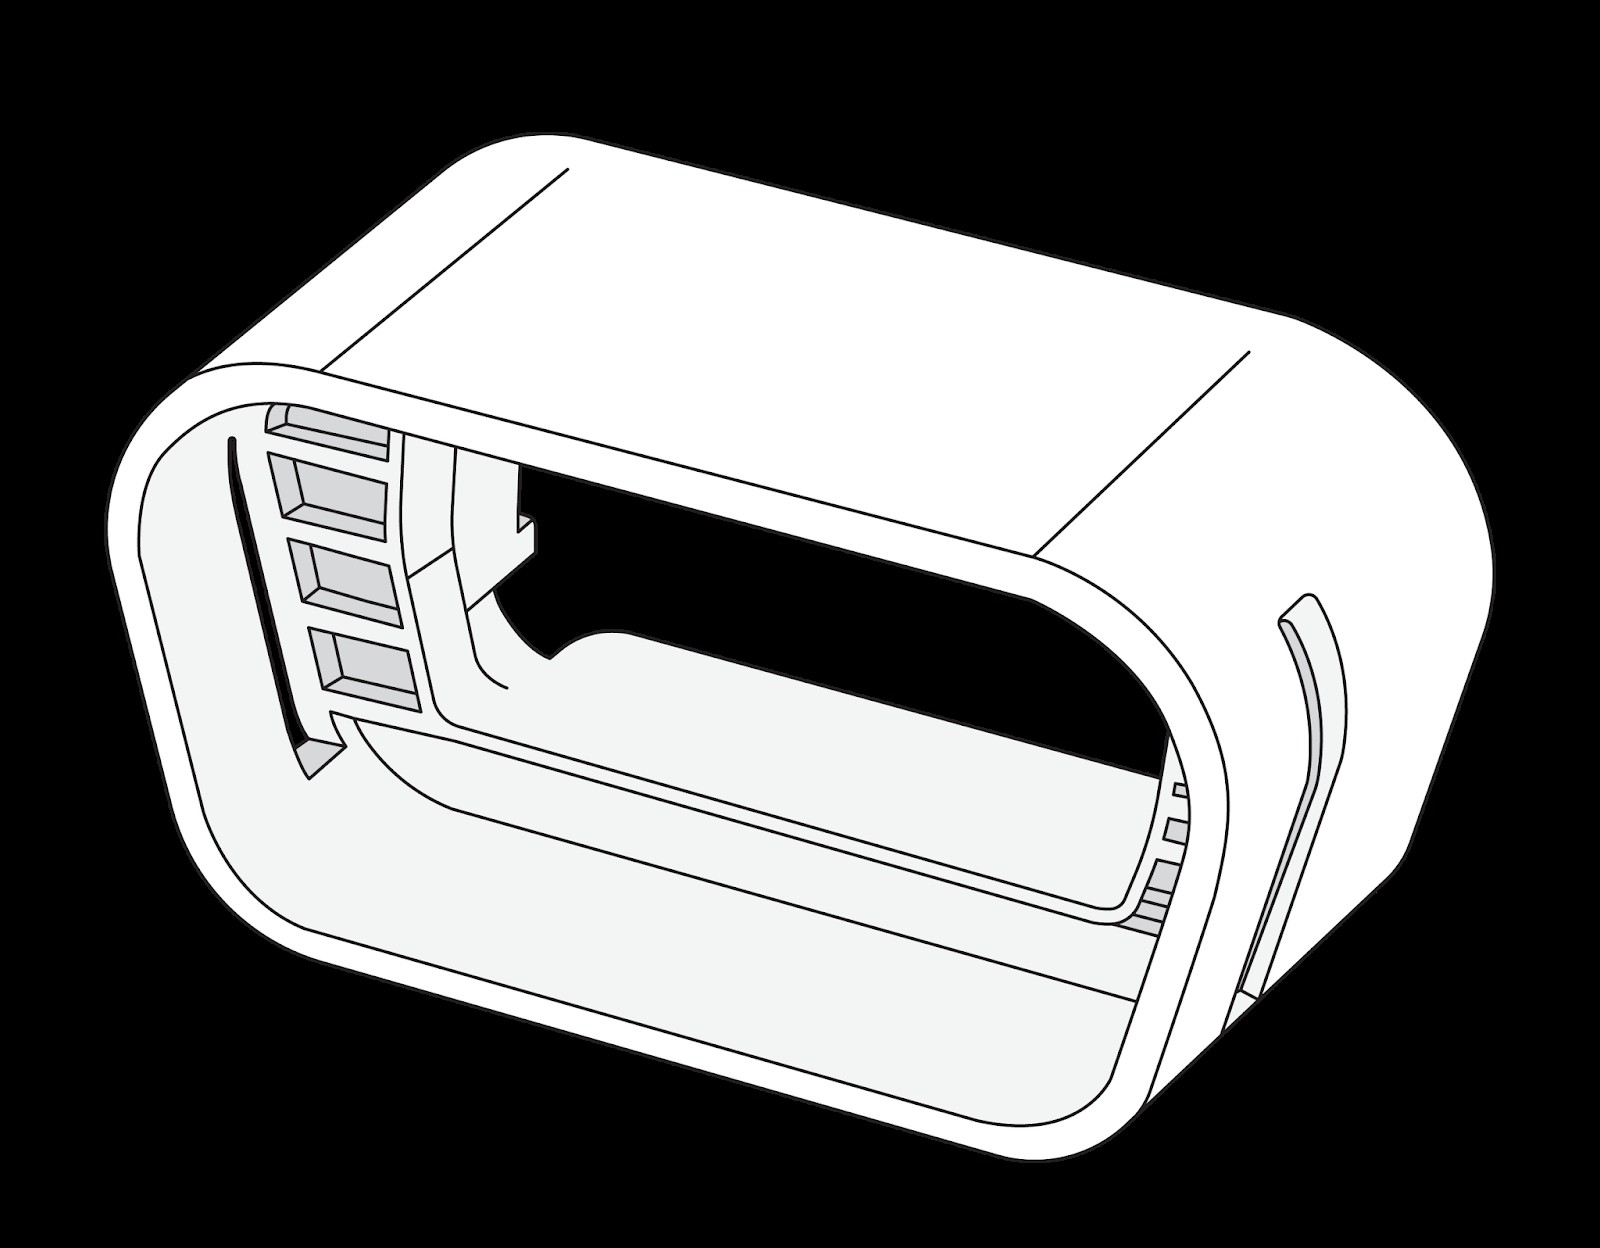
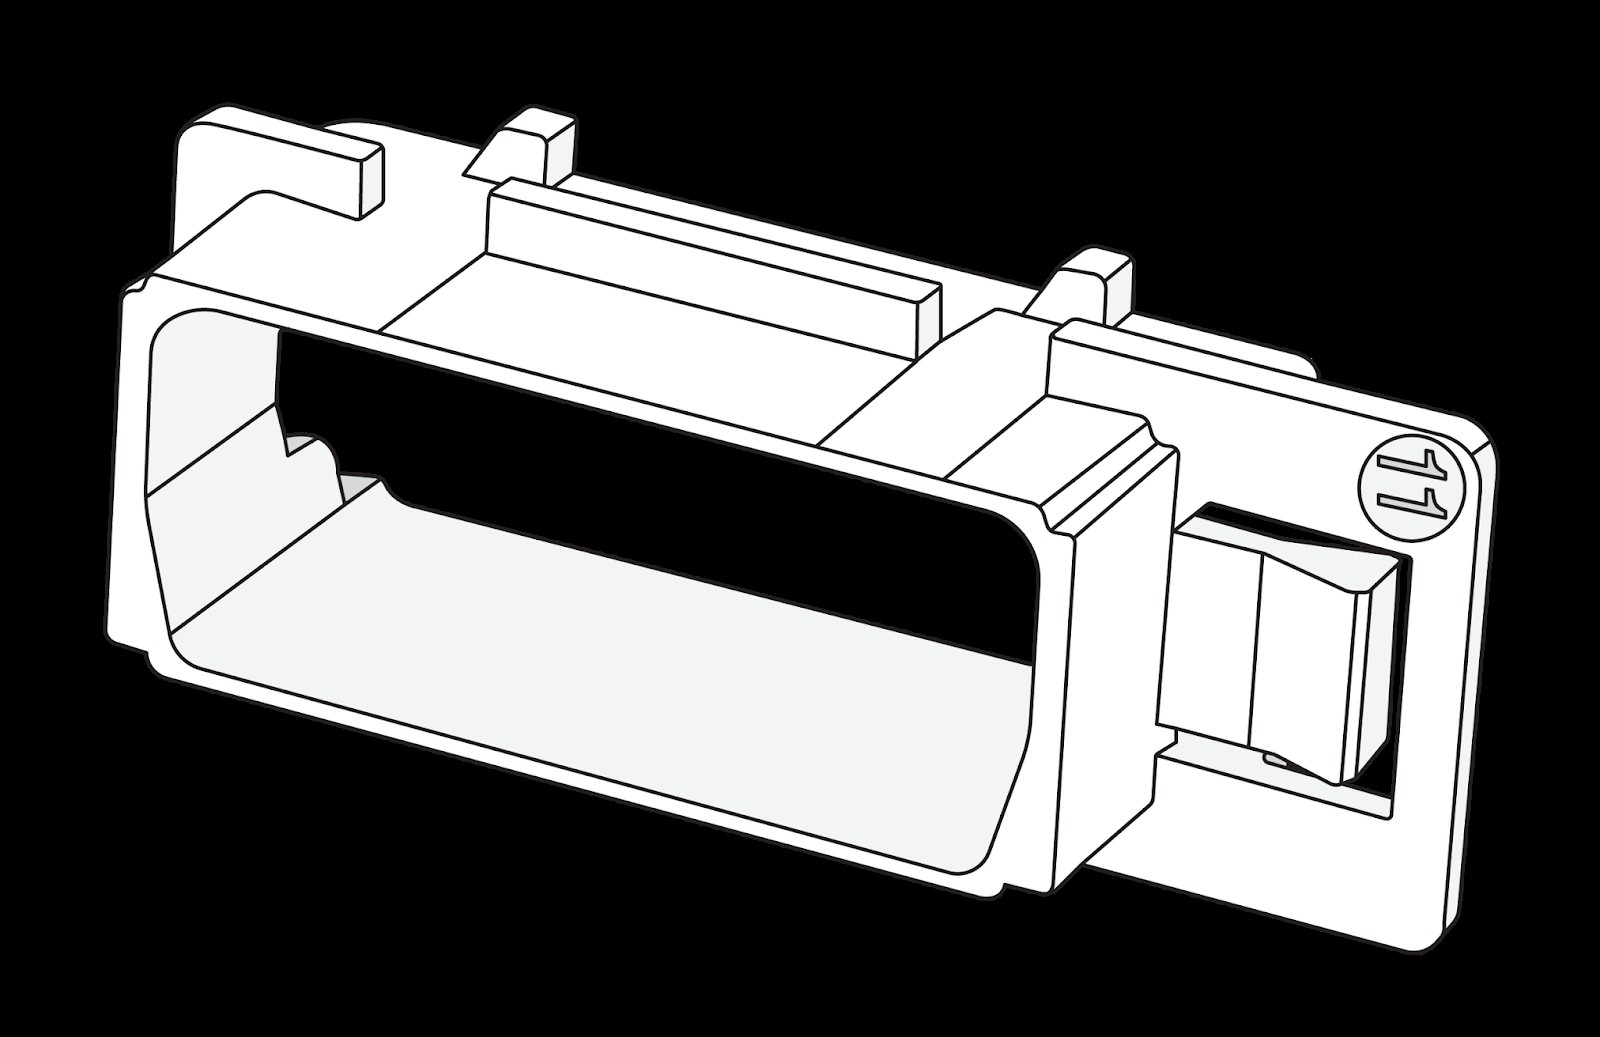
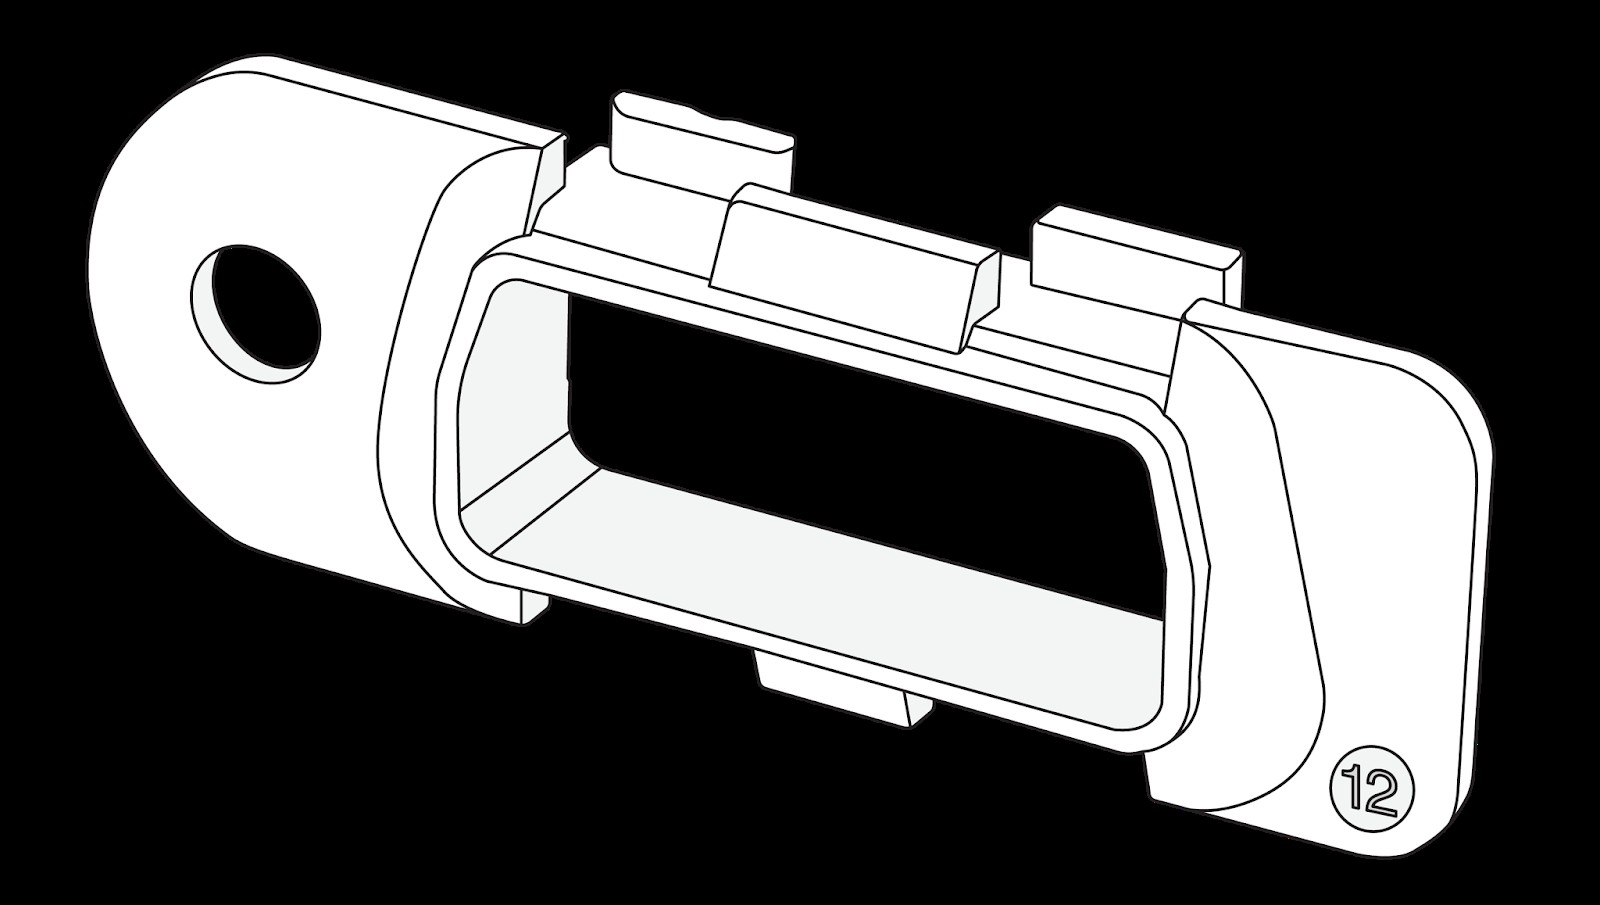
The HRN-GS16K2 is a comprehensive OBDII 16-Pin T-harness kit equipped with twelve mounting brackets, designed to seamlessly connect a Geotab® GO device to a wide range of light and medium-duty vehicles across the globe. This universal Geotab Obd2 Harness kit, HRN-GS16K2, includes the mounting adapters detailed below, with numbered plastic adapters for straightforward identification (see “Adapters” section for specifics).
| 1. North American Flange Mount 2. North American Extended Flange Mount 3. North American Snap-In Mount 4. North American Slide & Lock Mount 5. European Lock Mount 6. Asian Snap-In | 1. European Latch & Snap 2. VW Snap-In 3. BMW Slide & Lock 4. Ford Round Snap-In 5. MAN/DAF Slide & Lock 6. Volvo Slide Mount |
|---|
HRN-GS16K2 Harness Technical Specifications
| Weight | 135 g |
|---|---|
| Size | Max Length: 670 mm Max Width: 40.7 mm |
| Material | Universal Core Connector: PBT Wire Jacket: Mesh Sheathing |
| Connectors | 2 × Universal Core Connector 1 × 24 V compatible ALDL Connector |
| Power Output | 8 V to 36 V |
| Current Rating | 5 A |
| Temperature Rating | −40 to +85 °C |
| Adapters | See Below |
WARNING! The HRN-GS16K2 harness kit is specifically designed for use with the GO device and Geotab-authorized accessory devices only. Professional installation by a Geotab Authorized Installer is mandatory. To prevent serious personal injury or significant vehicle damage, thoroughly read and adhere to the complete GO device installation instructions (goo.gl/rkLRiA) and these instructions.
Comprehensive Adapter Guide for Geotab OBD2 Harness Kit
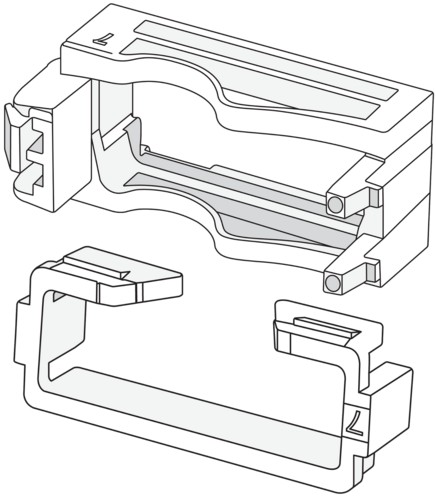
| 1 | | European Latch & Snap 2. Fiat 3. Citroën 4. Peugeot |
|—|—|—|—|—|—|
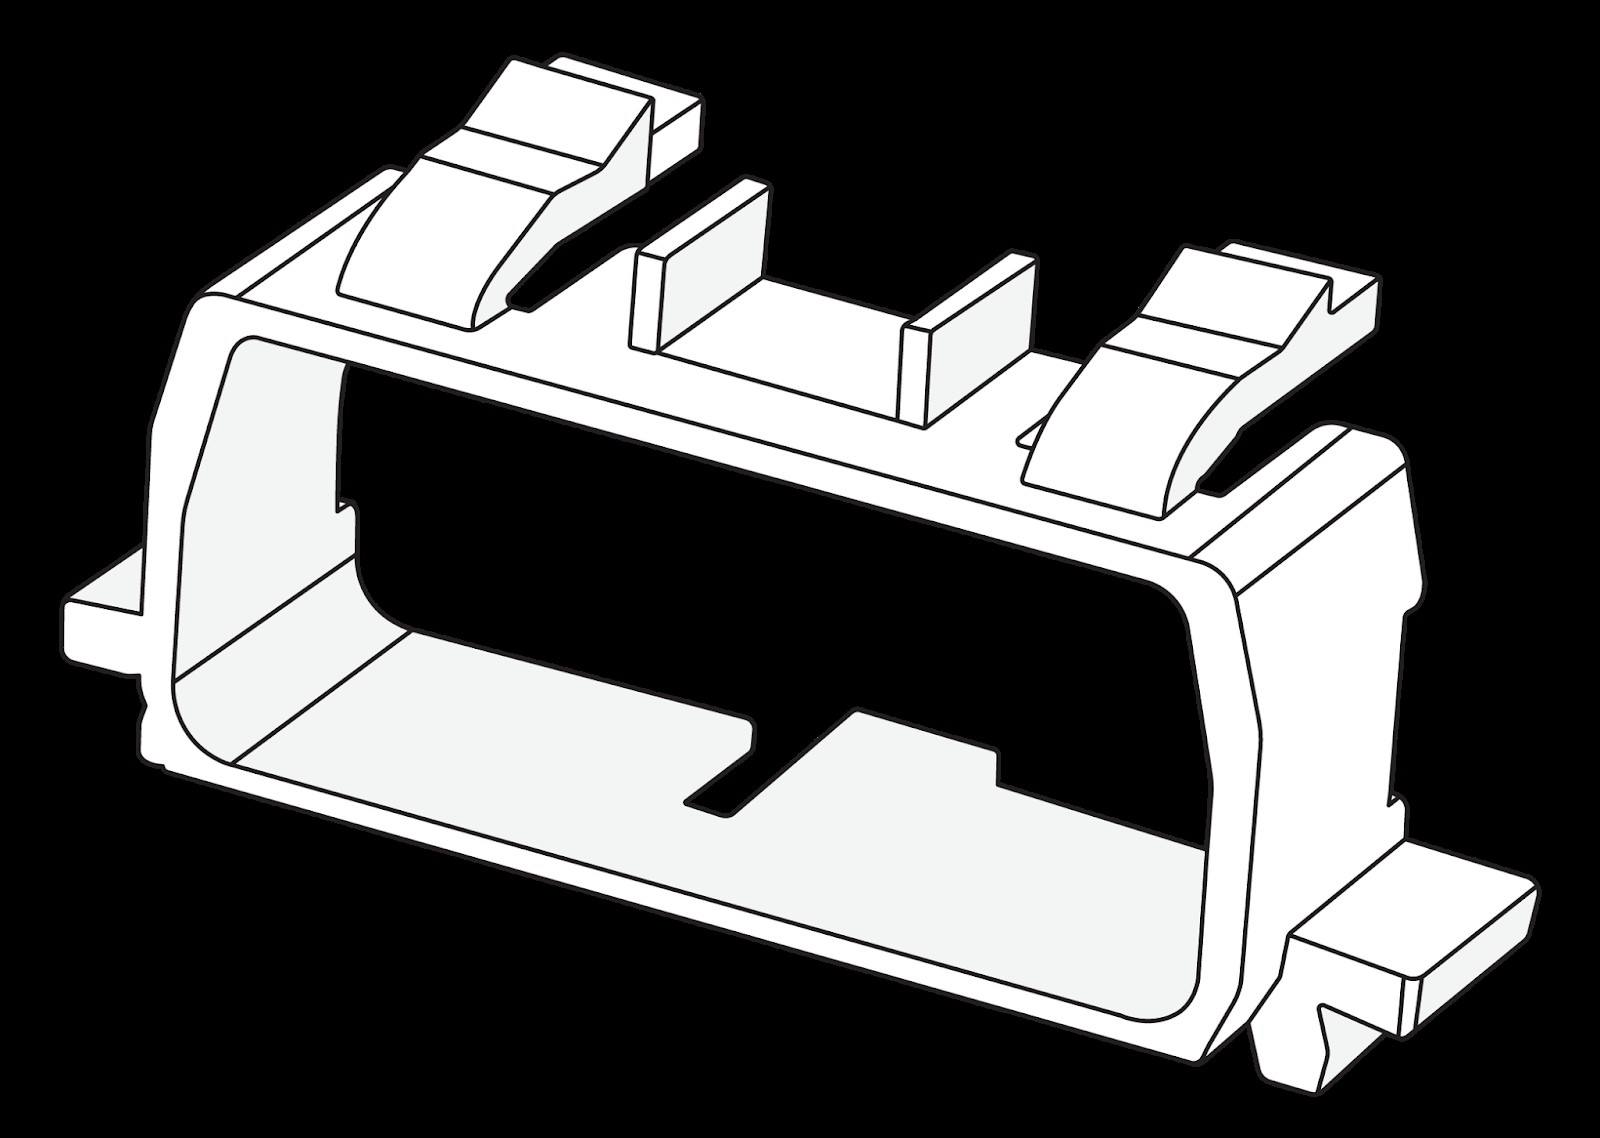
| 2 | | VW Snap-In 2. Volkswagen 3. Audi 4. Bentley 5. Porsche 6. Skoda 7. SEAT 8. |
| 3 | | BMW Slide & Lock 2. BMW |
| 4 | | Ford Round Snap-In 2. Ford |
| 5 | | MAN/DAF Slide & Lock 2. MAN / DAF |
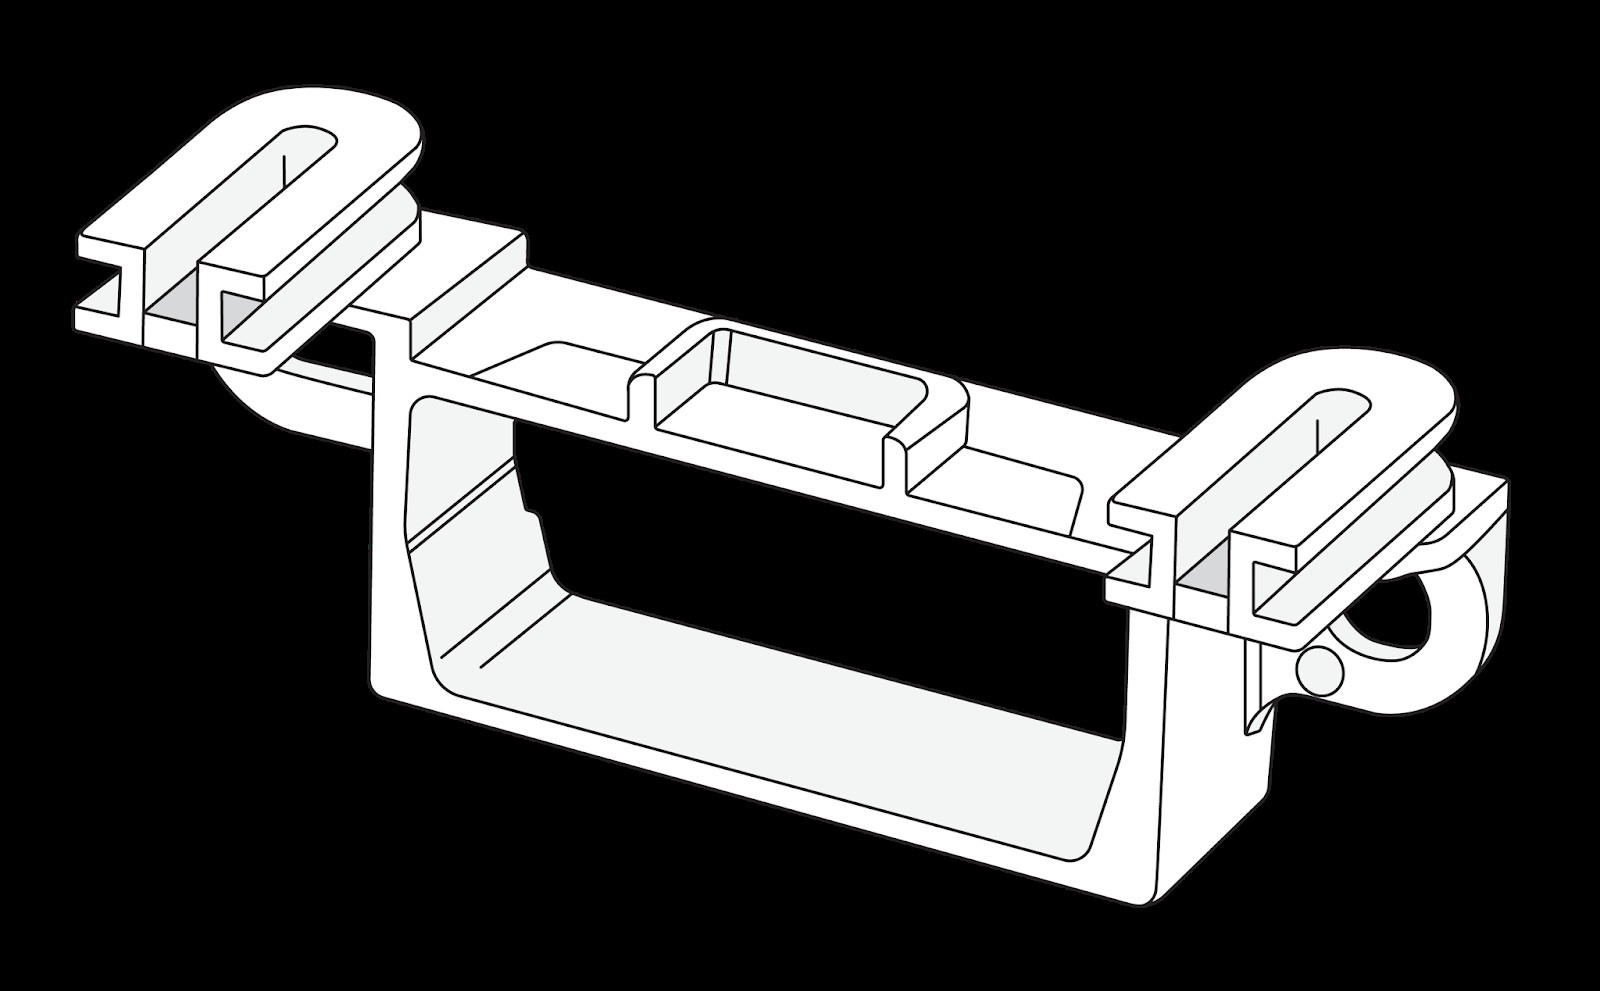
| 6 | | Volvo Slide Mount 2. Volvo |
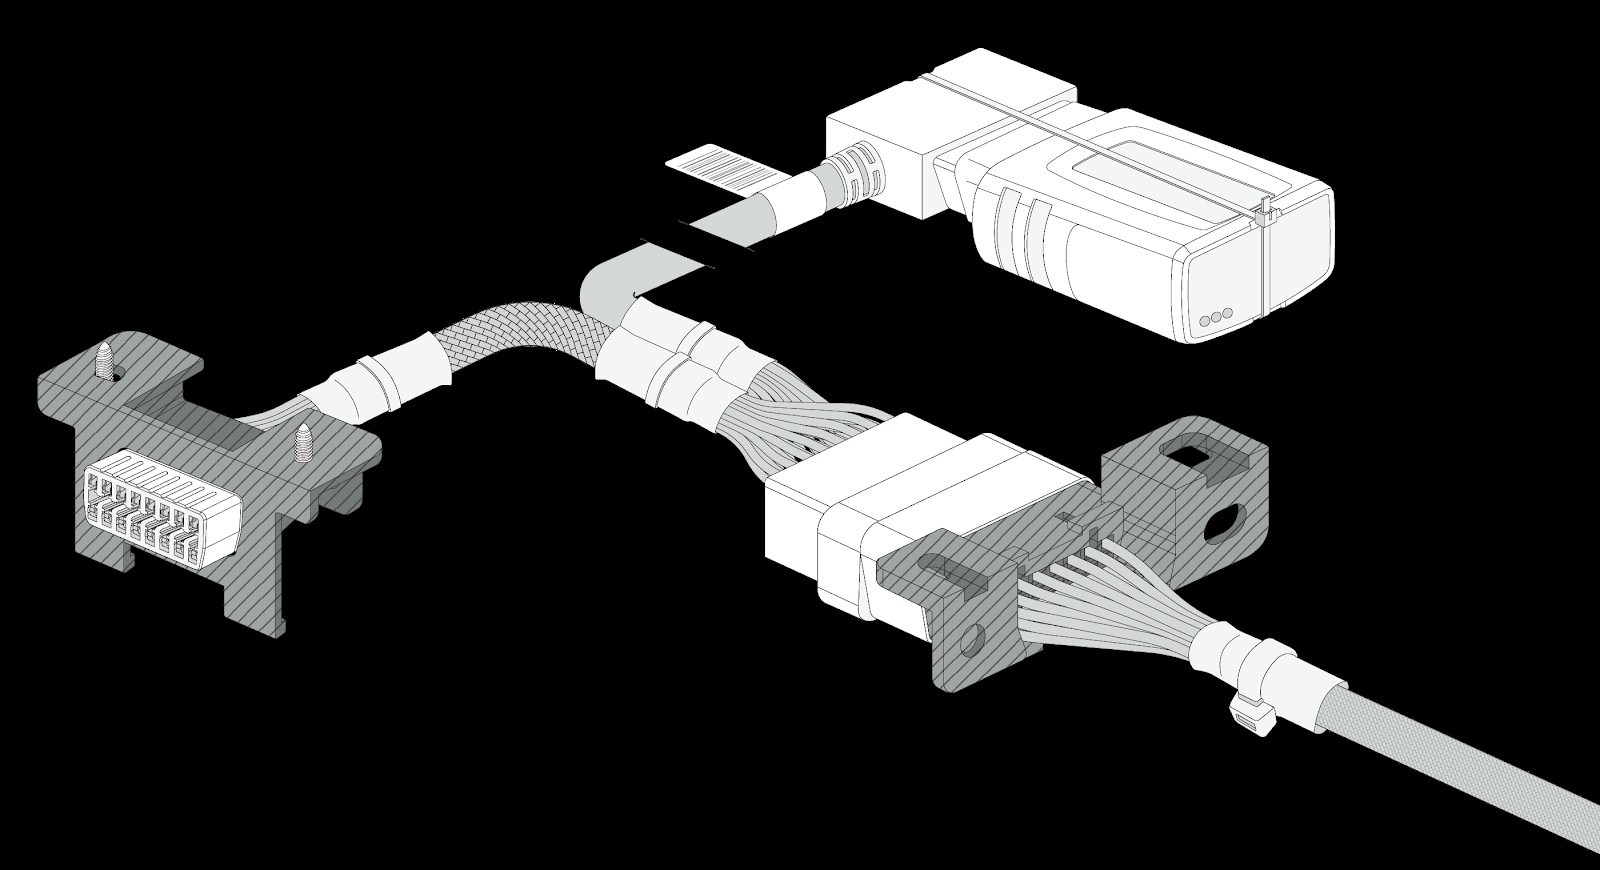
Step-by-Step Guide: Installing Your Geotab OBD2 Harness (T-Harness)
| Step | Instruction | Image |
|---|---|---|
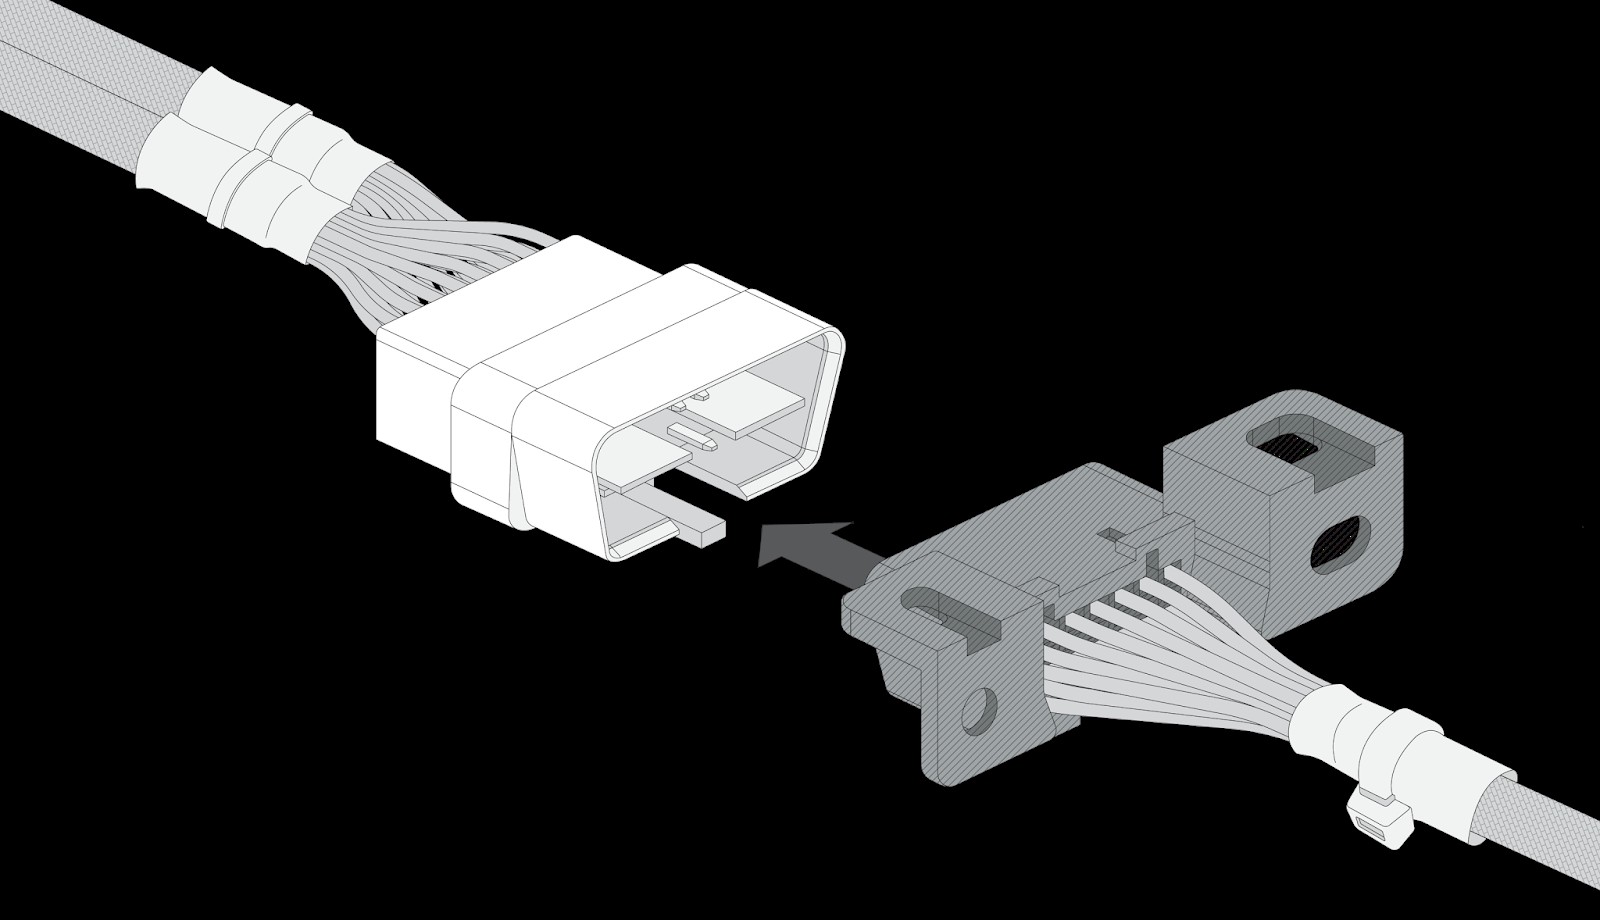
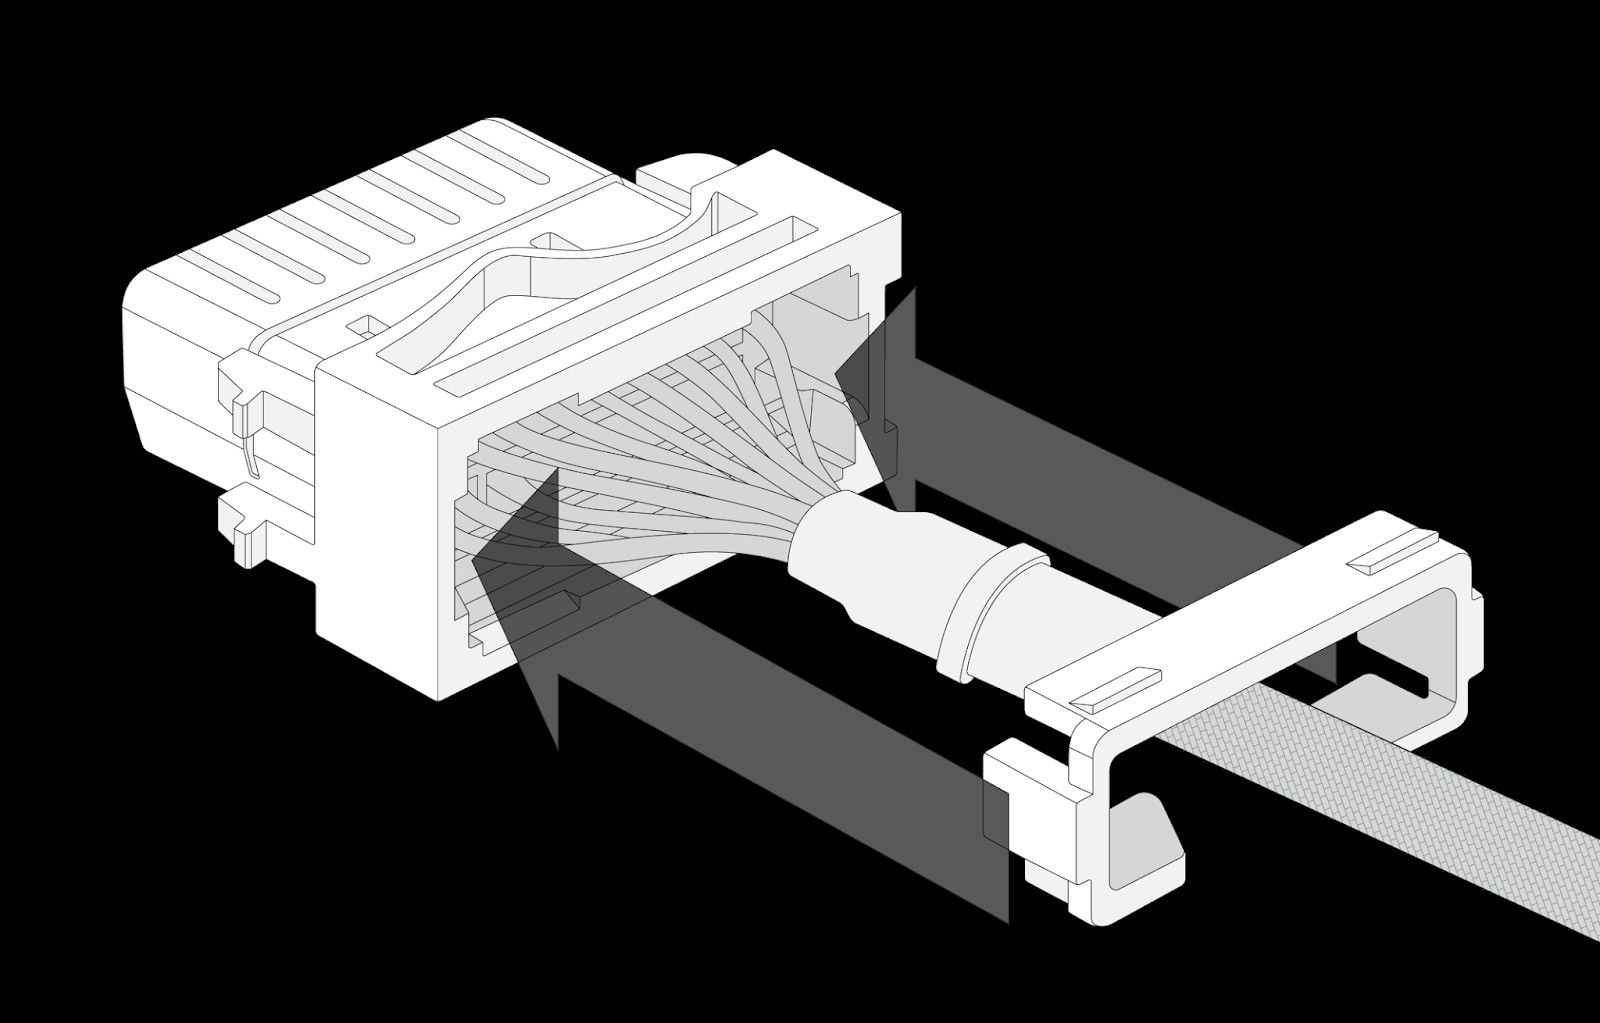
| 1 | Disconnect the Geotab GO device from the vehicle and detach the in-vehicle OBDII connector from its designated slot. | |
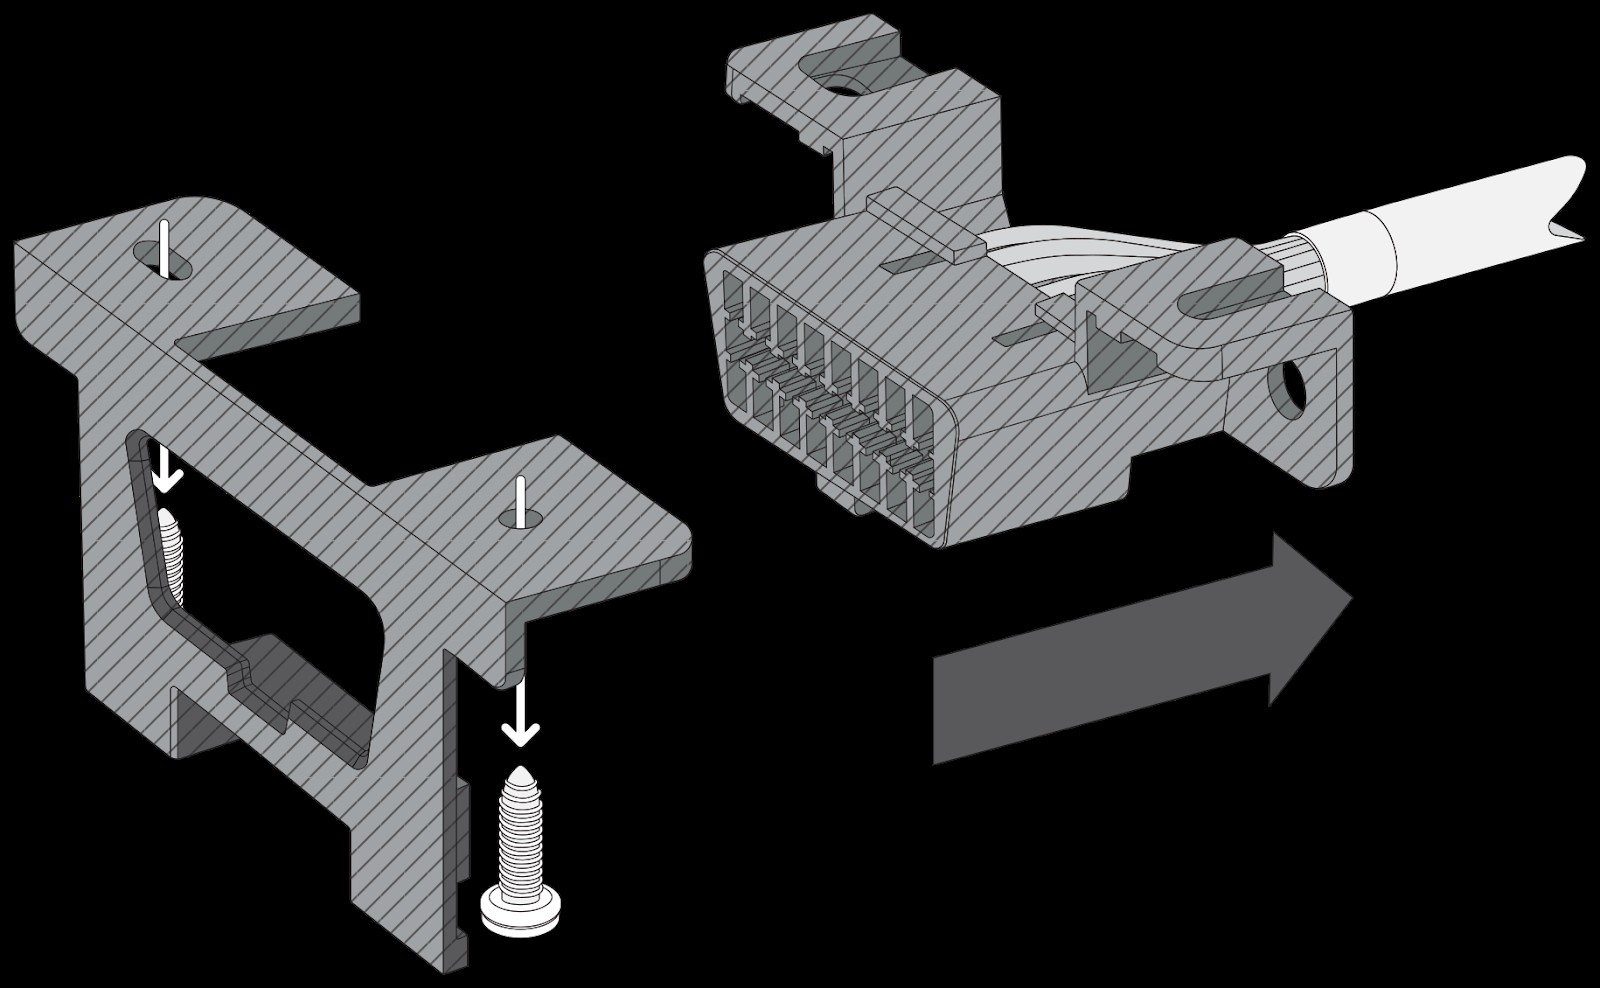
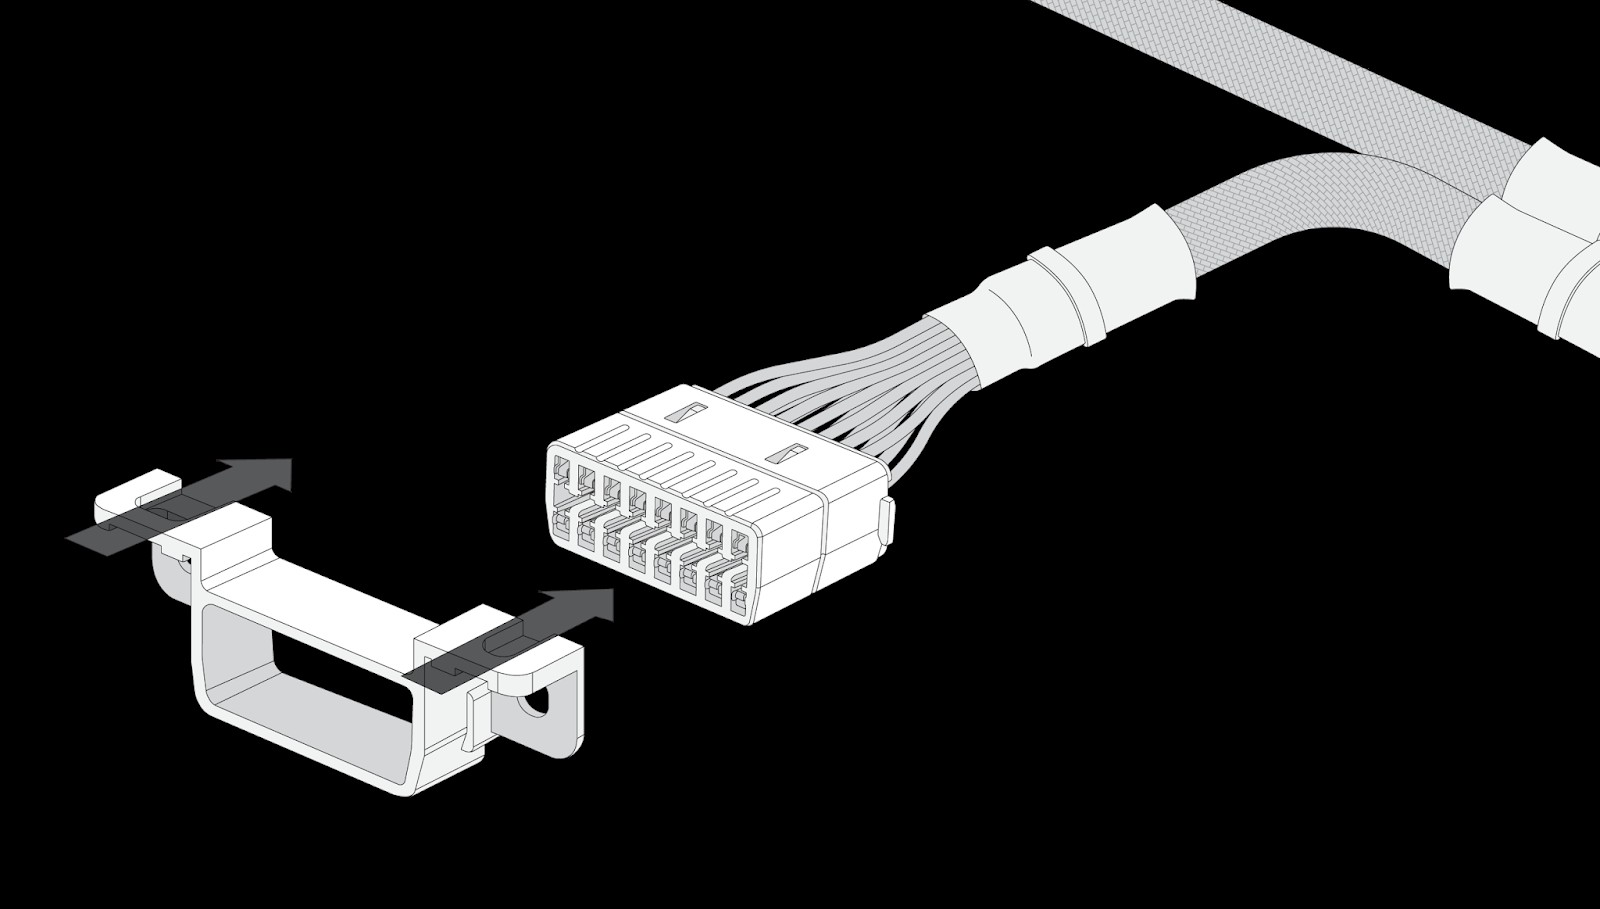
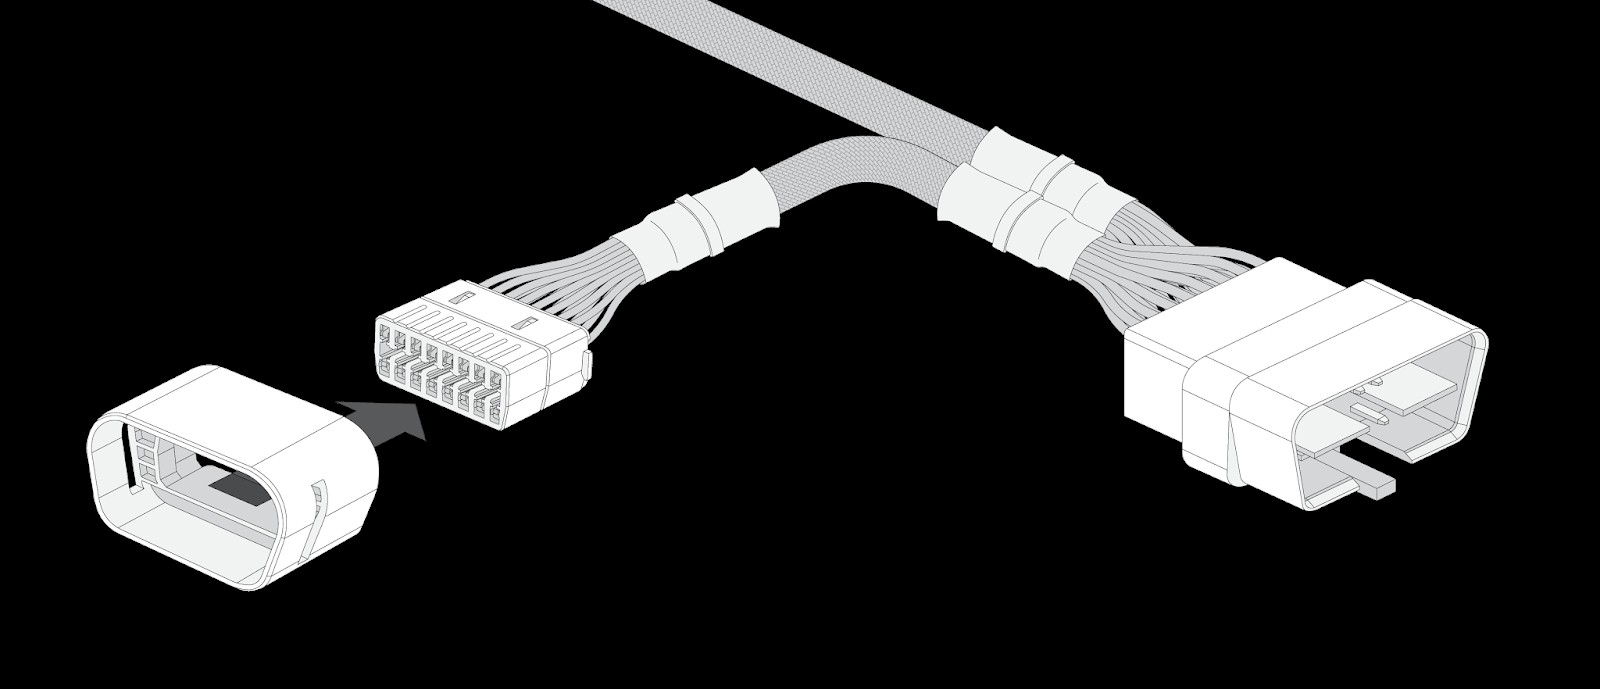
| 2A | Connect the female universal core connector (short end) of the harness to the appropriate adapter (refer to “Adapters” section) for your vehicle. Note: For Fiat, Citroen, or Peugeot vehicles, see the “European Latch & Snap” instructions below. Note: For Ford vehicles, refer to the “Ford Round Snap-in” instructions below. | |
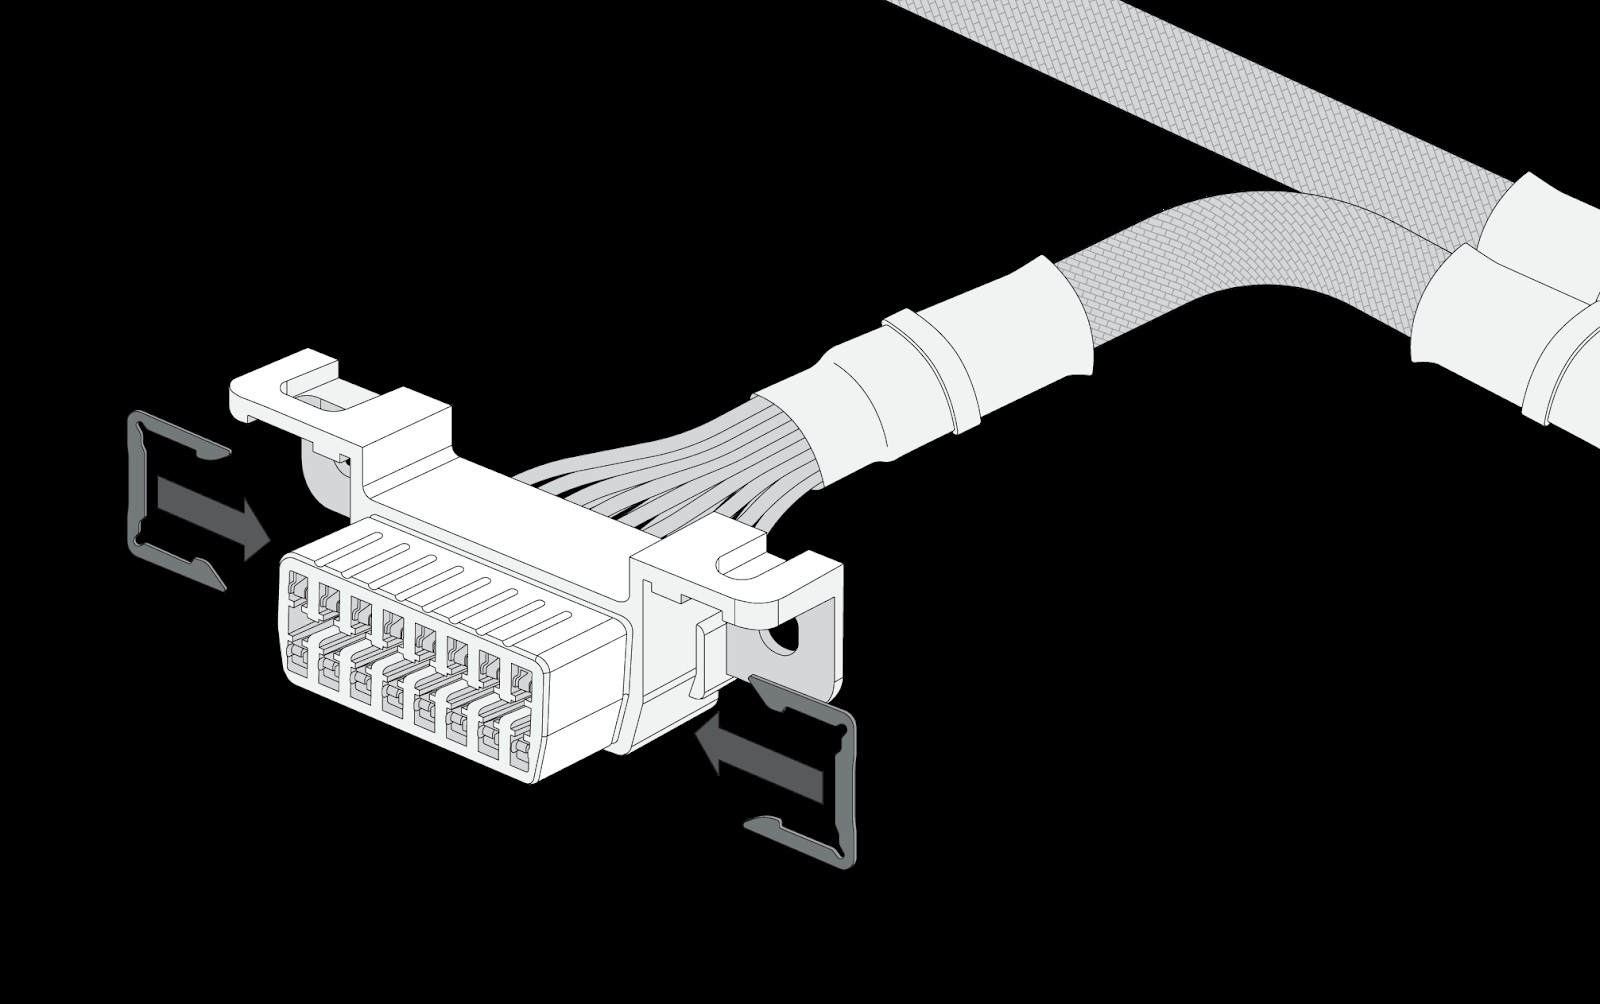
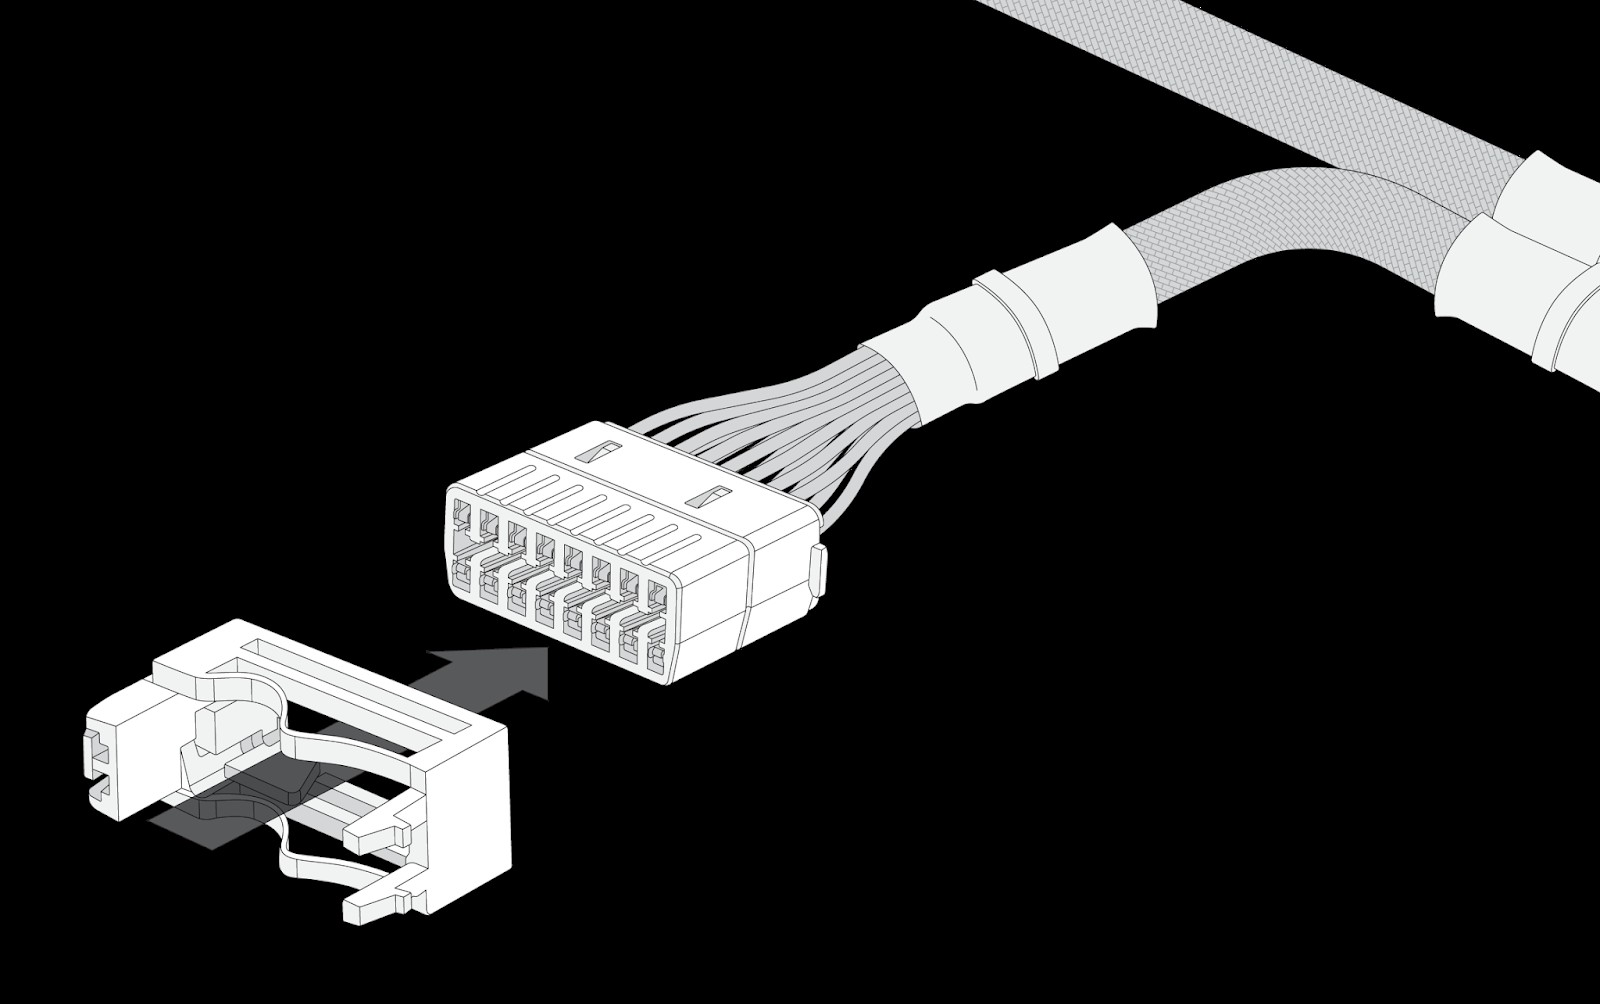
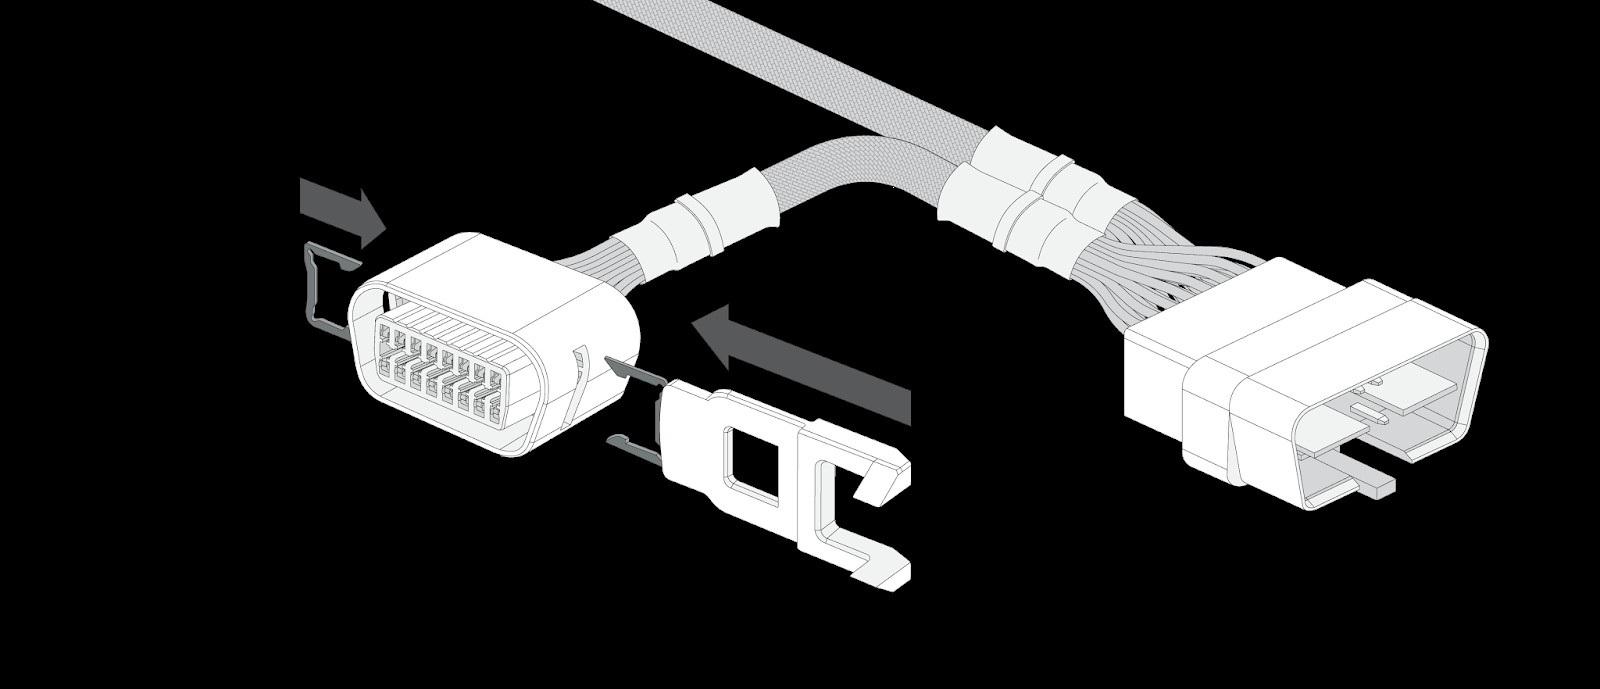
| 2B | Secure the adapter using the provided metal clips. Ensure the clips are properly latched into the adapter. | |
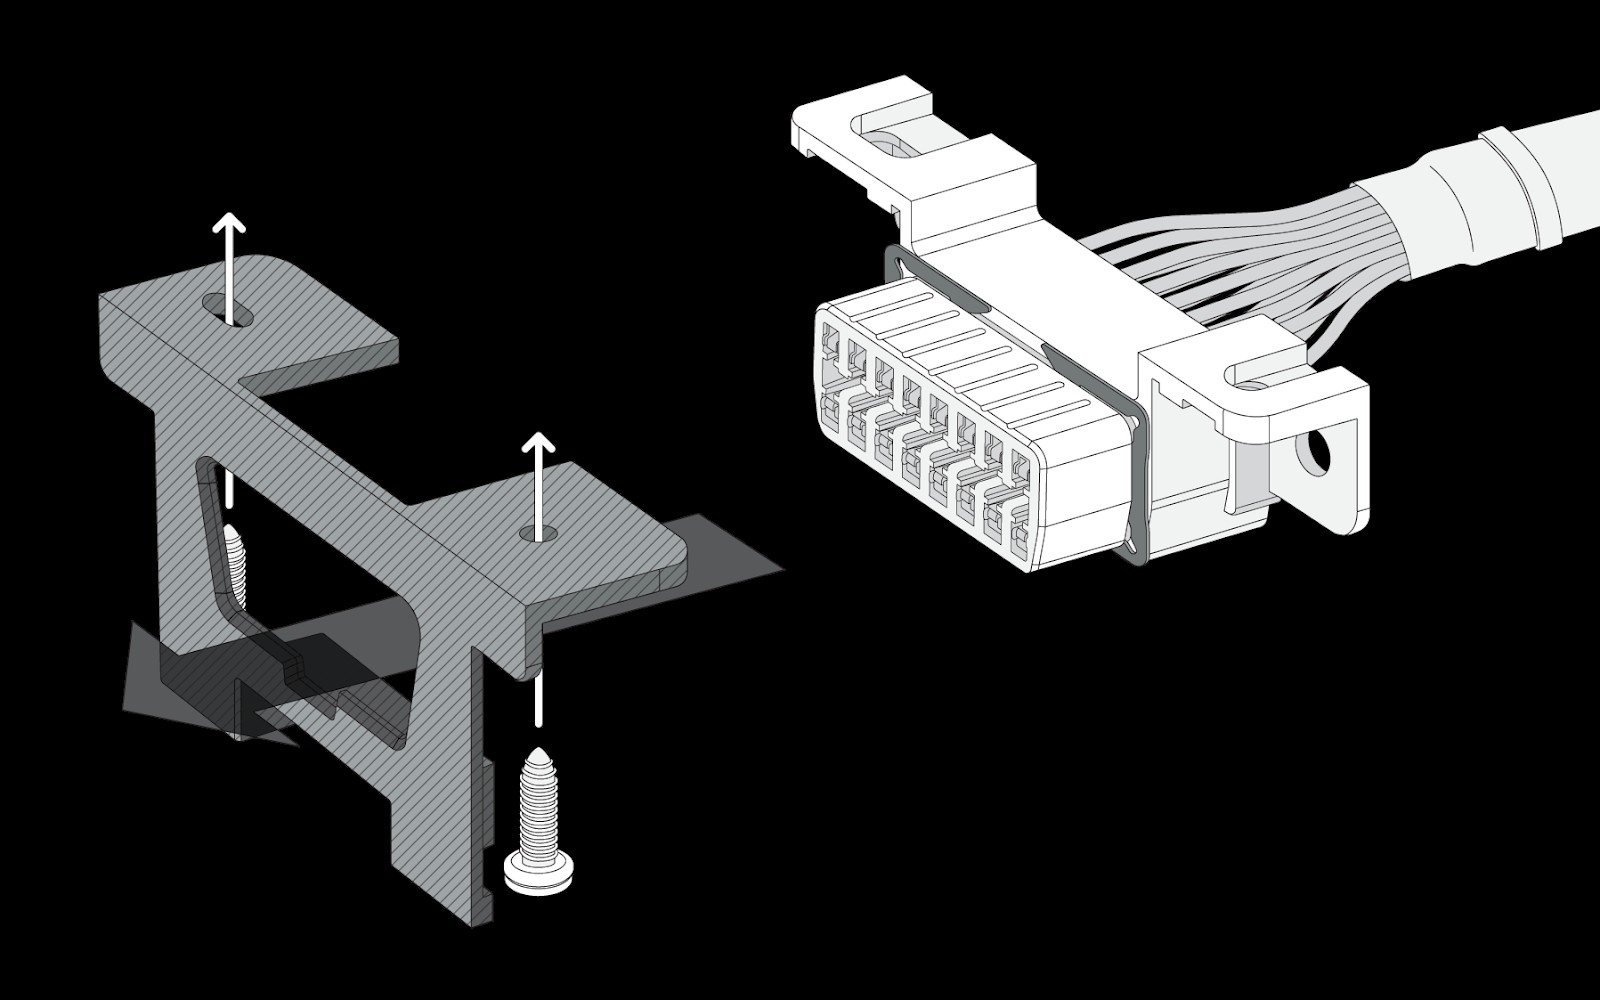
| 2C | Attach the female universal core connector (short end) of the harness to the vehicle’s OBDII slot. Secure it with screws or the plastic clips on the adapters. | |
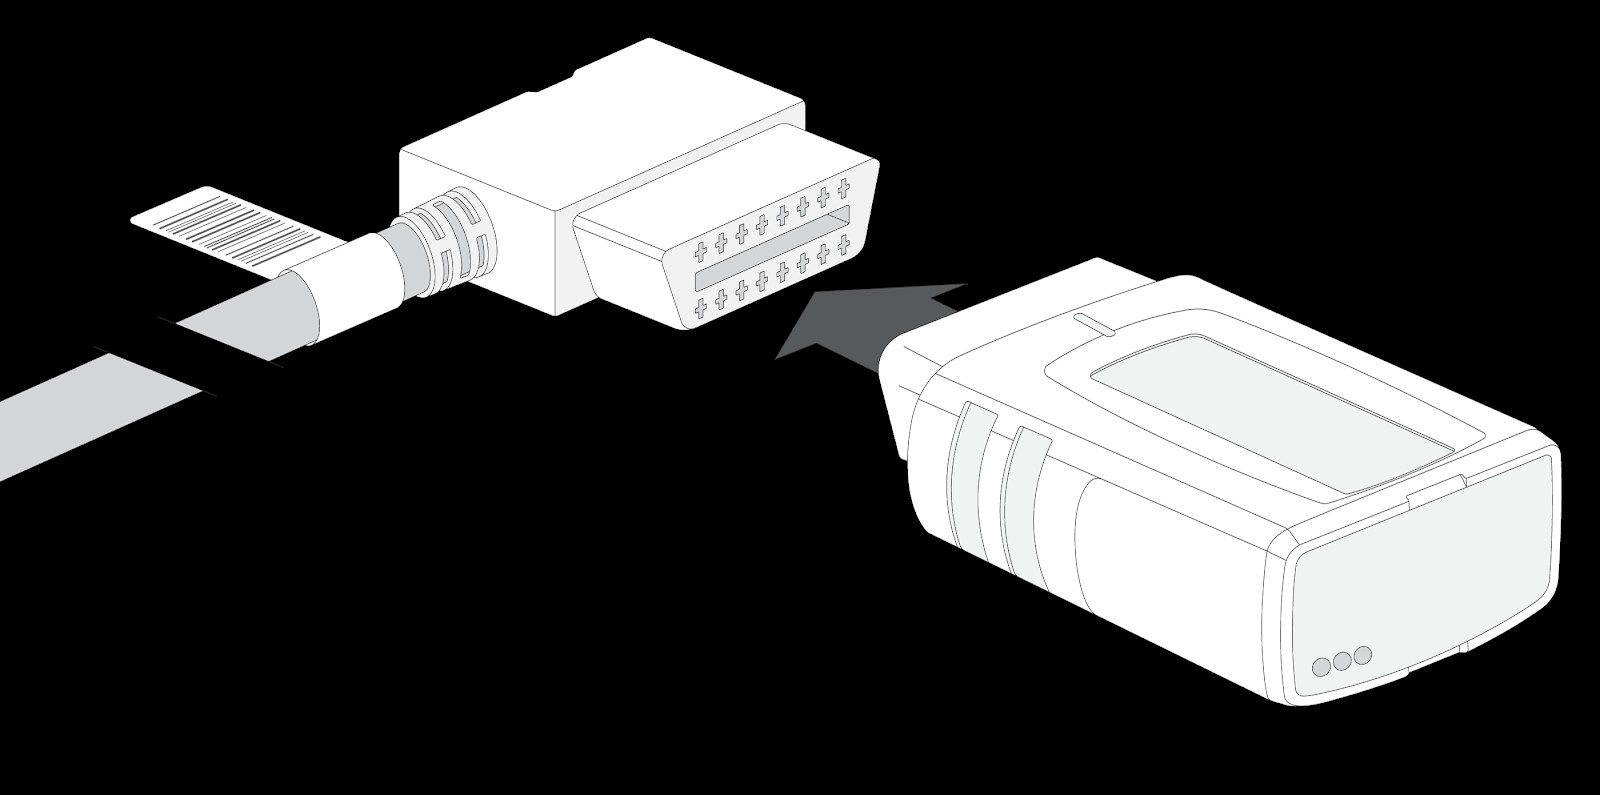
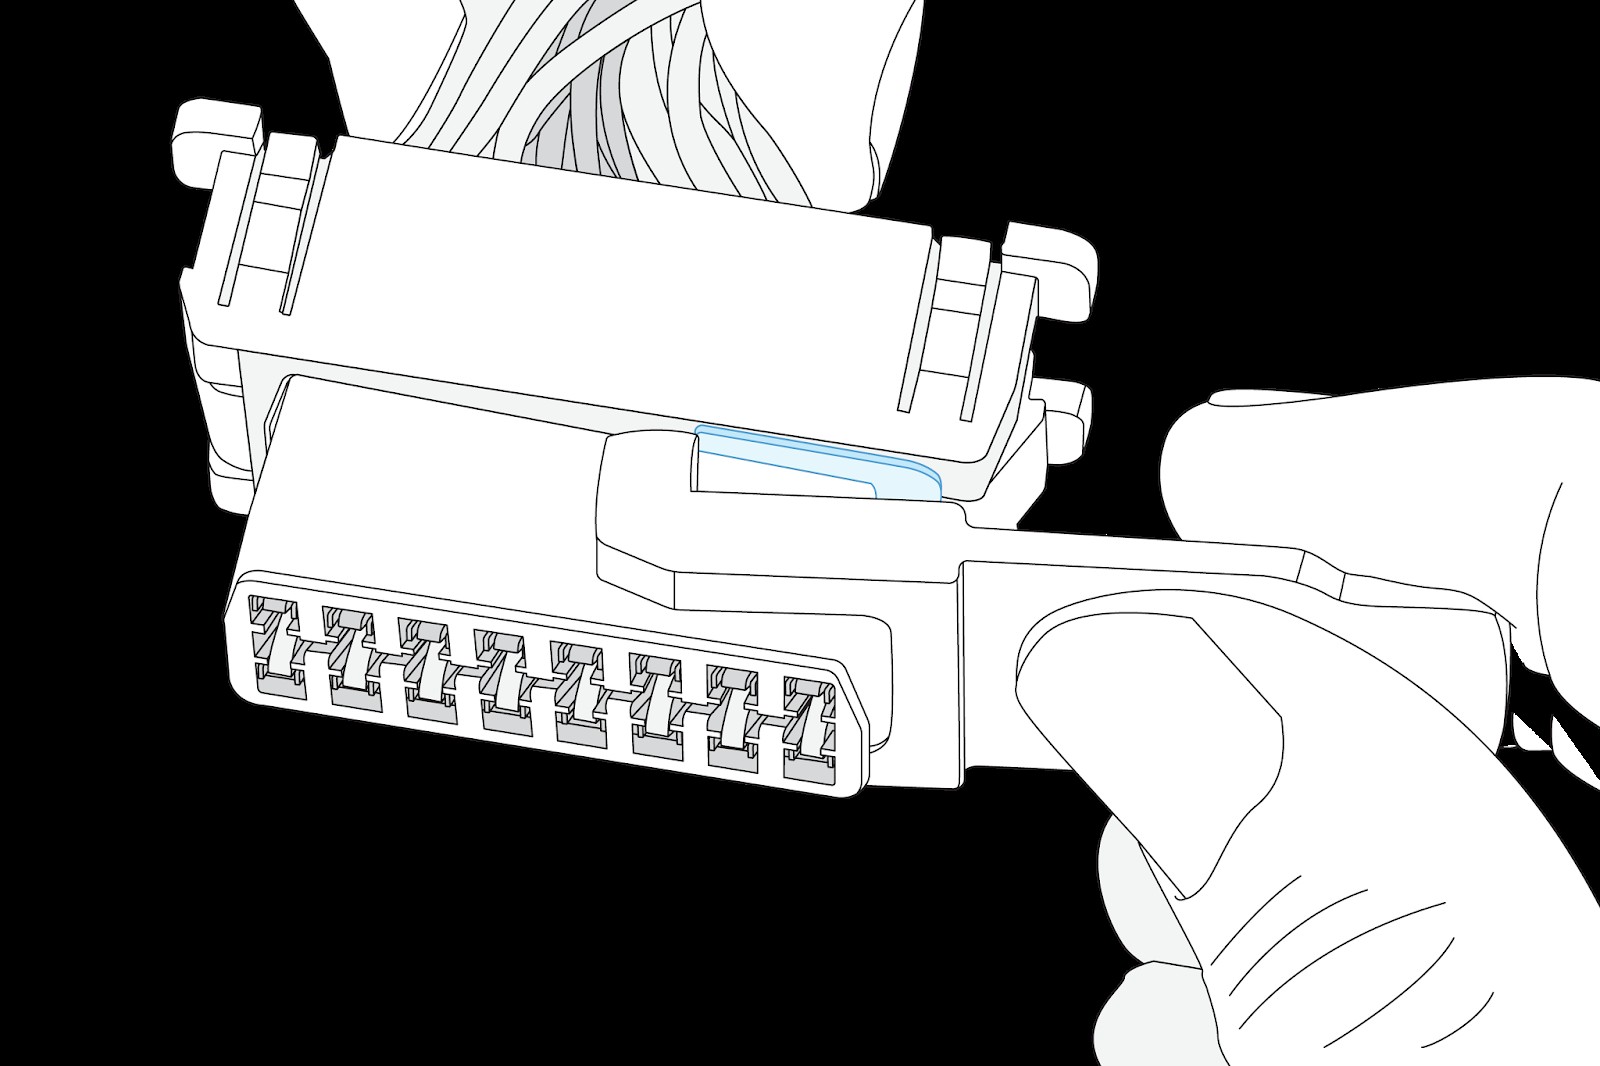
| 3 | Connect the Geotab GO device to the female universal core connector (long end) of the harness. | |
| 4 | Connect the male OBDII harness connector to the vehicle’s OBDII connector removed in Step 1. |
Installation Complete
Specific Instructions for European Latch & Snap Adapter
For Fiat, Citroën, or Peugeot vehicles, replace Step 2 of the standard installation procedure with these steps when using the European Latch & Snap adapter.
| Step | Instruction | Image |
|---|---|---|
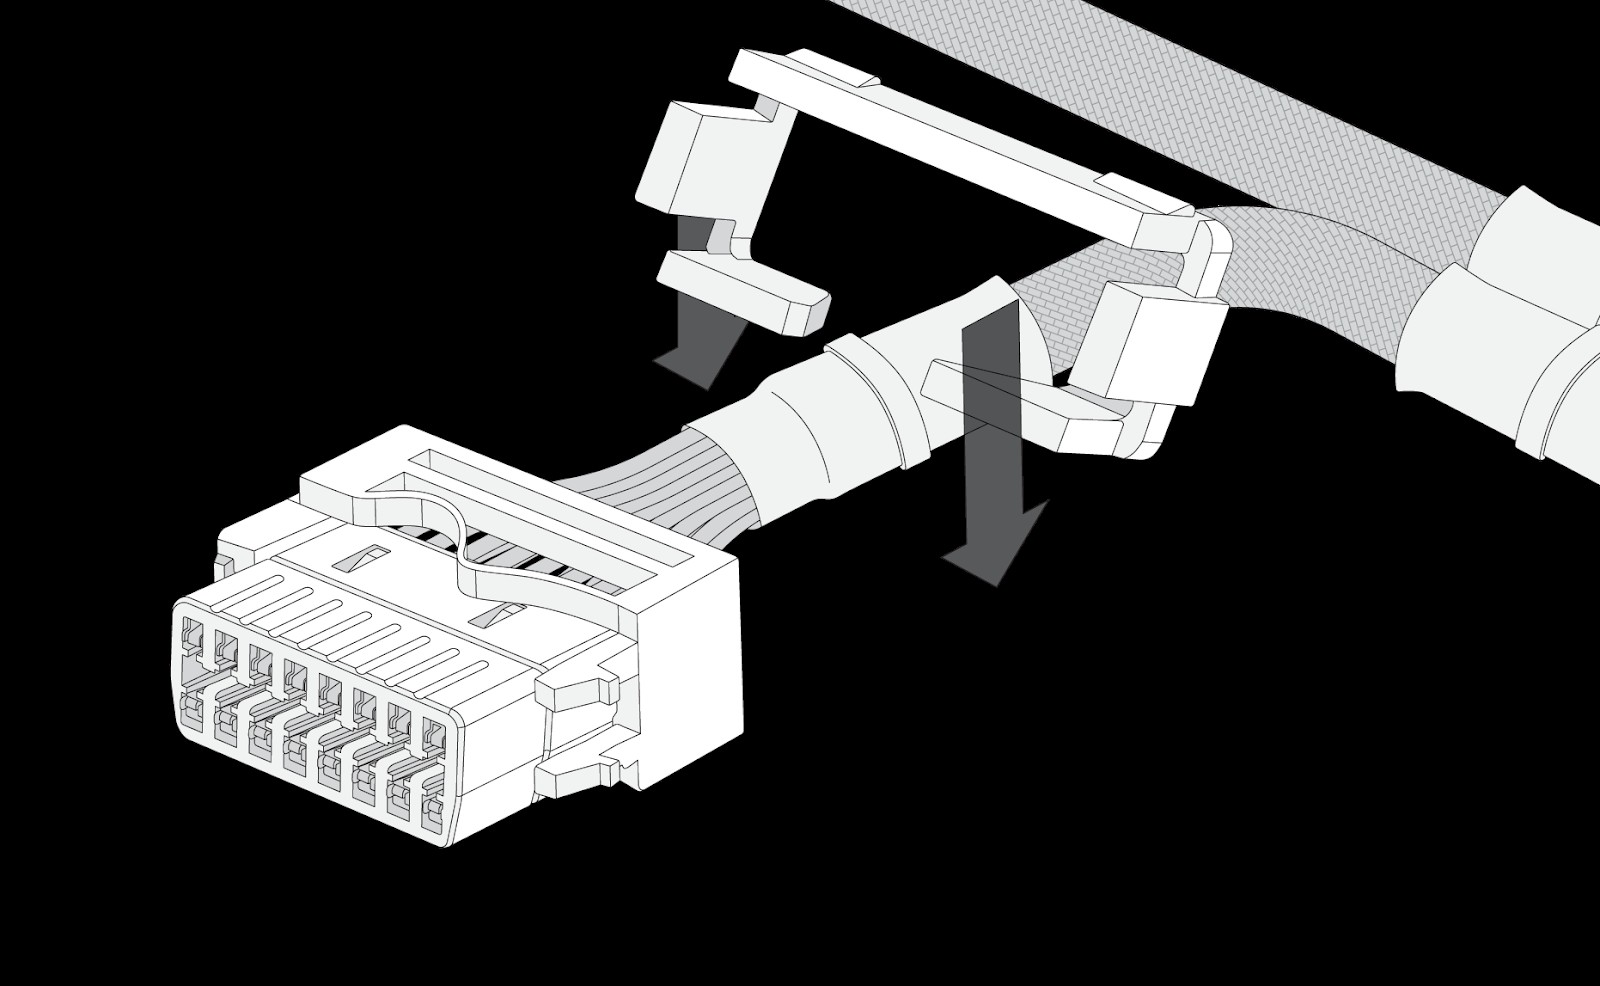
| 1 | Slide the European Latch & Snap adapter completely onto the back of the core connector. | |
| 2 | Insert the small snap adapter onto the wire behind the core connector. | |
| 3 | Slide the small snap adapter from the back of the harness, ensuring the European Latch & Snap is securely interlocked. |
Ford Round Snap-In Adapter Installation Guide
For Ford vehicles utilizing the Ford Round Snap-In adapter, replace Step 2 of the standard installation procedure with these steps.
| Step | Instruction | Image |
|---|---|---|
| 1 | Slide the Ford Round Snap-In adapter fully onto the back of the core connector. | |
| 2 | Use the insertion/removal tool to secure the adapter with the provided metal clips. Ensure the metal clips properly latch into the adapter. |
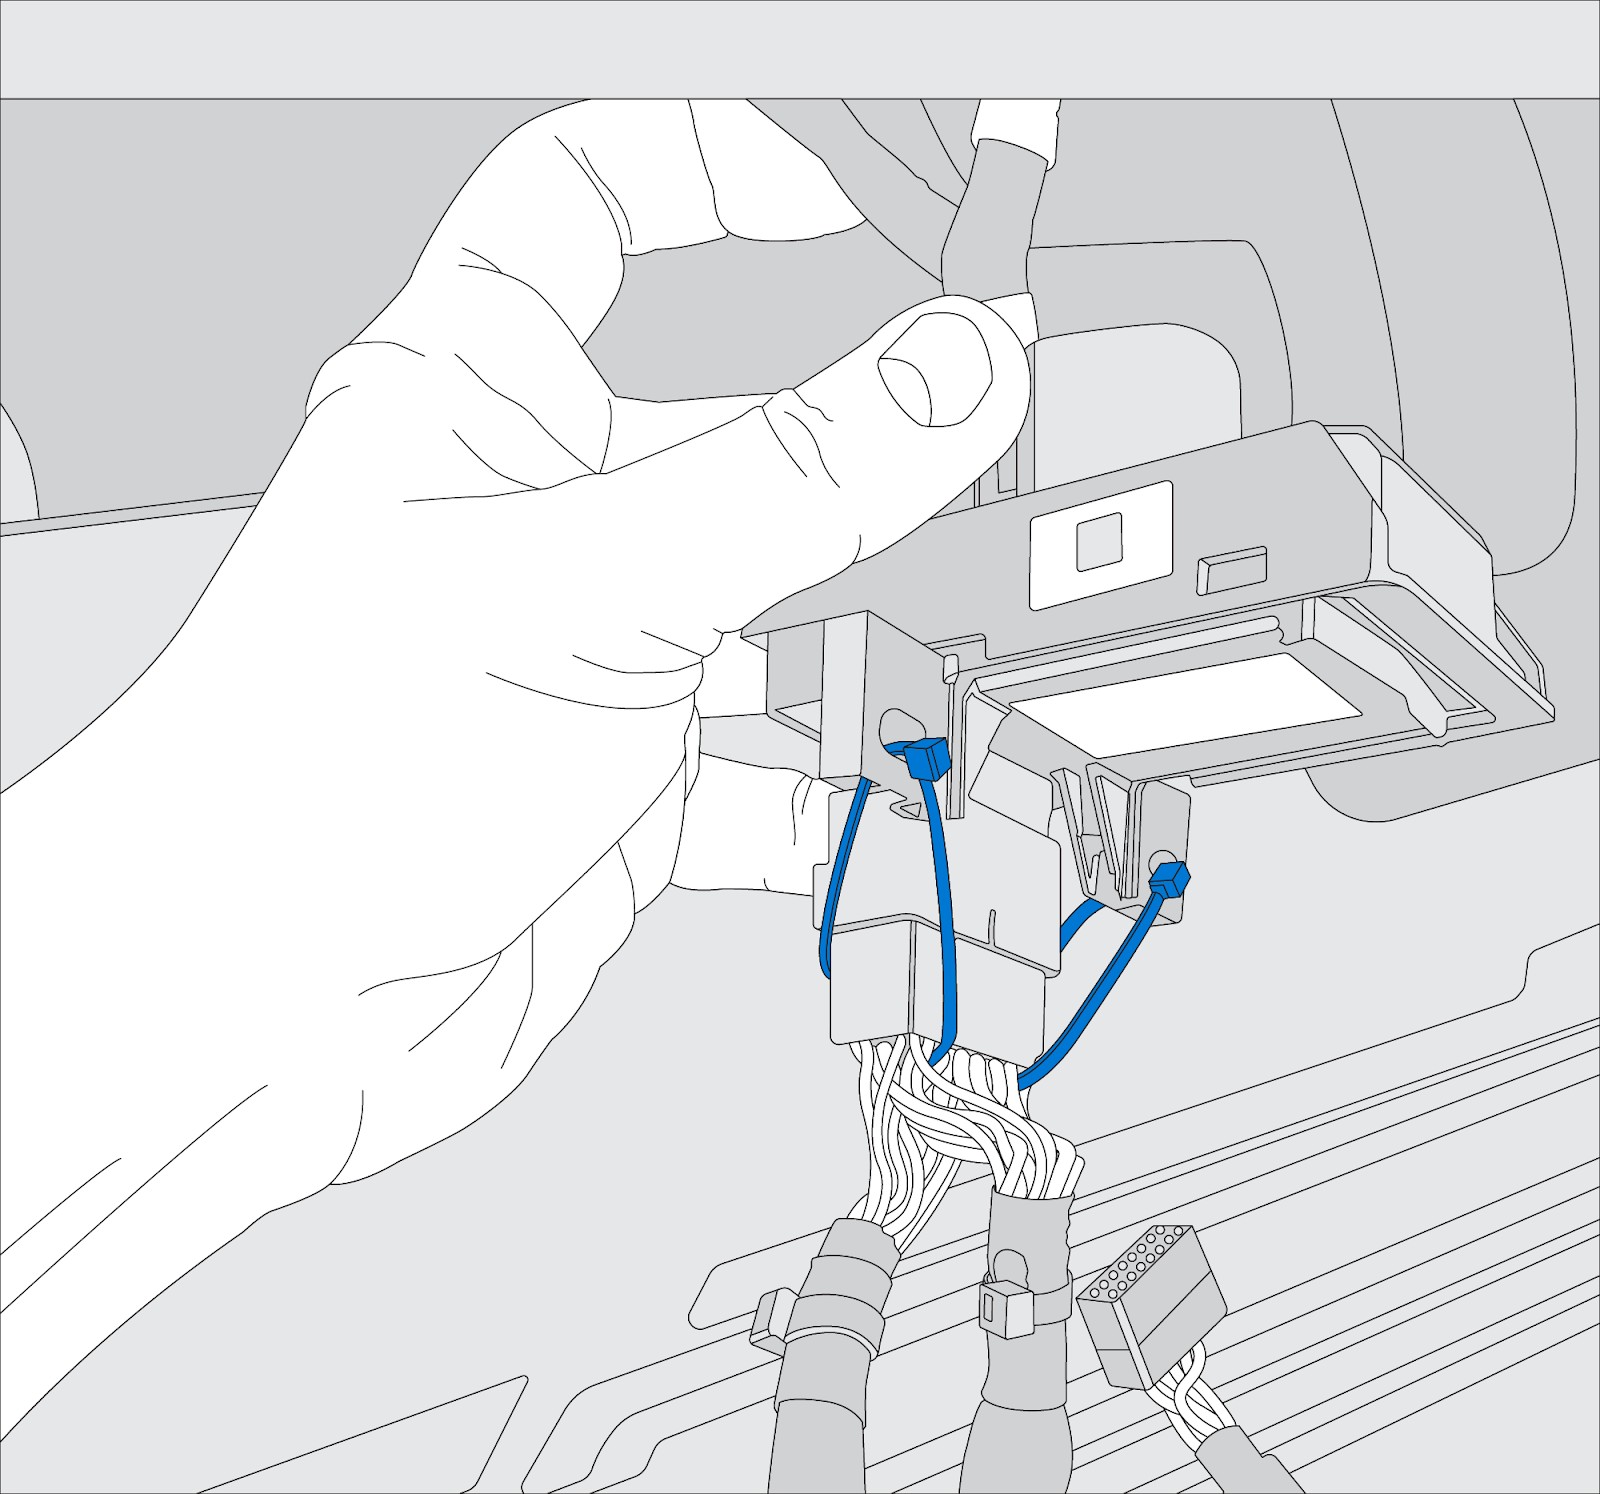
Securing the Geotab OBD2 Harness to the Ford OBDII Module
Use two zip ties to secure the HRN-GS16K2 to the factory Ford OBDII module as illustrated above.
NOTE: Over-tightening zip ties may damage the harness connector.
Metal Clip Insertion and Removal Guide
Metal clips for securing adapters can be inserted by hand, except for the Ford Round Snap-In (#10) adapter. The Ford Round Snap-In adapter requires the insertion end of the included insert/removal tool. Clip removal requires the removal end of the same tool.
| Insert | Remove | ||||
|---|---|---|---|---|---|
| Attach adapter to core connector and secure metal clips by hand. | Remove metal clips using the removal end of the insertion/removal tool. |
Important Safety and Usage Limitations
For the most current Limitations of Use, please visit: goo.gl/k6Fp0w.
WARNING! Never install, configure, or remove any product while the vehicle is moving or in operation. All actions must be performed on securely parked, stationary vehicles. Servicing units during vehicle operation can lead to malfunctions or accidents, potentially causing death or serious injury.
WARNING! Securely fasten all in-vehicle devices and cabling, keeping them clear of all vehicle controls, including pedals. Regularly inspect devices and cabling to ensure secure attachment. Loose components can impede vehicle control, leading to unexpected acceleration, braking, or loss of control, potentially resulting in death or serious injury. Improperly fastened devices may detach during sudden vehicle movements, causing injury.
WARNING! If warning lights appear on the dashboard or the vehicle stalls or performs poorly after device installation, immediately shut off the engine, remove the device, and contact your reseller. Continuing to operate the vehicle with these symptoms can cause loss of control and serious injury.
WARNING! Keep in-vehicle devices free from debris, water, and environmental contaminants. Failure to do so may cause malfunctions or short-circuiting, leading to fire hazards, vehicle damage, or serious injury.
WARNING! Do not transfer devices to different vehicles after initial installation. Vehicle compatibility varies, and doing so can cause unexpected vehicle interactions, including power loss or engine shutdown during operation, poor vehicle performance, erratic behavior, and potential death, serious injury, or vehicle damage.
NOTICE: This product contains no user-serviceable parts. Configuration, servicing, and repairs must be performed by an authorized reseller or installer. Unauthorized servicing voids the product warranty.
CAUTION! Always use adapter harness HRN-CG13S1 with GO9 (pre-V2) for heavy-duty trucks to prevent GO9 device damage. See gtb.page.link/mWQF for details.
Regulatory Information
Germany
We do not have shipping or storage facilities in Germany and are not subject to the return obligation under § 17 ElektroG.