Integrating your car’s diagnostics into your smart home system elevates vehicle monitoring to a new level. By leveraging the power of ESP32 and OBD2 protocols, coupled with the innovative WiCAN device, you can seamlessly bring real-time car data into your Home Assistant dashboard. This guide will walk you through setting up WiCAN to transmit CAN bus messages to Home Assistant, focusing on utilizing Esp Obd2 data for enhanced vehicle insights.
WiCAN acts as a bridge, capturing data from your car’s CAN bus – often accessible via the OBD2 port – and relaying it to Home Assistant using the MQTT protocol. This setup is particularly beneficial for users interested in ESP OBD2 applications, as it allows for custom monitoring of engine parameters, fuel consumption, and diagnostic codes directly within your smart home ecosystem. Node-RED, a flow-based programming tool, simplifies the automation process based on the CAN messages received from your vehicle.
To begin, ensure you have the necessary components and access to your Home Assistant setup. The following steps outline the process to integrate WiCAN and ESP OBD2 data into your Home Assistant:
-
Mosquitto Broker Installation: Start by installing the Mosquitto broker add-on in your Home Assistant. This MQTT broker will serve as the communication hub between WiCAN and Home Assistant. You can find the Mosquitto broker add-on in the Home Assistant add-on store.
-
Create a Dedicated Home Assistant User: For security and organization, create a new Home Assistant user account specifically for WiCAN. These credentials will be used to configure the MQTT settings within the WiCAN device.
-
Connect to WiCAN Access Point: Power up your WiCAN device and connect to its access point, typically named
WiCAN_xxxxxxxxxxxx. Once connected, open a web browser and navigate tohttp://192.168.80.1/to access the WiCAN configuration interface.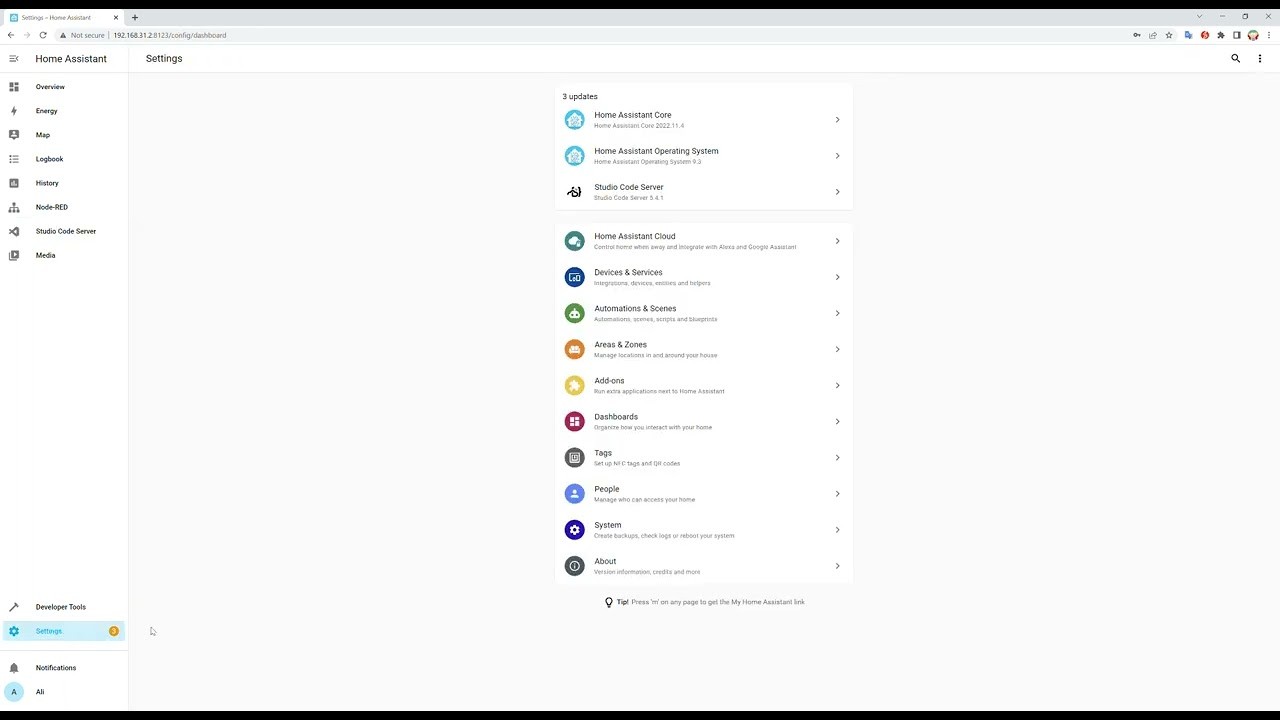 WiCAN board connected to OBD2 port for ESP OBD2 data access
 -
Configure WiCAN Mode and Network Settings: In the WiCAN web interface, set the “Mode” to “Ap+Station”. This mode allows WiCAN to act as both an access point and a station, connecting to your home Wi-Fi network. Enter your home Wi-Fi network’s SSID and Password in the provided fields to ensure WiCAN can join your network.
-
Enable and Configure MQTT: Enable the MQTT feature within the WiCAN configuration. Enter the Home Assistant user credentials created in step 2, along with the IP address of your Home Assistant Mosquitto broker. This establishes the MQTT connection for data transmission.
-
Install Node-RED Add-on: Install the Node-RED add-on in Home Assistant. Node-RED will be used to process and route the CAN bus messages from WiCAN to create meaningful automations and sensors within Home Assistant.
-
Import Node-RED Flow Example: Download the “wican_example_flow.json” file from the WiCAN GitHub repository. Before importing, edit this file and replace
device_idwith your specific WiCAN device ID. -
Import Flow into Node-RED: Open the Node-RED add-on in Home Assistant and import the edited “wican_example_flow.json” file. This flow provides a pre-built structure for handling WiCAN data.
-
Configure MQTT Broker in Node-RED: Double-click the “subscription” node in the imported Node-RED flow. Edit the server settings to input the MQTT broker IP address and the Home Assistant credentials you created in step 2. Deploy the flow to activate it.
-
Create MQTT Sensors in Home Assistant: To display specific ESP OBD2 data in Home Assistant, you need to define MQTT sensors in your
configuration.yamlfile. Add the following lines, modifying thestate_topicandvalue_templateaccording to the CAN bus messages you wish to monitor. Examples for ambient temperature and fuel level are provided below:
mqtt:
  sensor:
    - name: "Ambient Temperature"
      state_topic: "CAR1/Amb_Temp"
      unit_of_measurement: "°C"
      value_template: "{{ value_json.amb_temp }}"
    - name: "Fuel Level"
      state_topic: "CAR1/Fuel_Level"
      unit_of_measurement: "%"
value_template: "{{ value_json.fuel_level }}"- Restart Home Assistant and Add Entities: After editing the
configuration.yamlfile, restart your Home Assistant instance. Once restarted, go to your Home Assistant dashboard and add new entity cards to visualize the MQTT sensors you created. You should now see real-time data from your car, such as ambient temperature and fuel level, updating in your Home Assistant interface, demonstrating the successful integration of ESP OBD2 data via WiCAN.
By following these steps, you can effectively integrate ESP OBD2 data into your Home Assistant using WiCAN, unlocking a wealth of vehicle diagnostics and telemetry within your smart home environment. This setup not only provides valuable insights into your vehicle’s operation but also opens possibilities for advanced automations based on real-time car data.