Upgrading your car stereo can dramatically improve your driving experience, bringing modern features and enhanced sound quality to your vehicle. For many car owners, especially those with vehicles like the Toyota FJ Cruiser, retaining factory functionalities such as steering wheel controls and factory amplifiers is crucial. This is where interfaces like the PAC RP4.2-TY11 come into play, acting as a bridge between your new aftermarket head unit and your car’s existing electrical system. While not directly about Connecting Pac To Obd2 Port in the traditional sense, understanding how these interfaces integrate with your vehicle’s communication network is key to a successful installation and optimal performance. This guide will walk you through the process, focusing on how to ensure a smooth connection and retain those valuable factory features.
Preparing for Your Head Unit Upgrade
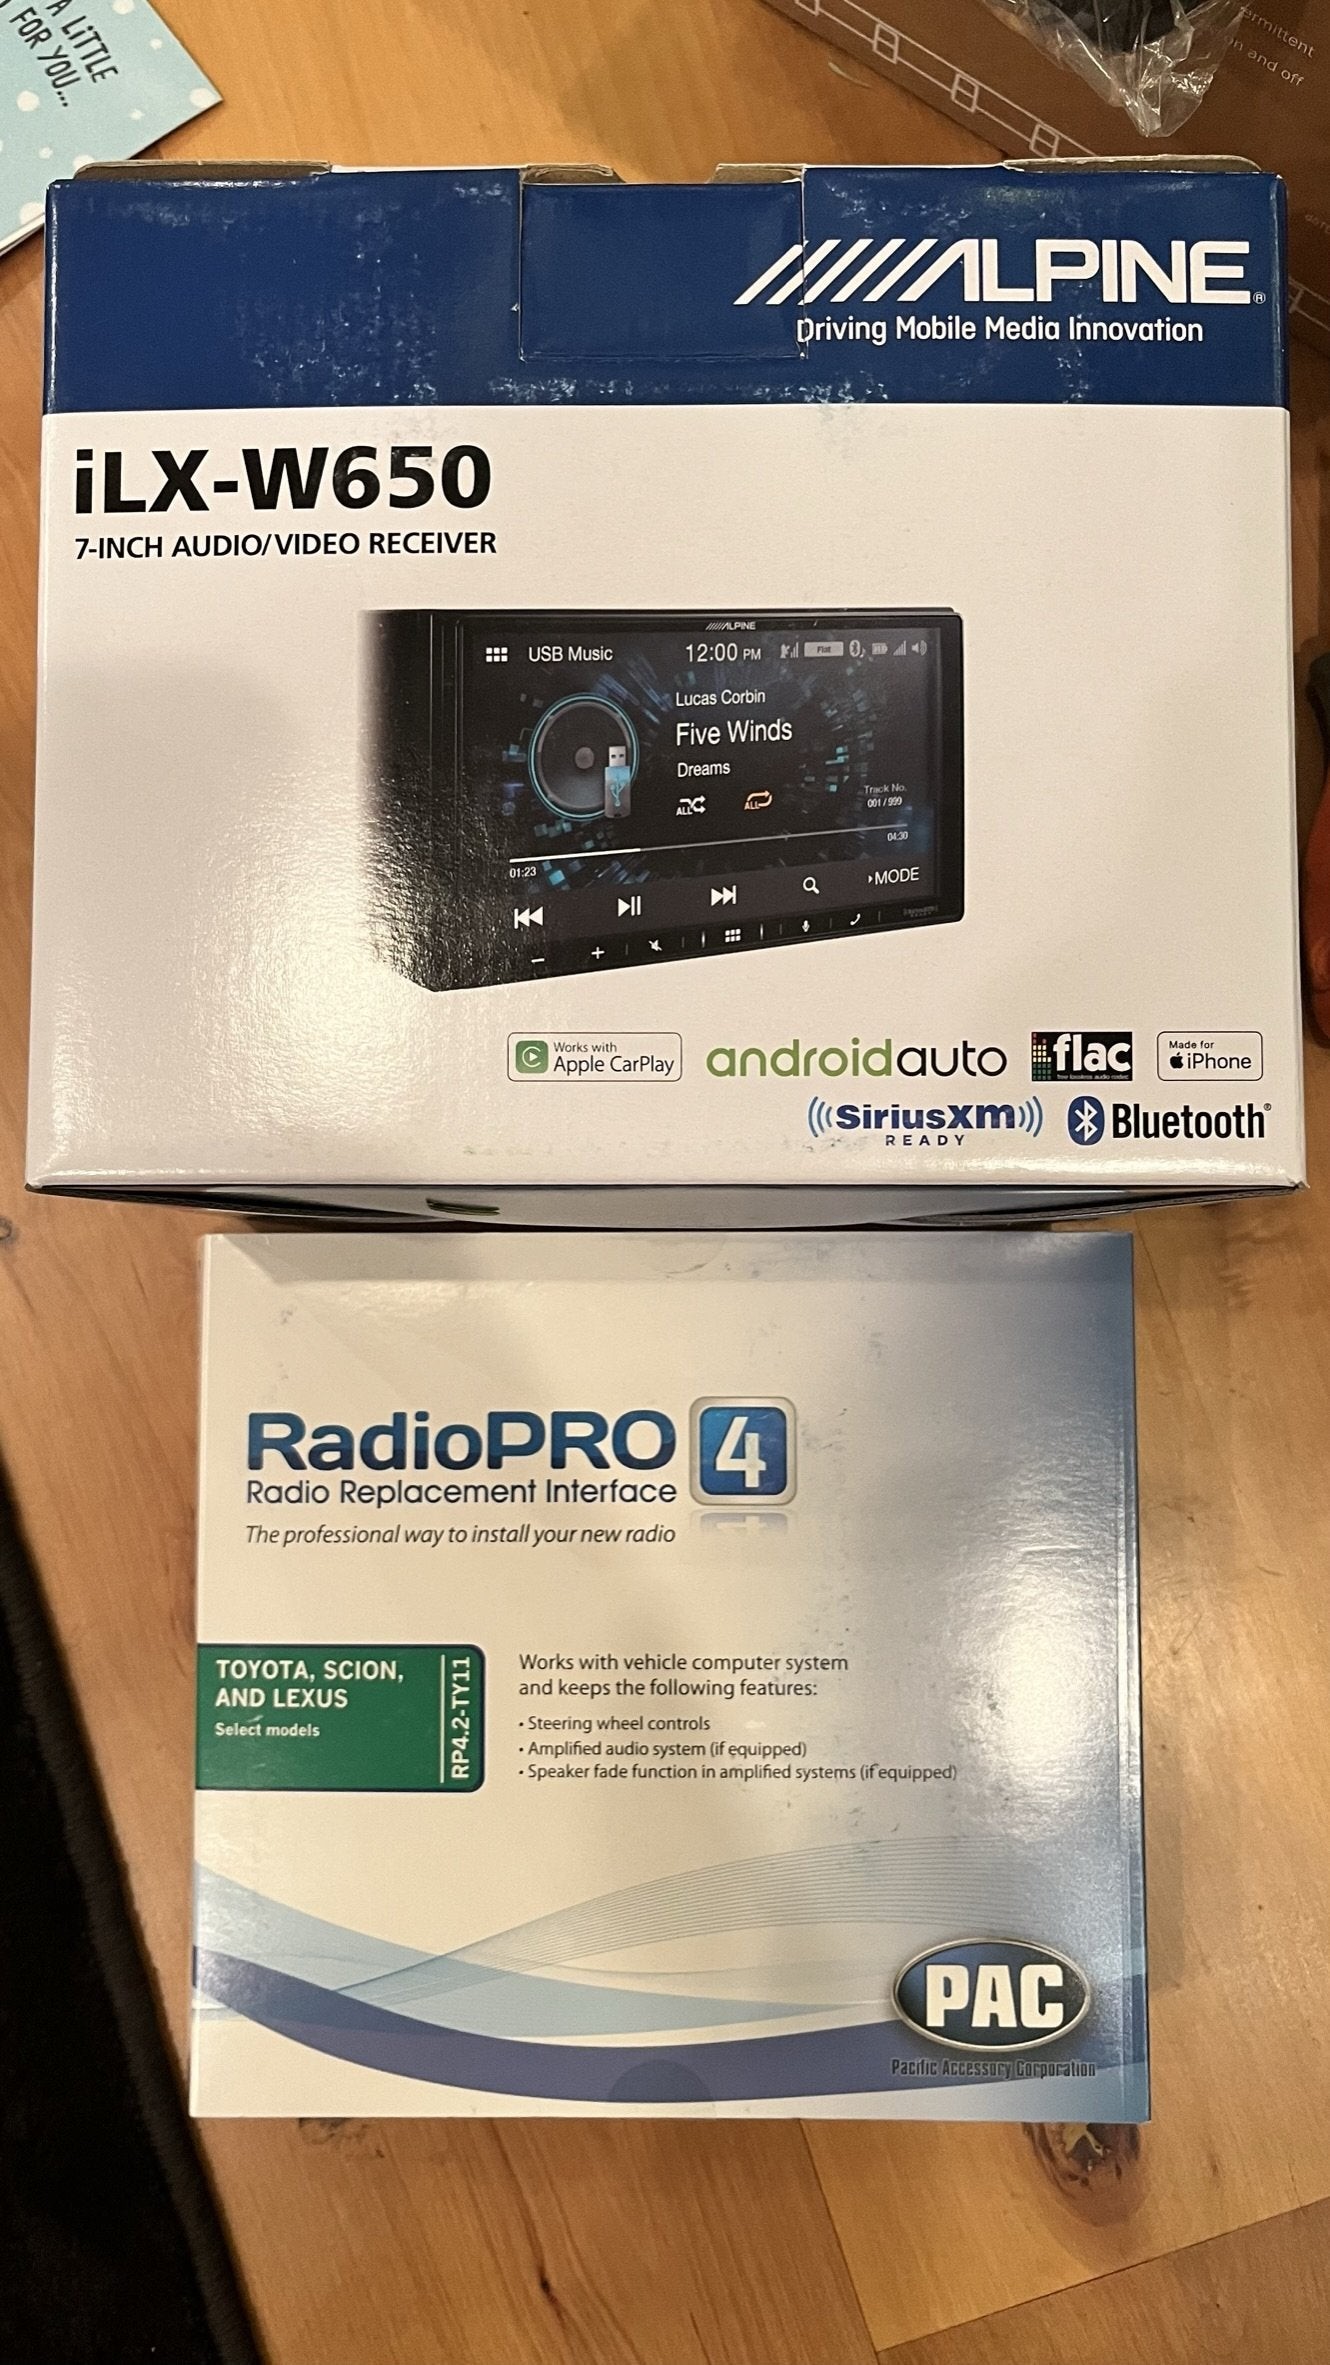
Before diving into the installation, it’s essential to gather the necessary components. For this upgrade, we’re using an Alpine iLX-W650 head unit in a 2008 Toyota FJ Cruiser with a factory 9-speaker system. To maintain factory features, the key components are:
- Aftermarket Head Unit: Like the Alpine iLX-W650, offering modern features like Bluetooth and improved audio processing.
- PAC RP4.2-TY11 Wiring Interface: This crucial component is designed to retain steering wheel controls and other factory features in Toyota vehicles when installing an aftermarket radio. It integrates with your car’s wiring system, not directly the OBD2 port, but it is part of the vehicle’s electronic communication network.
- Metra 95-8202 Dash Kit: Ensures a clean and professional-looking installation by filling gaps between the new head unit and the car’s dashboard.
Removing the Factory Radio
The first step is safely removing your FJ Cruiser’s factory radio. This usually involves using trim tools to carefully pry away dashboard panels to access the radio mounting bolts. Once the bolts are removed, the factory radio can be pulled out, and the wiring harnesses disconnected. Remember to disconnect the negative battery terminal before starting any electrical work to prevent shorts and ensure safety.
Modifying Radio Mounts for the New Head Unit
Aftermarket head units may have different mounting requirements compared to factory radios. In the case of the FJ Cruiser, some minor modification to the factory metal radio mounts might be necessary. This can involve drilling out small metal bumps that are designed for the OEM radio but might interfere with the flush mounting of the new Alpine unit and the Metra dash kit.
These bumps, while helpful for aligning the original radio, can prevent the aftermarket unit from sitting correctly. Modifying these mounts ensures a proper fit and a seamless look in the dashboard.
Wiring the PAC RP4.2-TY11 Interface
This is where the magic happens, connecting your new head unit to your car’s electrical system while utilizing the PAC interface. Start by wiring the main power and ground connections between the Alpine head unit harness and the PAC RP4.2-TY11 harness. This typically involves connecting:
- Black to Black: Ground wires.
- Yellow to Yellow: Battery wires (constant 12V power).
- Red to Red: Accessory wires (switched 12V power).
Next, connect the speaker wires. Match the speaker wires from the Alpine harness to the corresponding wires on the PAC harness. Standard color codes are usually followed, such as:
- Green and Green/Black: Rear Left Speaker.
- White and White/Black: Front Left Speaker.
- Gray and Gray/Black: Front Right Speaker.
- Violet and Violet/Black: Rear Right Speaker.
Integrating Optional Bypass Modules
Some users opt for bypass modules like the MicroBypass to unlock features in the head unit that are typically restricted by the parking brake signal. These modules are wired in-line with the head unit’s wiring. While not directly related to connecting PAC to OBD2 port, these modules modify the electrical signals the head unit receives, similar to how an interface manages communication within the car’s systems.
Connecting such a bypass usually involves tapping into the ground and parking brake wires of the head unit harness, allowing full feature access regardless of the parking brake status.
Connecting the PAC Interface to Vehicle Connectors
The PAC RP4.2-TY11 is designed to be compatible with various Toyota, Lexus, and Scion models. It comes with multiple vehicle connector plugs. For the FJ Cruiser, typically Plugs 3, 4, and 5 are needed to interface with the factory wiring harnesses. These plugs connect directly to the existing connectors in your car, ensuring a plug-and-play installation for the vehicle’s main wiring. It’s important to note that while the PAC interface integrates deeply with the car’s electronics, it doesn’t typically involve a direct connection to the OBD2 port for standard head unit functionality. OBD2 ports are primarily for diagnostics and vehicle data retrieval, not for audio system integration in this context.
The interface unit itself then receives these vehicle connections. Ensure you are using the correct audio output setting on the PAC interface. For the 2008 FJ Cruiser without a factory amplifier (excluding the subwoofer amp), the Non-amplified Audio Output is the correct choice.
Programming the PAC Interface
Finally, the PAC RP4.2-TY11 interface needs to be programmed for your specific vehicle and head unit. This often involves setting DIP switches on the interface unit to match the brand of your aftermarket head unit (Alpine in this case). Consult the PAC interface instructions for the correct DIP switch settings. For Alpine, typically only Pin 1 is set to the ON position, with the rest OFF. This programming step ensures the interface correctly translates signals for steering wheel controls and other retained factory features.
Conclusion
While the term connecting PAC to OBD2 port might not be technically accurate for this type of car stereo installation, understanding how interfaces like the PAC RP4.2-TY11 integrate with your vehicle’s electrical system is crucial. These interfaces act as sophisticated translators, ensuring your new head unit works seamlessly with your car’s existing features, including steering wheel controls and factory sound systems. By carefully following these steps and understanding the wiring and connections, you can significantly upgrade your car’s entertainment system while maintaining the convenience and functionality you rely on. Remember to always consult the specific manuals for your head unit and interface for the most accurate and detailed instructions for your vehicle.