Upgrading your Toyota Tundra Double Cab with a power rear sliding window can significantly enhance convenience and functionality. If your Tundra came with a manual rear window, converting it to power is a project you can tackle yourself with the right parts and guidance. This guide, inspired by insights from Tundra owners, will walk you through the process, ensuring a smooth and successful conversion.
Parts You’ll Need for the Conversion
To convert your manual rear sliding window to power, you’ll need to gather the following components. Ensure you have all the necessary parts before starting the installation. Below is a comprehensive list with Toyota part numbers and descriptions to help you order accurately from your dealer or preferred parts supplier.
- Main Fixed Window (64810-0C080): $215
- Note: This is the fixed window section that surrounds the sliding window. It’s essential to replace this as the manual window track differs from the power window track.
- Sliding Window (64807-0C010): $70
- Note: This is just the sliding glass portion and does not include the main fixed window.
- Window Regulator (69088-0C010): $45
- Glass Stopper (67207-0C010): $15
- Note: Comes in a package of 2 with Torx T10 screws.
- Window Motor (85710-0C110): $235
- Window Motor Mounting Plate (69811-0C020): $50.00
- Terminal Repair Wire (82998-12790): $14.80 each (You will need 2)
- Relay (90080-87025): $58.00 each (You will need 2)
- Window Switch (84810-0C120): $57
- Window Motor Connector (Part Number Researching): (To be researched and updated)
- Regulator Mount Bolt (90105-A0014): $0.96 each (You will need 2)
- Window Motor Screw (90080-14057): $1.25 each (You will need 3)
- Flange Nut (90178-A0025): $1.20 each (You will need 3 if your truck has the mounting points)
Replacing the Fixed Window
The first crucial step is replacing the fixed window. The manual window track is different from the power window track. The power window track is designed to accommodate the cable and motor mechanisms, which the manual version lacks. It’s strongly advised to have a professional glass company handle this part of the conversion. Removing the old window is a delicate process because it’s secured with a significant amount of urethane adhesive.
Glass professionals use specialized tools, often a curved blade style tool, to carefully cut through the urethane without damaging your vehicle’s paint. Attempting this yourself, especially with tools like piano wire, could lead to scratches and paint damage. Professional glass removal ensures the job is done safely and correctly, usually taking around 1.5 hours due to the strong adhesive.
Motor Plate Installation and Mounting
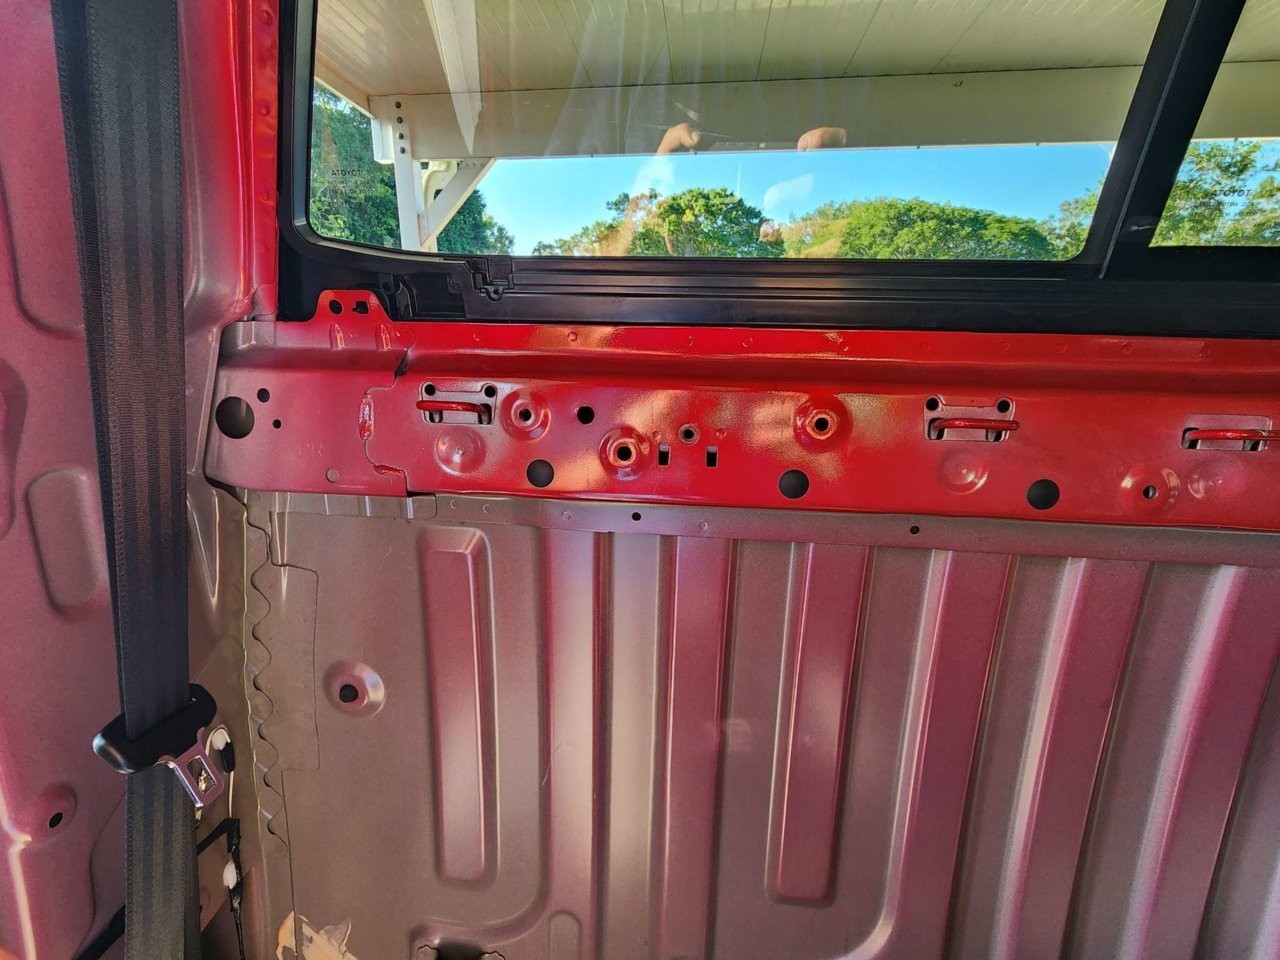
Depending on your Tundra model and trim, you might find that the mounting tabs for the motor plate are not pre-installed on the rear wall. As shown in the provided example of an SR5 model, these tabs may be missing. In such cases, you’ll need to create a mounting solution.
One effective approach is to fabricate a plate. In the example provided, a plate was crafted from maple wood. Rivnuts were then installed into this maple plate to create secure mounting points for the motor plate. Additionally, two rivnuts were installed directly into the back wall of the truck to further secure the custom mounting plate.
When drilling holes for the rivnuts, exercise caution. Take your time and be mindful of the space behind the metal to avoid accidentally drilling into the forward side of the truck bed. Accurate drilling is crucial for a secure and proper installation of your power window motor.
Image alt text: Photograph depicting the wiring setup for the power rear window conversion in a Toyota Tundra, highlighting the connections and routing of electrical components.
Image alt text: Detailed shot of the electrical wiring connections for the power window motor and switch, emphasizing the terminal repair wires and relay integration.
Wiring and Final Steps
The wiring aspect of the conversion requires careful attention to detail. You’ll need to integrate the new window switch, relays, and motor into your Tundra’s electrical system. Refer to wiring diagrams specific to your Toyota Tundra model for accurate connections. The terminal repair wires are essential for creating reliable connections to the new components.
Once the mechanical and electrical components are installed, test the power window to ensure smooth operation. Double-check all connections and mounting points for security. With patience and careful execution, you can successfully upgrade your manual rear sliding window to a convenient power version.
This guide provides a foundational overview of the conversion process. Remember to consult detailed wiring diagrams and consider professional assistance if you are not comfortable with auto electrical work or window replacement. Enjoy the added convenience of your power rear sliding window!