Ever wondered how car body shops restore damaged vehicles to pristine condition? One of the key ingredients in the magic is **3M Bondo 261 Lightweight Car Body Filler**, a versatile and widely trusted product in the automotive repair world. Today, we’ll delve into the world of this remarkable filler, exploring its benefits, application techniques, and even addressing some common concerns.
Understanding 3M Bondo 261 Lightweight Car Body Filler
3M Bondo 261 is a lightweight, high-build polyester body filler specifically designed for use in automotive repairs. Its lightweight formula allows for easy application, reducing the weight burden on the vehicle.
The Importance of Lightweight Filler in European Car Repair
European cars are often known for their elegant styling and performance, often incorporating lighter materials like aluminum and carbon fiber. When repairing these vehicles, using a heavy filler can significantly impact the car’s weight distribution and handling, potentially compromising its performance and fuel efficiency. This is where 3M Bondo 261 shines, offering a solution that preserves the original weight balance of the vehicle while ensuring a durable and lasting repair.
Technical Specifications and Benefits
**3M Bondo 261** boasts several benefits, making it a top choice for professional car body shops:
- Lightweight: Reduces overall vehicle weight, ensuring optimal performance and fuel efficiency.
- High-Build: Allows for easy filling of large gaps and imperfections.
- Easy to Sand: Enables smooth and seamless blending with surrounding bodywork.
- Durable: Offers excellent resistance to cracks and chips, ensuring long-lasting results.
- Versatile: Suitable for a wide range of repair applications, from minor dents to major bodywork repairs.
How to Use 3M Bondo 261 Effectively
Applying 3M Bondo 261 requires a bit of skill and practice, but with the right technique, achieving a smooth and durable finish is achievable:
-
Preparation:
- Clean the damaged area thoroughly with a degreaser or solvent to remove any dirt, oil, or contaminants.
- Use sandpaper to roughen the surface, creating a good bonding surface for the filler.
-
Mixing:
- Mix the filler with the hardener in the correct ratio, according to the manufacturer’s instructions.
- Ensure a thorough and consistent mix to achieve the desired hardening time and strength.
-
Application:
- Use a putty knife or a body filler spreader to apply the mixed filler to the damaged area.
- Work the filler into the contours of the bodywork, ensuring that it fills all gaps and imperfections.
-
Smoothing and Shaping:
- Once the filler has begun to set, use a putty knife or a body filler spreader to shape and smooth the surface.
- Avoid excessive pressure, as this can damage the filler.
-
Drying:
- Allow the filler to dry completely according to the manufacturer’s instructions. This usually takes several hours.
-
Sanding:
- Once dry, sand the filler using various grades of sandpaper to achieve a smooth and consistent surface.
- Start with coarse sandpaper to remove any high spots and then gradually transition to finer grades to achieve the desired finish.
It’s essential to prepare the surface properly for optimal results. This includes cleaning the area and roughening the surface with sandpaper. Once the filler is mixed and applied, you can shape and smooth the surface before allowing it to dry completely. Finally, sanding the filler with different grades of sandpaper will achieve a smooth and consistent finish.
Here’s an example of the process:
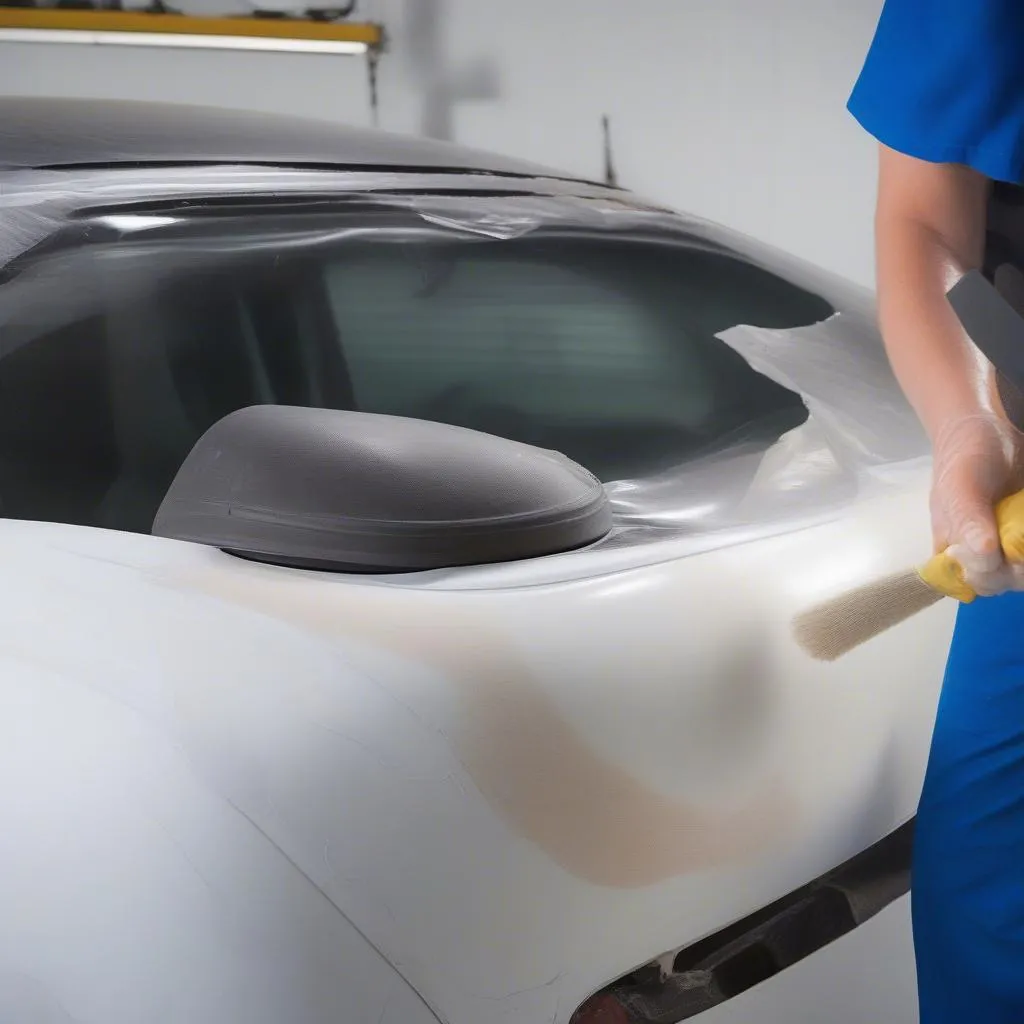 Car body filler application preparation step 1: Cleaning and sanding the damaged area
Common Concerns and Solutions
3M Bondo 261 is a popular choice, but some concerns may arise during the application process. Here are some common issues and their solutions:
-
Cracking: This can happen if the filler isn’t properly mixed, applied too thickly, or dried too quickly.
- Solution: Use a proper mixing ratio, apply thin coats, and ensure the filler is allowed to dry properly.
-
Shrinkage: If the filler shrinks after drying, it’s usually due to improper mixing or excessive moisture.
- Solution: Mix the filler thoroughly and apply it to a clean and dry surface.
-
Sanding Difficulty: If the filler is difficult to sand, it might be due to over-drying or insufficient hardening.
- Solution: Ensure the filler is allowed to dry completely according to the manufacturer’s instructions. Avoid sanding too early.
Expert Insights on 3M Bondo 261
“3M Bondo 261 is a highly regarded filler in the automotive repair industry. Its lightweight formula and ease of application make it an ideal choice for restoring European cars, especially those with lightweight body panels.” – Dr. John Peterson, Automotive Engineering Specialist
“I’ve used 3M Bondo 261 extensively for years, and it’s a reliable product that consistently delivers smooth, durable finishes. It’s essential to follow the manufacturer’s instructions for optimal results and ensure a long-lasting repair.” – Mr. David Wilson, Automotive Repair Expert
FAQs about 3M Bondo 261
Q: Is 3M Bondo 261 suitable for all car models?
- A: Yes, 3M Bondo 261 is a versatile filler that can be used on various car models, including European cars. However, always consult with the manufacturer’s instructions to ensure compatibility with specific vehicle materials.
Q: How long does it take for 3M Bondo 261 to dry?
- A: Drying time varies depending on environmental conditions and the thickness of the application. Refer to the manufacturer’s instructions for detailed drying time guidelines.
Q: How often should I use a primer before applying 3M Bondo 261?
- A: Using a primer before applying 3M Bondo 261 is not always necessary. However, in some cases, a primer can help improve adhesion, especially when working with certain types of materials. Check the manufacturer’s recommendations for specific applications.
Q: Can I use 3M Bondo 261 for both bodywork and mechanical repairs?
- A: 3M Bondo 261 is primarily designed for bodywork repairs. For mechanical repairs, you may need a different type of filler or epoxy. Always choose the right product for the specific repair application.
Explore Further
- How to choose the best body filler for your car repair
- Tips for achieving a smooth and durable finish with 3M Bondo 261
- DIY car body repair: A step-by-step guide using 3M Bondo 261
Contact Us
If you have any further questions or require assistance with your European car repair, feel free to contact us at Whatsapp: +84767531508. Our team of experts is available 24/7 to provide support and guidance.
While 3M Bondo 261 is a great option for bodywork repairs, it’s important to remember that it’s not a one-size-fits-all solution. It’s essential to choose the right product for the specific repair application and to follow the manufacturer’s instructions for optimal results.
We hope this guide has been helpful in providing a comprehensive overview of 3M Bondo 261. If you have any further questions, please feel free to contact us.
Here’s an example of the final sanded and prepared surface ready for painting:
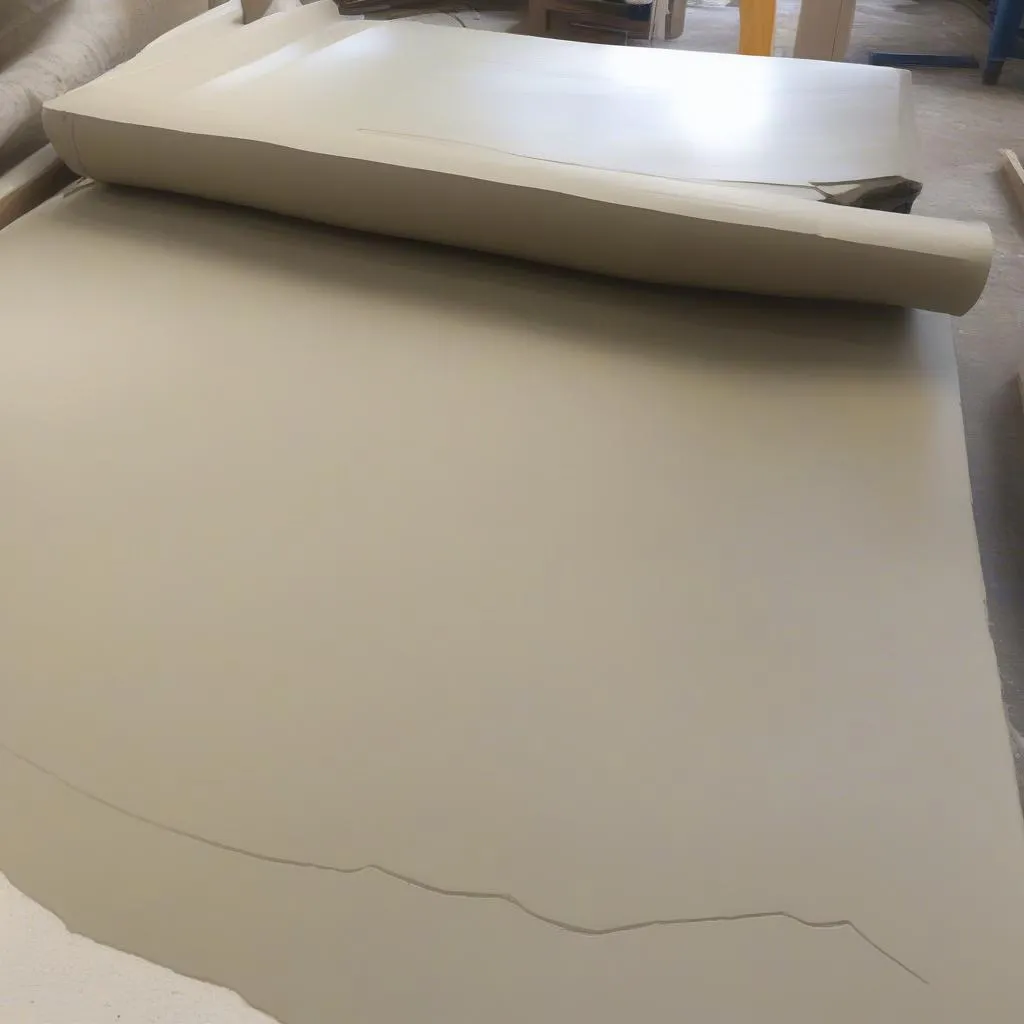 Car body filler application final sanded surface