Imagine this: you’re on a long road trip, enjoying the scenic views, and suddenly your car’s cigarette lighter stops working. This small inconvenience can quickly turn into a major headache, especially if you rely on it to power your GPS, phone charger, or other essential devices. Understanding the Car Lighter Diagram and its role in your vehicle’s electrical system can help you troubleshoot and fix such issues.
Why is the Car Lighter Diagram Important?
The car lighter diagram is essentially a roadmap of the electrical circuit that powers the lighter. It helps you understand how electricity flows from the battery, through the fuse box, and ultimately to the lighter itself. This knowledge can be vital for various reasons:
1. Troubleshooting: If the lighter isn’t working, the diagram helps identify potential problems like a blown fuse, a faulty wiring connection, or even a defective lighter element.
2. Electrical Modifications: Understanding the car lighter diagram is crucial if you want to modify or upgrade your car’s electrical system, such as installing a new power outlet or adding an auxiliary fuse block.
3. Safety: Knowing how the electrical system works can help you avoid potential hazards, such as short circuits or overloaded circuits, which can cause damage to your car’s electrical components or even start a fire.
Understanding the Car Lighter Diagram
The car lighter diagram is a visual representation of the electrical circuit, showing the various components involved and their connections. Here’s a breakdown of what you can expect to see in a typical car lighter diagram:
1. Power Source: This is usually the car’s battery, which provides the electrical energy needed to power the lighter.
2. Fuse: The fuse acts as a safety device, protecting the circuit from overloads. It’s typically located in the fuse box, and a blown fuse can be the culprit if your lighter is not working.
3. Wiring: The wiring carries the electrical current from the battery, through the fuse, and to the lighter element.
4. Lighter Element: This is the heating element that gets hot when the lighter is activated. The element is usually made of a thin wire that heats up when electricity flows through it.
5. Switch: The switch, usually located on the lighter itself, controls the flow of electricity to the lighter element.
Common Problems with Car Lighters
Now that we’ve covered the basic components of the car lighter diagram, let’s talk about some common issues you might encounter with your car’s lighter.
1. Blown Fuse: This is the most common issue, and it’s usually an easy fix. Check the fuse box for a blown fuse related to the cigarette lighter and replace it with a new one of the same amperage.
2. Loose Wiring: A loose connection in the wiring can prevent the lighter from working properly. You’ll need to inspect the wiring connections for any loose wires or damage, and secure them properly.
3. Defective Lighter Element: Sometimes, the heating element itself can fail, which can be a sign of wear and tear or a faulty part. Replacing the lighter element is usually the solution.
4. Overloading the Circuit: If you try to power multiple devices on the lighter circuit simultaneously, you can overload it. This can lead to a blown fuse or damage to the lighter element.
5. Electrical Issues: If you’ve checked all the above, and the problem persists, there might be a more serious electrical issue. It’s best to consult a qualified mechanic in this case.
How to Find the Car Lighter Diagram
Finding the car lighter diagram for your specific car can be a straightforward process:
1. Owner’s Manual: The owner’s manual for your car will usually have a section on the electrical system, including a diagram of the lighter circuit.
2. Online Resources: Websites like Repair Manuals, Chilton Manuals, or manufacturer’s websites often provide free downloadable diagrams for various car models.
3. Repair Shops: Auto repair shops usually have access to repair manuals and diagrams for different car models.
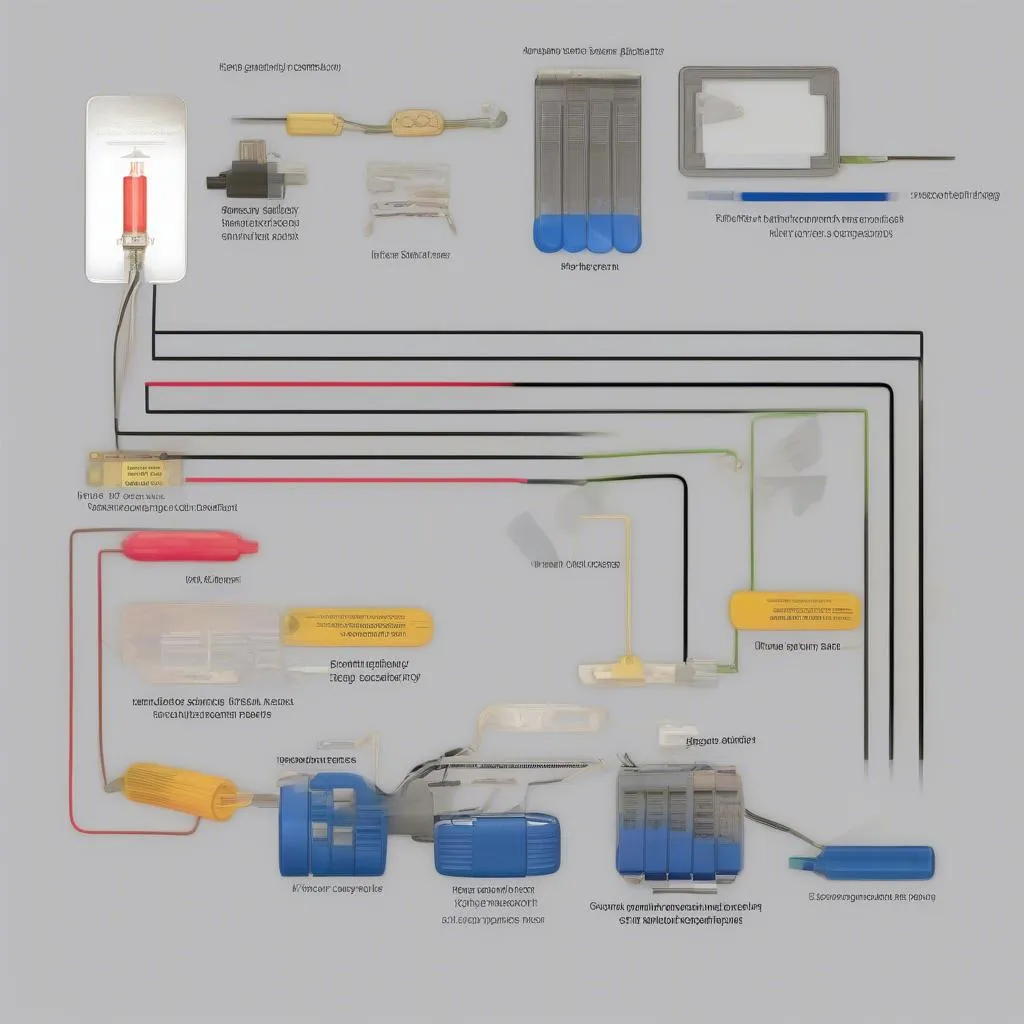 Car Lighter Diagram Illustration
Additional Tips for Car Lighter Troubleshooting
1. Check the Fuse: Always start by checking the fuse. If the fuse is blown, replace it with a new one of the same amperage. You’ll need a multimeter to test the fuse for continuity.
2. Inspect the Wiring: Look for any loose connections, damage, or corrosion in the wiring. Use a multimeter to test for continuity in the wiring circuit.
3. Test the Lighter Element: To test the lighter element, use a multimeter to check for continuity. If there is no continuity, the element is likely defective.
4. Use a 12V Test Light: You can use a 12V test light to check for power at different points in the circuit, such as the fuse box, wiring, and lighter element.
5. Consult a Mechanic: If you’re not comfortable troubleshooting the electrical system yourself, it’s always best to seek professional help from a qualified mechanic.
Frequently Asked Questions
1. Can I use a standard outlet adapter to connect my phone charger to the car lighter?
While you can find adapters to convert the car lighter plug to a standard outlet, it’s not recommended. The car lighter circuit is designed for lower power devices and may not be able to handle the power draw of a standard outlet adapter.
2. Can I replace the car lighter with a USB port?
Yes, you can replace the car lighter with a USB port. You’ll need a USB port kit specifically designed for car installations.
3. Can I use a car lighter to power a laptop?
While it’s possible to find adapters for connecting a laptop to the car lighter, it’s not recommended due to the limited power output of the lighter circuit.
4. What are the risks of using a car lighter for powering devices?
Overloading the circuit with multiple devices can damage the lighter element, blow the fuse, or even cause a fire. It’s important to be mindful of the power output and usage limitations of the car lighter circuit.
5. How can I prevent my car lighter from breaking?
To ensure a long lifespan for your car lighter, use it for its intended purpose, avoid overloading it, and make sure the fuse is working properly.
Other Related Articles
Here are some other related articles on our website that you might find helpful:
- Parts of a Car Wheel Assembly
- 97 Skylark Replace Lighter Fuse Still No OBD Port
- Different Place to Plug in OBD-2
- 2005 F250 OBD and Cigarette Lighter Fuse
- 2011 OBD Reader Location
Conclusion
Understanding the car lighter diagram can help you diagnose and resolve issues with your car lighter, as well as make informed decisions about its use. By understanding the electrical circuit, you can ensure safe and efficient use of your car’s lighter. If you’re ever unsure about anything related to your car’s electrical system, it’s always best to consult a professional mechanic for advice.
Need assistance with your car’s electrical system? Contact us via WhatsApp at +84767531508 for 24/7 support from our expert technicians.