Imagine you’re driving down the road and suddenly, your car starts acting strange. The engine light flashes, and you’re left wondering what’s wrong. This is where an OBD (On-Board Diagnostics) sensor comes in. It’s the car’s way of communicating with you about any problems. But what happens when the OBD sensor itself needs attention? How do you even wire one? Let’s delve into the world of OBD sensors and learn how to wire one correctly.
Understanding the OBD Sensor
The OBD sensor, a crucial component in your car’s diagnostic system, acts as a bridge between the vehicle’s computer and your understanding of its health. It transmits data like engine speed, fuel consumption, and emissions levels to the OBDII port, which then allows a diagnostic tool to read and interpret the information.
The Importance of the OBD Sensor
Think of it like a doctor for your car. If the OBD sensor isn’t working correctly, the doctor can’t get a proper diagnosis. This can lead to missed problems, potential engine damage, and even safety hazards. It’s essential to ensure your OBD sensor is working properly and, if needed, properly wired.
How To Wire An Obd Sensor: A Step-by-Step Guide
Wiring an OBD sensor can seem daunting, but it’s a straightforward process when you break it down. Here’s what you’ll need:
- A new OBD sensor compatible with your car’s make and model
- A wiring diagram specific to your vehicle
- Basic tools like a wire stripper, crimping tool, and multimeter
- A torque wrench
- Patience and a good understanding of car wiring.
Step 1: Locate the OBD Sensor
The OBD sensor’s location varies depending on your car’s model. Consult your vehicle’s manual or a reputable online resource like TechCarUSA to find the exact location.
Step 2: Disconnect the Battery
Safety first! Before you begin any electrical work on your car, always disconnect the negative battery terminal. This prevents accidental electrical shocks.
Step 3: Disconnect the Old OBD Sensor
Carefully disconnect the electrical connectors from the old OBD sensor. Remember the order of the wires, as you’ll be connecting them to the new sensor in the same order.
Step 4: Install the New OBD Sensor
Place the new OBD sensor into its designated location, ensuring it is securely fastened. Be sure to use the appropriate torque specifications from your vehicle’s manual to avoid over-tightening.
Step 5: Connect the Wires
Carefully reconnect the wires to the new OBD sensor, matching the colors and positions to the old sensor. Use your wiring diagram as a guide.
Step 6: Secure the Connections
Once the wires are connected, use a crimping tool to secure the connections at each end, ensuring a tight and reliable connection.
Step 7: Reconnect the Battery
After you’re sure all connections are secure, reconnect the negative battery terminal.
Step 8: Test the New Sensor
Use a diagnostic tool to check that the new OBD sensor is working correctly. If you’re unsure, consult a professional mechanic.
Common Questions About OBD Sensors
-
What if I can’t find my car’s wiring diagram?
A reputable online resource like TechCarUSA can provide wiring diagrams for many car models. If you’re still having trouble, you can always consult with a professional mechanic. -
Can I wire an OBD sensor myself?
While wiring an OBD sensor isn’t overly complex, it’s essential to have some electrical knowledge and mechanical aptitude. If you’re not comfortable working with car wiring, it’s best to seek assistance from a qualified mechanic. -
How often should I replace my OBD sensor?
There’s no specific replacement schedule for OBD sensors, but it’s generally advisable to replace them if they show signs of damage or malfunction. -
What are the symptoms of a faulty OBD sensor?
Symptoms include a lit check engine light, erratic engine performance, and inaccurate readings from your diagnostic tool. -
Can I use an aftermarket OBD sensor?
Yes, but it’s crucial to ensure that the aftermarket sensor is compatible with your car model. Always consult your car’s manual or a trusted online resource for compatible sensor options.
Tips for Success
- Always wear protective gear when working with car wiring. This includes gloves, safety glasses, and insulated tools.
- Take your time and be meticulous. Ensure all connections are secure and properly insulated.
- Consult your car’s manual or a trusted resource for specific information about your vehicle. Every car is different, and understanding the specific wiring details is crucial for successful installation.
Conclusion
Wiring an OBD sensor can be a worthwhile DIY project, especially for those familiar with basic automotive electrical work. But if you’re not comfortable working with car wiring, seeking assistance from a professional mechanic is always the safest option. By properly understanding and installing your OBD sensor, you’ll be able to monitor your car’s health, diagnose any issues promptly, and ensure a smoother and safer driving experience.
Need help with your car’s diagnostics? We’ve got you covered! Contact us today via WhatsApp at +84767531508 for expert advice and support.
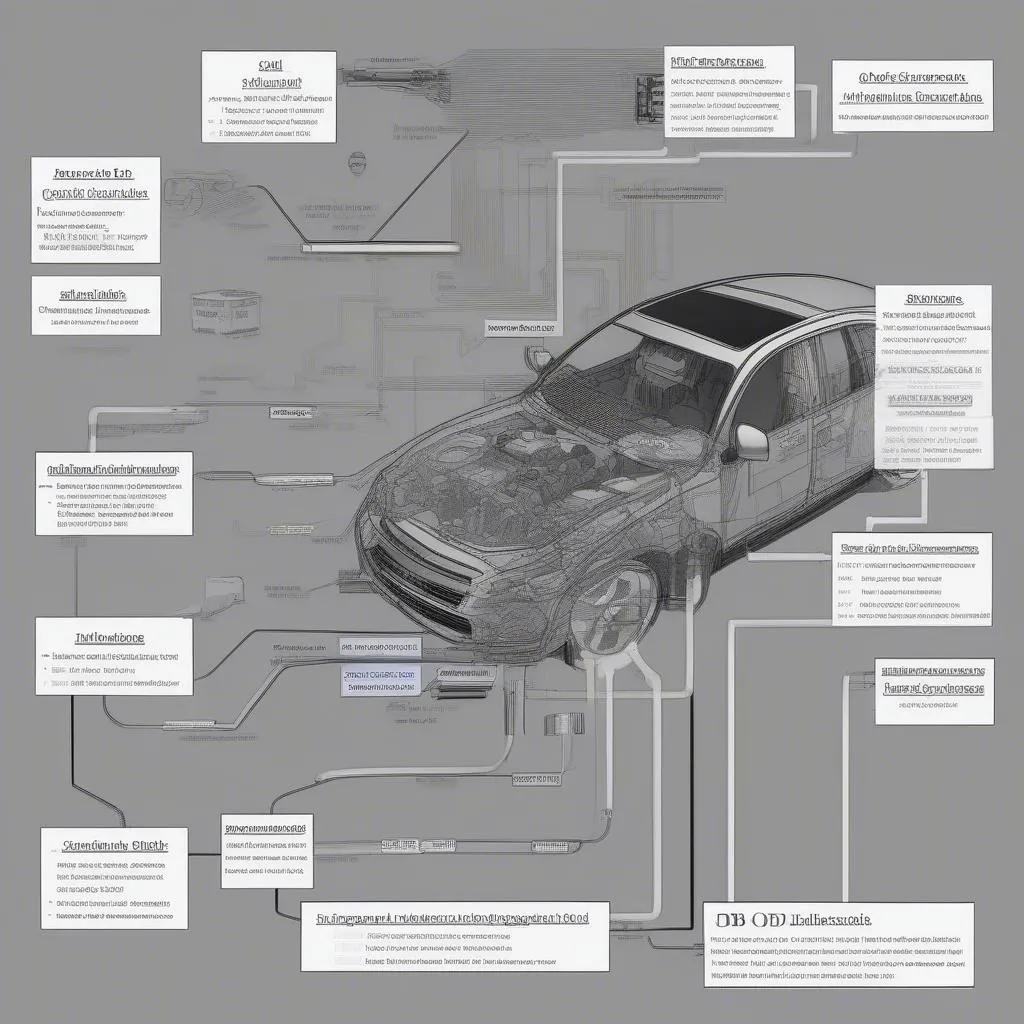 OBD Sensor Wiring Diagram