The On-Board Diagnostics II (OBD2) system is a crucial component in modern vehicles, including those from 2011. It provides access to your car’s computer, allowing mechanics and car owners to diagnose issues, monitor performance, and ensure everything is running smoothly. The OBD2 connector is the physical interface for this system, and understanding its diagram and how to troubleshoot common problems is essential for any car enthusiast or owner.
One common issue that can arise with your OBD2 port is looseness. A loose OBD2 connector can lead to intermittent connection problems, preventing you from reading diagnostic codes or using scan tools effectively. While the following steps are illustrated on an older vehicle for visual clarity, the principles and connector types are broadly applicable, including for many 2011 models which utilize the standard OBD2 pinout.
First, let’s understand the anatomy of the OBD2 connector. It’s typically located under the dashboard on the driver’s side of your 2011 vehicle. To address a loose connector, the initial step involves safely accessing the port. Often, it’s mounted in a bracket that’s part of the dashboard structure.
Image showing the OBD2 port mounted in its bracket, illustrating the first step in accessing and potentially tightening a loose car diagnostic port connector in a 2011 or similar vehicle.
To remove the OBD2 port from its bracket, you’ll typically find plastic tabs on the sides of the connector housing. These tabs secure the port to the bracket. Gently pushing these tabs inwards while simultaneously pushing the OBD2 port upwards or outwards will free it from the bracket. Sometimes, maneuvering the port slightly to one side while pressing a tab on the opposite side can make removal easier. Here’s a closer look at these retaining tabs:
Close-up image highlighting the plastic tabs on the side of an OBD2 connector that need to be pressed to release it from its mounting bracket, a common step for accessing the wiring in a 2011 car.
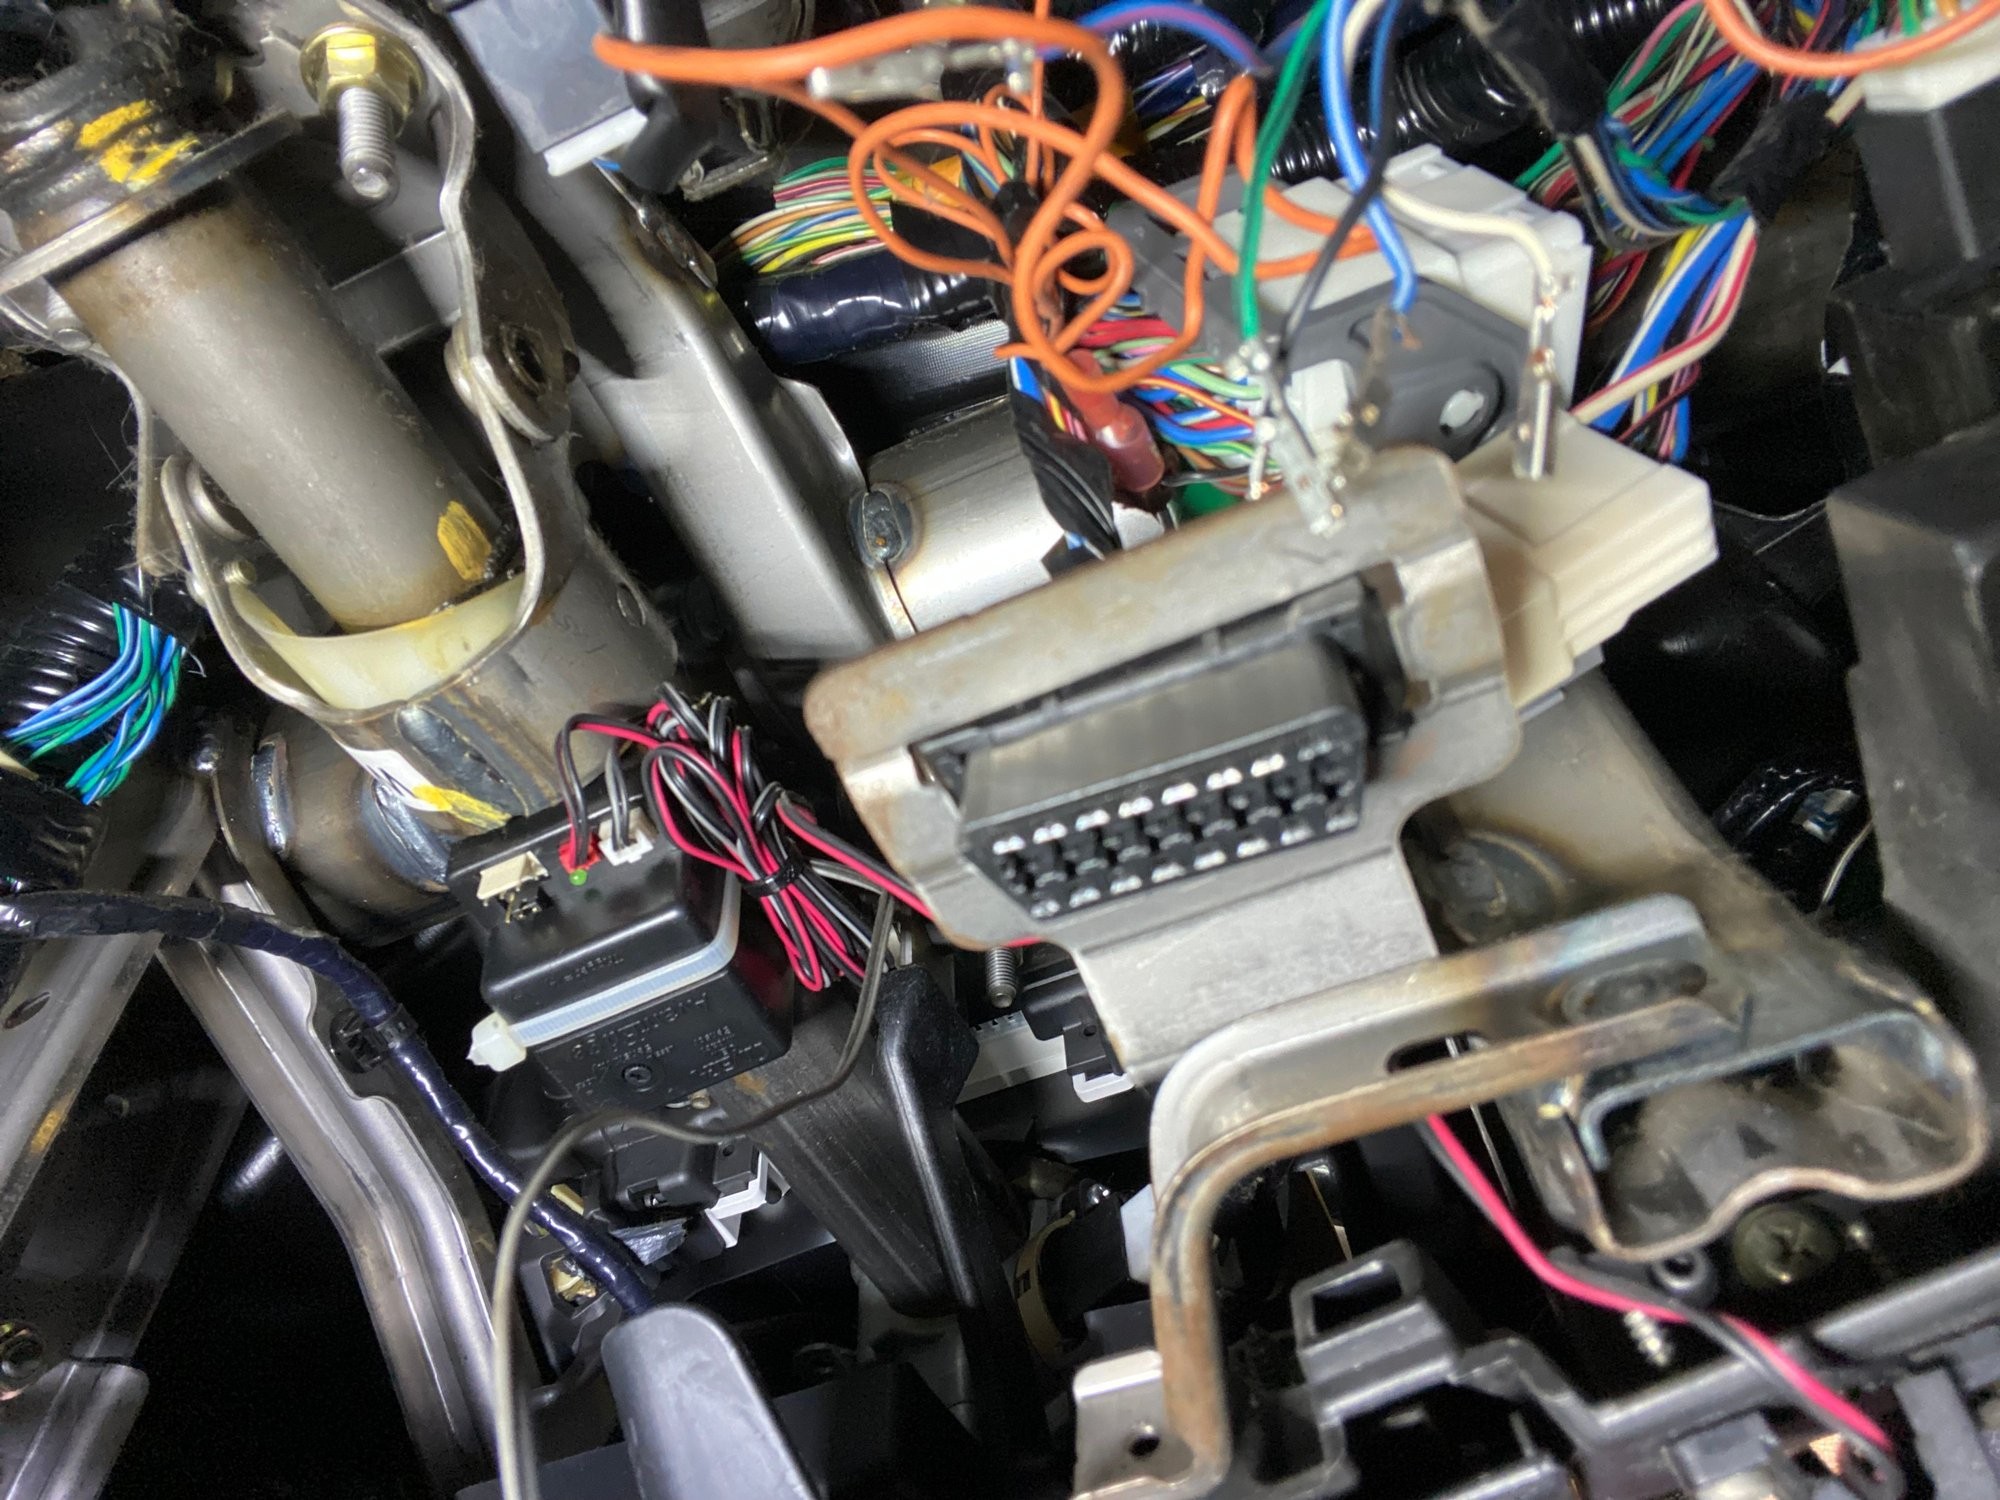
Once the OBD2 port is detached from the bracket, you’ll see the back of the connector where the wires are connected. Before proceeding further, it’s a good practice to take pictures and note down the wire colors and their positions. This documentation is crucial if you need to disconnect any wires and reconnect them later. You’ll notice a white plastic piece at the back of the connector; this component usually secures the wires in place.
Image showing the rear of the OBD2 port with wires and a white plastic retainer, crucial for understanding the connector’s wiring and construction when working on a 2011 automobile.
To release the individual wires, this white plastic piece needs to be carefully removed. Often, it can be pried out using a small probe or a similar tool. The end of this white tab usually sits under a black tab within the connector housing, so you might need to gently maneuver your probe underneath to fully release it.
Demonstration image of using a probe to release the white plastic retainer clip on an OBD2 connector to access the individual wire terminals, a repair technique applicable to 2011 and similar vehicle models.
To disconnect individual wires from the OBD2 connector, you’ll need a small probe. Insert the probe into the connector alongside the wire terminal. You are aiming to depress a small plastic tab inside the connector that locks the wire terminal in place. When you successfully press this tab, you should feel the wire release slightly. Avoid forcing the wire; gentle manipulation and feeling for the release are key.
Image showing the location of the release tab within an OBD2 connector, which needs to be pressed to remove individual wires for terminal repair or replacement in a 2011 vehicle’s diagnostic system.
The likely cause of a loose OBD2 connector is often the internal metal tabs within the connector’s terminals becoming bent or losing tension. These tabs are designed to make a firm connection with the pins on your OBD2 scan tool or device. To fix this, you’ll need to access these internal tabs within each terminal of the OBD2 connector. Using a small probe, carefully insert it into the terminal and gently rebend the internal metal tab upwards. This action increases the tension of the tab, ensuring a tighter connection with the OBD2 device pins.
Diagram illustrating the process of using a probe to rebend the internal metal tab inside an OBD2 connector terminal to improve contact and fix looseness, a common DIY repair for 2011 and similar car models.
When re-inserting the wires back into the OBD2 port, do so carefully. You should feel a click as the terminal locks back into its correct position. Again, avoid forcing anything. If a wire is difficult to re-insert, inspect the terminal for any damage or bending and ensure the internal plastic tab is correctly aligned. Small bent nose pliers can sometimes be helpful for delicate manipulation. Be careful not to bend the wire near the crimped section where the terminal is attached, as this can cause damage.
Using the right tools can make this process much easier. Precision probes, especially those with a slight bend, are ideal for working within the confined spaces of OBD2 connectors and manipulating the small internal tabs.
Image showcasing different types of probes suitable for repairing OBD2 connectors, including bent probes ideal for accessing and adjusting internal terminal tabs in 2011 and other vehicles.
While rebending the terminals can be an effective temporary fix for a loose 2011 OBD2 connector, the ideal solution is often to replace the entire OBD2 port and potentially the terminals if they are damaged or corroded. Unfortunately, finding the exact part number for the OBD2 port and individual terminals can be challenging, highlighting the temporary nature of terminal rebending as a cheap and quick solution.
Understanding your 2011 Obd2 Connector Diagram, even if a generic one, combined with these practical steps can help you troubleshoot and potentially fix a loose OBD2 port, ensuring reliable communication with your vehicle’s diagnostic system. If you are uncomfortable performing these repairs yourself, always consult a qualified mechanic.