“A journey of a thousand miles begins with a single step.” This ancient proverb reminds us that even the most complex tasks can be broken down into smaller, manageable steps. Today, we’ll be embarking on a journey into the world of automotive diagnostics, specifically how to splice a Maestro into your OBD port.
Understanding the Maestro and its Significance
The Maestro: Your Gateway to European Car Diagnostics
The Maestro is a revolutionary diagnostics tool designed specifically for European vehicles. It unlocks a world of diagnostic capabilities, allowing you to delve deep into the intricate workings of your car’s systems. Imagine it as a bridge between you and your car’s electronic brain, enabling you to diagnose issues, monitor performance, and even modify settings.
Splicing into the OBD: A Necessary Step
Splicing a Maestro into the OBD (On-Board Diagnostics) port is a common practice among car enthusiasts and mechanics alike. The OBD port acts as the primary communication gateway between your car’s computer and external diagnostic tools. By splicing the Maestro into this port, you effectively establish a direct connection for accessing and manipulating your car’s data.
The Art of Splicing: A Step-by-Step Guide
Step 1: Gathering Your Tools
Before embarking on this task, ensure you have the right tools at your disposal.
- Maestro Interface: The Maestro itself is the heart of the operation, providing the necessary hardware and software for communication with your car’s systems.
- OBD Cable: A high-quality OBD cable with the correct connector type is crucial for establishing a stable connection.
- Wire Strippers and Crimpers: These tools will be used to prepare the wires for splicing.
- Solder and Solder Iron: For a more robust and secure connection, soldering the wires together is highly recommended.
- Electrical Tape or Heat Shrink Tubing: To insulate the connections and prevent short circuits.
Step 2: Identifying the OBD Port
The OBD port is usually located under the dashboard, near the steering column. It’s often a rectangular connector with 16 pins.
Step 3: Preparing the Maestro and OBD Cable
- Strip the Ends: Carefully strip the insulation off the ends of the wires from the Maestro interface and the OBD cable.
- Match the Wires: Use a wiring diagram for the Maestro and your car’s specific OBD port to identify the corresponding wires that need to be spliced together.
Step 4: Splicing the Wires
- Soldering: If soldering, carefully tin the ends of the wires before joining them. Apply a small amount of solder to each wire end, ensuring a smooth flow.
- Crimping: If using crimp connectors, select appropriate crimp connectors and use a crimper to securely connect the wires.
- Insulate: After splicing, thoroughly insulate the connections with electrical tape or heat shrink tubing to prevent any potential short circuits.
Step 5: Testing the Connection
Once the splicing is complete, carefully test the connection by connecting the Maestro to your car’s OBD port and launching the diagnostic software.
Mastering the Maestro: Unlocking the Secrets of Your Car
Diagnostic Capabilities
The Maestro unlocks a wealth of diagnostic capabilities, allowing you to:
- Read and Clear Diagnostic Trouble Codes (DTCs): Identify and troubleshoot issues affecting your car’s performance.
- Monitor Live Data: Observe real-time data such as engine speed, fuel pressure, and temperature readings.
- Access ECU Settings: Adjust settings and parameters within your car’s electronic control units (ECUs).
Beyond Diagnostics: The Maestro’s Potential
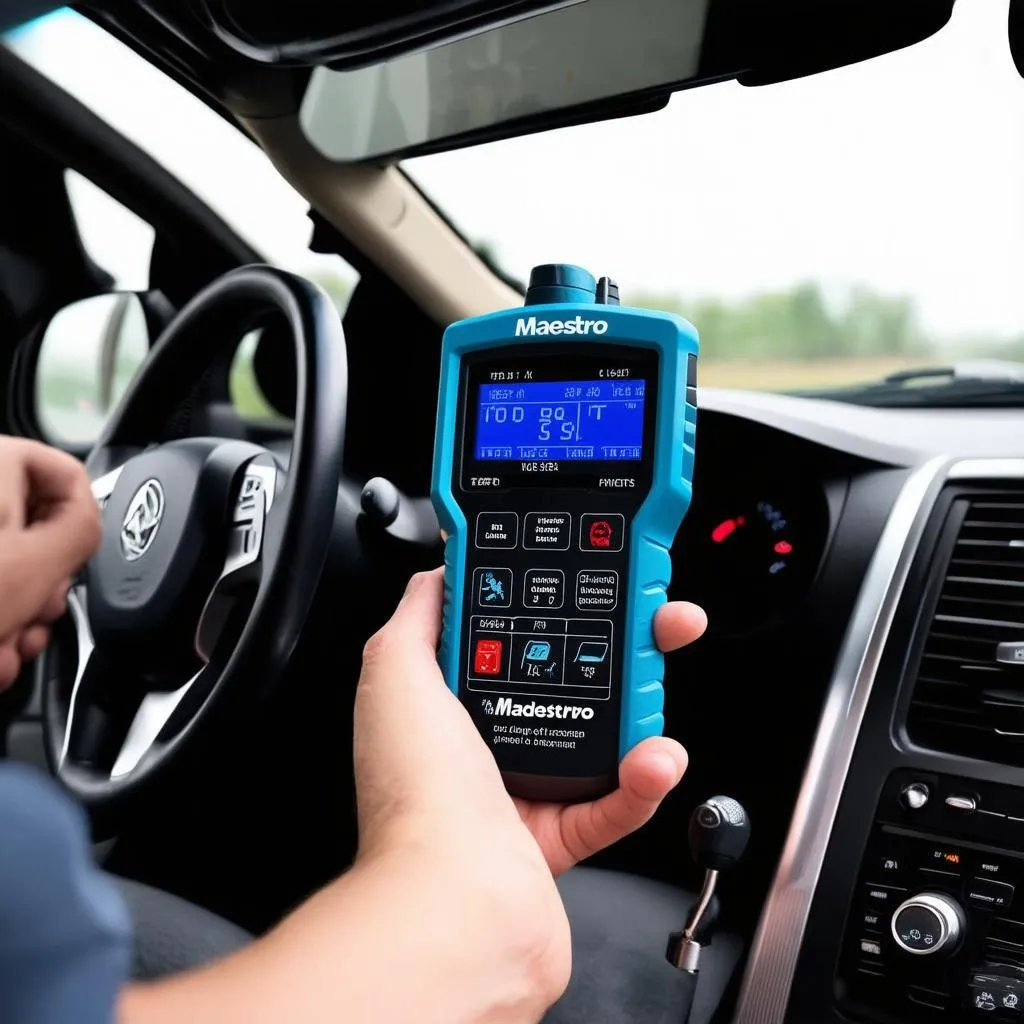 Maestro-Tool
The Maestro’s capabilities extend beyond basic diagnostics. It can be used for:
- Repairs and Maintenance: Assist in troubleshooting specific problems and performing maintenance tasks.
- Performance Tuning: Modify engine settings for improved fuel economy or performance.
- Customization: Personalize your car’s settings, such as customizing the instrument cluster display.
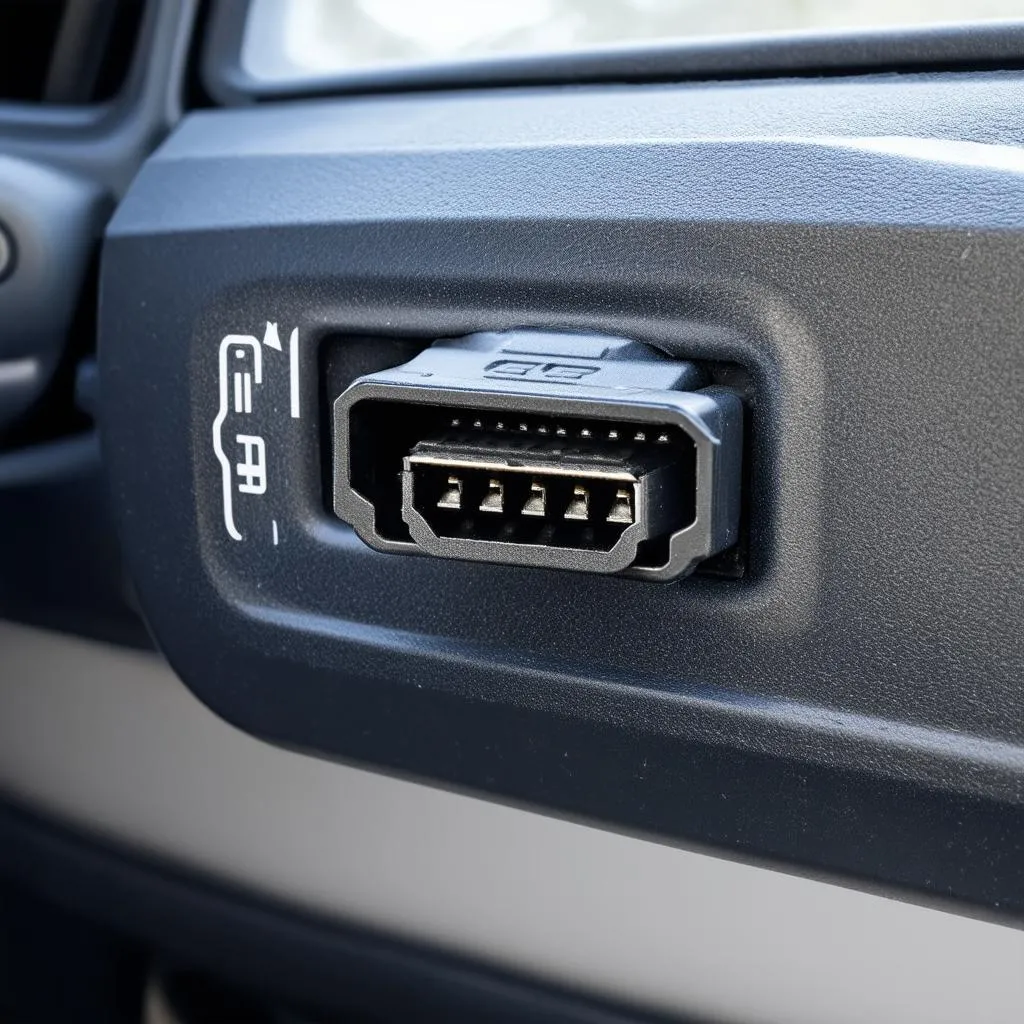 OBD-Port
Tips and Precautions
- Compatibility: Ensure the Maestro is compatible with your car model and year.
- Wiring Diagram: Always consult a wiring diagram specific to your car’s make and model.
- Professional Assistance: If you’re unsure about the process, consider seeking assistance from a qualified automotive technician.
Frequently Asked Questions
Q: What are the benefits of using a Maestro for diagnostics?
A: The Maestro offers a range of benefits, including:
- Enhanced Diagnostics: Provides access to a wider range of diagnostic data compared to standard OBD scanners.
- Advanced Functionality: Allows for more in-depth diagnostics and troubleshooting, enabling you to delve deeper into your car’s systems.
- Customization: Provides the ability to personalize your car’s settings and preferences.
- Cost Savings: Potentially saves you money by enabling you to diagnose and troubleshoot problems before they escalate.
Q: Are there any risks associated with splicing the Maestro into the OBD port?
A: Yes, there are potential risks if the splicing process is not done correctly, such as:
- Short Circuits: If the connections are not properly insulated, short circuits can occur, potentially damaging the Maestro, your car’s electrical system, or both.
- Wiring Errors: Splicing the wrong wires together can lead to incorrect readings and malfunctions.
Q: What are some other diagnostics tools available for European cars?
A: Besides the Maestro, other diagnostics tools available for European cars include:
- OBDII Scanners: These devices provide basic diagnostic capabilities but may not have the same depth of functionality as the Maestro.
- Specialized Software: Certain software programs, such as VCDS, offer advanced diagnostics and programming capabilities for specific brands of cars.
Q: Where can I find resources for learning more about the Maestro and its usage?
A: You can find valuable resources online and through automotive forums. Consider searching for “Maestro user manual,” “Maestro tutorials,” or “Maestro forums” to access helpful information and community support.
Conclusion
Splicing a Maestro into your OBD port opens a world of possibilities for understanding and interacting with your European car. While the process requires careful attention and technical skills, the benefits of enhanced diagnostics and customization make it a worthwhile endeavor for car enthusiasts and mechanics alike.
Remember, this article is intended for informational purposes only. Always consult a qualified automotive technician for professional advice and assistance.
Let us know your thoughts and experiences with the Maestro in the comments below! For further assistance with diagnostics, software installation, or troubleshooting, feel free to reach out to our team via WhatsApp: +84767531508. We have a team of automotive experts available 24/7 to support you.