“The best way to predict the future is to create it,” said Peter Drucker, a renowned management consultant. This adage applies perfectly to the world of car diagnostics, where understanding the intricate connections between your vehicle’s systems and your diagnostic tools is crucial. Today, we’ll delve into the world of “Honda 3 Pin To Obd” and unravel the mysteries behind this connection, empowering you to better diagnose and maintain your Honda.
Understanding the Significance of “Honda 3 Pin To Obd”
The phrase “Honda 3 pin to OBD” sparks curiosity, and rightly so. It represents a bridge between the older, traditional 3-pin diagnostic connector found in some older Honda models and the modern, standardized OBD-II (On-Board Diagnostics) port, ubiquitous in newer vehicles. This connection signifies a crucial shift in automotive diagnostics – a move towards greater accessibility and information sharing.
Unraveling the Mystery: 3-Pin vs. OBD-II
The 3-pin connector, often found in Honda models manufactured before 1996, was a proprietary system designed for Honda’s internal diagnostics. The arrival of the OBD-II standard in 1996 revolutionized car diagnostics. It standardized the communication protocol between the vehicle and diagnostic tools, allowing for a wider range of tools to access and interpret data from various vehicle systems.
The Importance of Understanding: Why is This Connection Vital?
Understanding the “Honda 3 pin to OBD” connection is critical for a few reasons:
- Diagnosis: This connection enables older Hondas to utilize the latest diagnostic tools, providing access to more comprehensive data and facilitating precise diagnoses of potential issues.
- Accessibility: The standardized OBD-II port opens up a world of diagnostic possibilities, allowing even DIY enthusiasts to access important data and perform basic troubleshooting.
- Cost-Effectiveness: By bridging the gap between the old and new, this connection allows you to diagnose and repair your older Honda using modern tools, potentially saving you significant expenses.
Solving the Puzzle: How to Connect 3-Pin to OBD-II
Connecting a 3-pin connector to an OBD-II port requires a specialized adapter. This adapter acts as a bridge, translating the communication signals between the old and new systems.
Finding the Right Adapter:
- Type: There are various types of adapters available, so you’ll need to choose one compatible with your specific Honda model.
- Compatibility: Ensure the adapter you choose is specifically designed for Honda vehicles and supports both the 3-pin connector and the OBD-II port.
- Quality: Opt for a high-quality adapter from a reputable brand for reliable performance.
Connecting the Adapter:
- Locate the 3-pin connector: This connector is typically located under the dashboard of your Honda, near the steering wheel.
- Locate the OBD-II port: This port is usually found under the dashboard, near the driver’s side, or in the center console.
- Connect the adapter: Connect the adapter to the 3-pin connector on one end and the OBD-II port on the other end.
Using the Adapter with Your Scanner:
Once the adapter is connected, you can plug your OBD-II scanner into the OBD-II end of the adapter. Now, you’re ready to diagnose your Honda using the advanced features of your scanner.
Frequently Asked Questions
Q1: Where can I find a Honda 3-pin to OBD-II adapter?
You can find these adapters online on websites like Amazon, eBay, or specialized automotive parts stores.
Q2: What are the benefits of using a scanner with a Honda 3-pin to OBD-II adapter?
Using a scanner with the adapter provides access to more comprehensive diagnostics, allowing you to identify potential issues early on and save money on repairs.
Q3: Is it difficult to use a scanner with a Honda 3-pin to OBD-II adapter?
No, using a scanner with an adapter is relatively straightforward. Most scanners come with user-friendly instructions and software.
Additional Tips for Using a Honda 3-Pin to OBD-II Adapter
- Consult your owner’s manual: Refer to your Honda owner’s manual for specific instructions on locating the 3-pin connector and any other relevant information.
- Seek professional advice: If you are unsure about any aspect of the connection process, consult a qualified mechanic for guidance.
Conclusion
The “Honda 3 pin to OBD” connection is a key to unlocking the full potential of modern diagnostics for your older Honda. By understanding the connection, the benefits, and the right tools, you can achieve accurate diagnosis, cost-effective repairs, and peace of mind.
Remember, understanding your vehicle’s systems is crucial for safe and efficient driving. Don’t hesitate to reach out to us at TechCarUSA for any further assistance or questions. We’re always happy to help you navigate the world of automotive diagnostics.
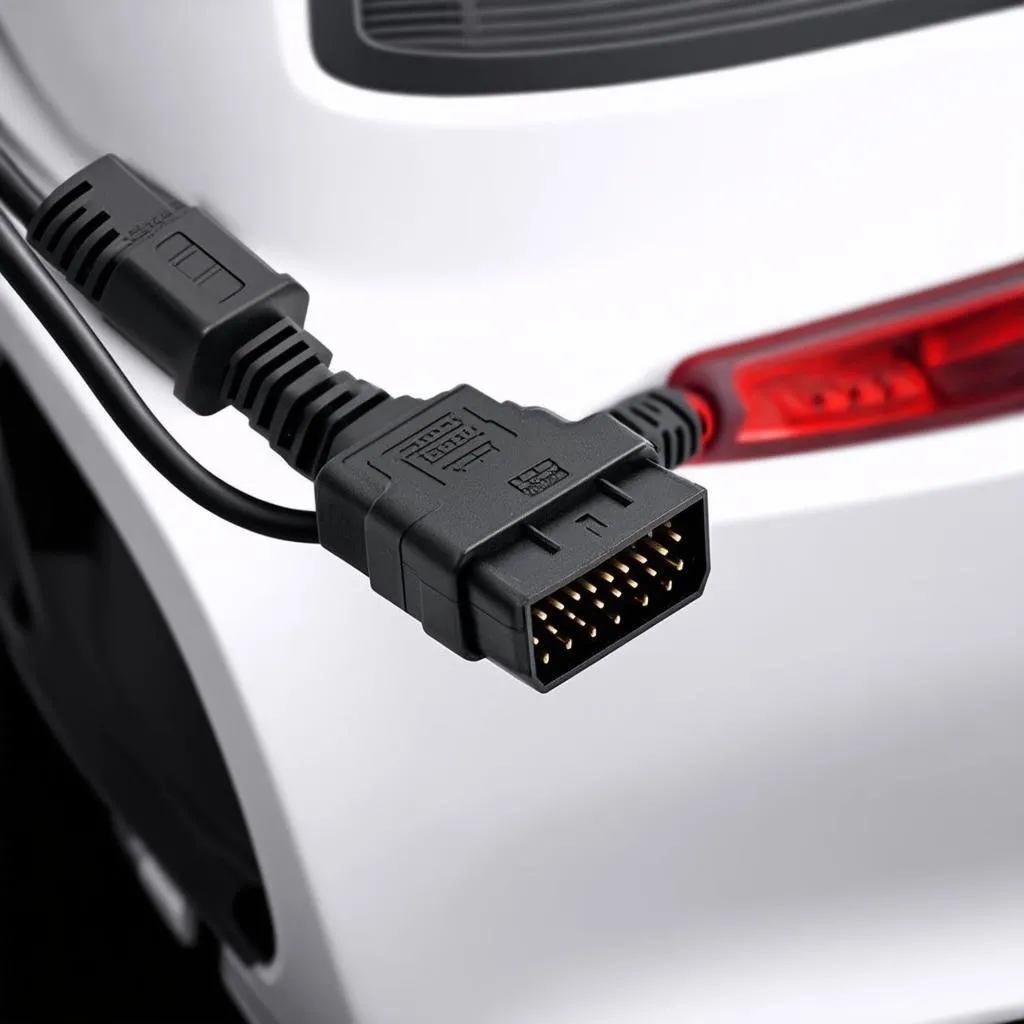 adapter-connecting-honda-3pin-to-obd
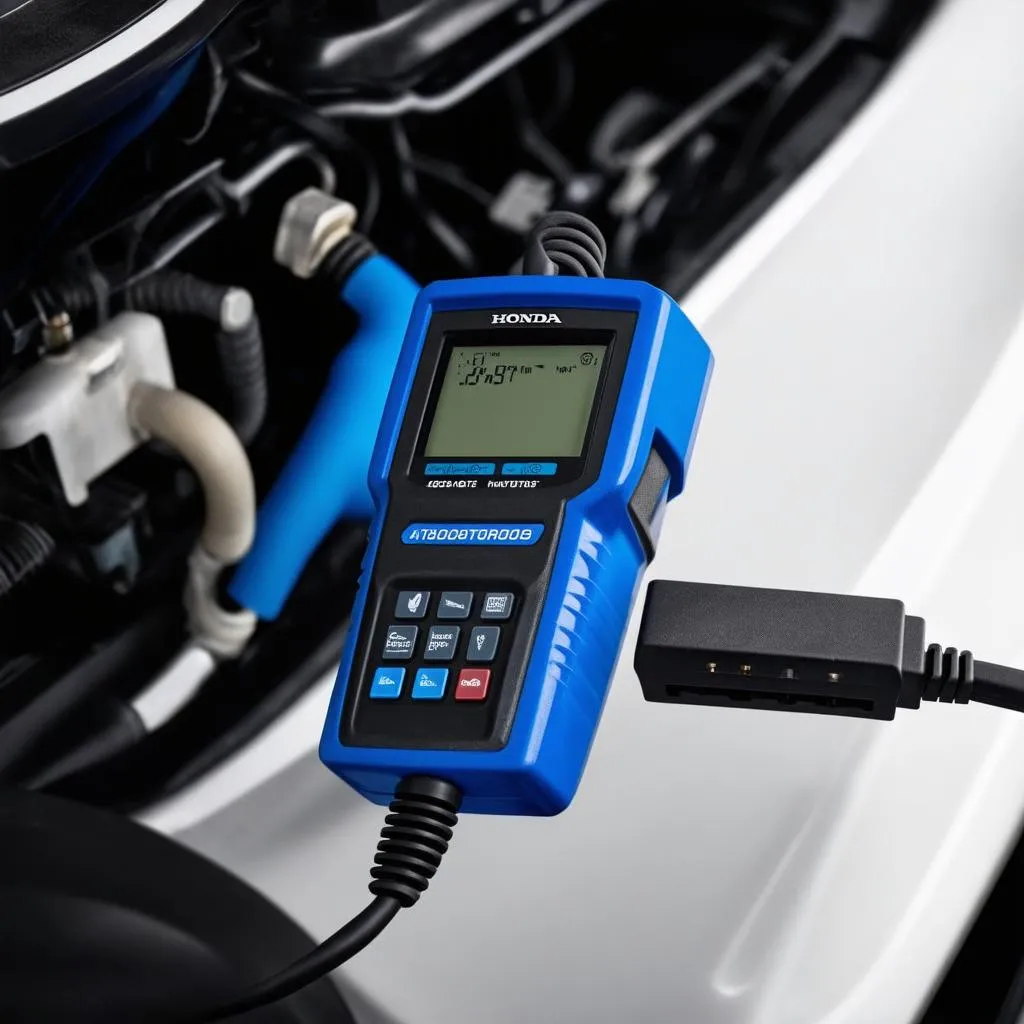 obd2-scanner-diagnostic-tool
Let us know in the comments if you have any questions or experiences using a Honda 3-pin to OBD-II adapter!