Imagine this: You’re driving down Route 66 in your trusty 1999 Dodge Dakota, wind in your hair, when suddenly, the “Check Engine” light throws a wrench into your road trip plans. Frustrating, right? Understanding your truck’s OBD system, specifically the OBD pin layout, is crucial for diagnosing and fixing such issues. This guide dives deep into the 1999 Dodge Dakota Obd Pin Layout, equipping you with the knowledge to tackle those pesky engine codes head-on.
Understanding the Importance of the OBD System
The OBD system, or On-Board Diagnostics, acts as your truck’s internal detective. It constantly monitors your engine and emission systems, alerting you to any malfunctions via the “Check Engine” light. This system stores Diagnostic Trouble Codes (DTCs) that pinpoint the source of the problem, allowing mechanics and DIY enthusiasts alike to diagnose and repair issues efficiently.
Why the Pin Layout Matters
Think of the OBD pin layout as the language your truck uses to communicate with diagnostic tools. Just like a mechanic needs the right tools to fix your Dakota, your OBD scanner needs to connect to the correct pins to access those valuable DTCs. The 1999 Dodge Dakota uses the OBD-II standard, which mandates a specific 16-pin connector located under the dashboard, typically on the driver’s side.
Deciphering the 1999 Dodge Dakota Obd Pin Layout
Each pin within the OBD-II connector serves a specific purpose. Let’s break down the 1999 Dodge Dakota’s layout:
- Pin 1: Manufacturer Discretionary – Dodge may use this pin for specific diagnostic procedures.
- Pin 2: J1850 Bus+ – Used for communication on vehicles with the J1850 PWM protocol (not applicable to the 1999 Dakota).
- Pin 3: Manufacturer Discretionary – Similar to Pin 1, Dodge might utilize this for unique diagnostics.
- Pin 4: Chassis Ground – Provides a ground connection for the OBD system.
- Pin 5: Signal Ground – Another ground connection, ensuring accurate voltage readings.
- Pin 6: CAN High (CAN-H) – Used for communication on vehicles with the CAN (Controller Area Network) protocol.
- Pin 7: ISO 9141-2 K-Line – Communication line used for diagnostics, particularly in European vehicles.
- Pin 8: Battery Power – Supplies power to the OBD system directly from the battery.
- Pin 9: Manufacturer Discretionary – Dodge may use this pin for specific diagnostic procedures.
- Pin 10: J1850 Bus- – Used for communication on vehicles with the J1850 PWM protocol (not applicable to the 1999 Dakota).
- Pin 11: Manufacturer Discretionary – Similar to Pin 1, Dodge might utilize this for unique diagnostics.
- Pin 12: Manufacturer Discretionary – Dodge may use this pin for specific diagnostic procedures.
- Pin 13: Manufacturer Discretionary – Similar to Pin 1, Dodge might utilize this for unique diagnostics.
- Pin 14: CAN Low (CAN-L) – Complements Pin 6 for communication on vehicles with the CAN protocol.
- Pin 15: ISO 9141-2 L-Line – Communication line used for diagnostics, particularly in European vehicles.
- Pin 16: Battery Positive (+) – Provides a constant 12-volt power supply to the OBD system.
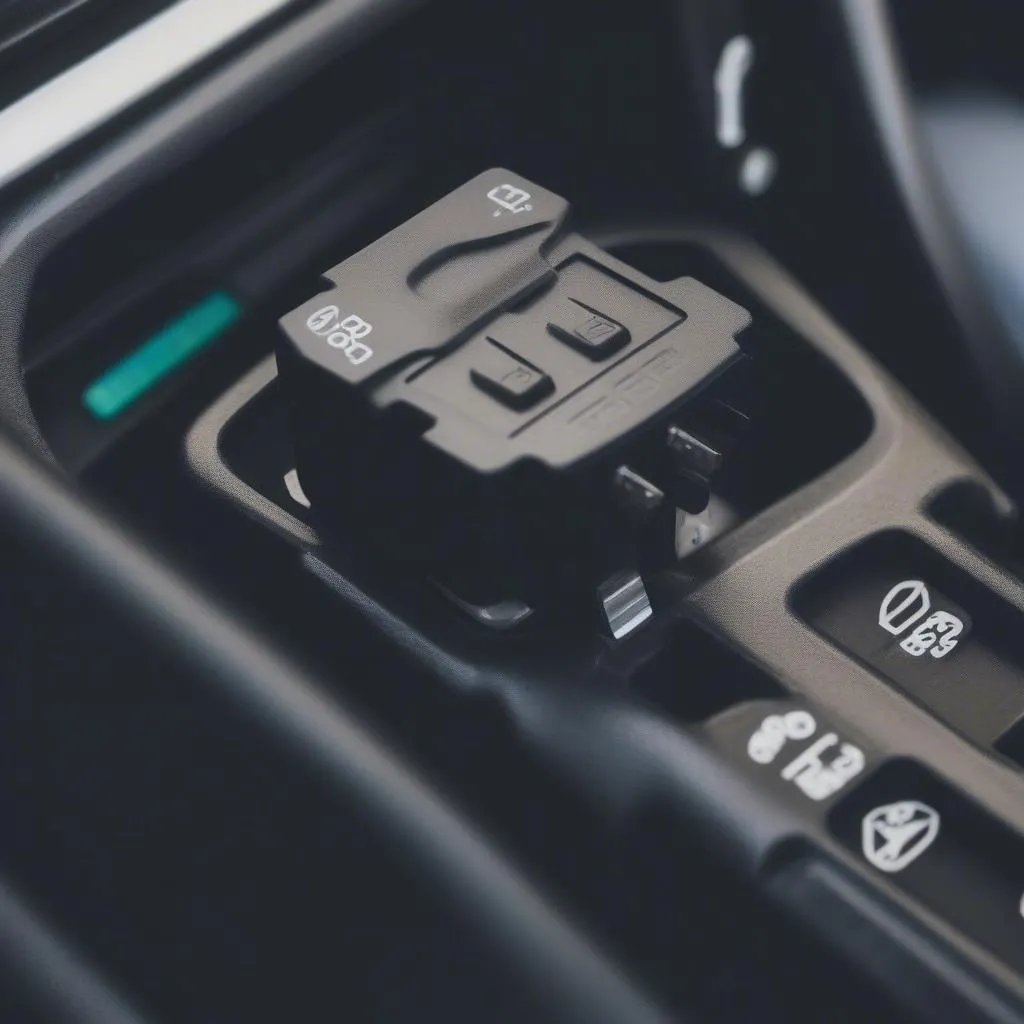 OBD-II Connector
Common Questions About the 1999 Dodge Dakota Obd Pin Layout
Q: Where can I find the OBD port on my 1999 Dodge Dakota?
A: Dodge typically locates the OBD-II port under the driver’s side dashboard, near the steering column. It’s usually covered by a small plastic flap.
Q: What if my truck doesn’t have the standard 16-pin connector?
A: The 1999 Dodge Dakota should have the standard OBD-II connector. However, earlier models might use different configurations. Always consult your owner’s manual or a trusted mechanic for clarification.
Q: Can I use any OBD scanner with my Dakota?
A: While many generic OBD-II scanners will work, investing in a scanner specifically designed for Dodge vehicles is recommended. These scanners can access manufacturer-specific codes and data, providing more detailed insights into your truck’s health.
Q: My scanner isn’t reading any codes. What could be wrong?
A: Several factors could cause this. Ensure the engine is off, the ignition is in the “on” position (but not running), and the scanner is properly connected. If problems persist, there might be a fault with the OBD port, wiring, or even the scanner itself. Consulting a qualified mechanic is advisable in such cases.
Troubleshooting Tips and Tricks
- Check for blown fuses: A blown fuse related to the OBD system can disrupt communication. Consult your owner’s manual for fuse locations.
- Inspect the wiring: Damaged or corroded wires can prevent the scanner from connecting. Visual inspection and cleaning can often resolve this.
- Verify battery voltage: Low battery voltage can interfere with the OBD system. Ensure your battery is charged sufficiently.
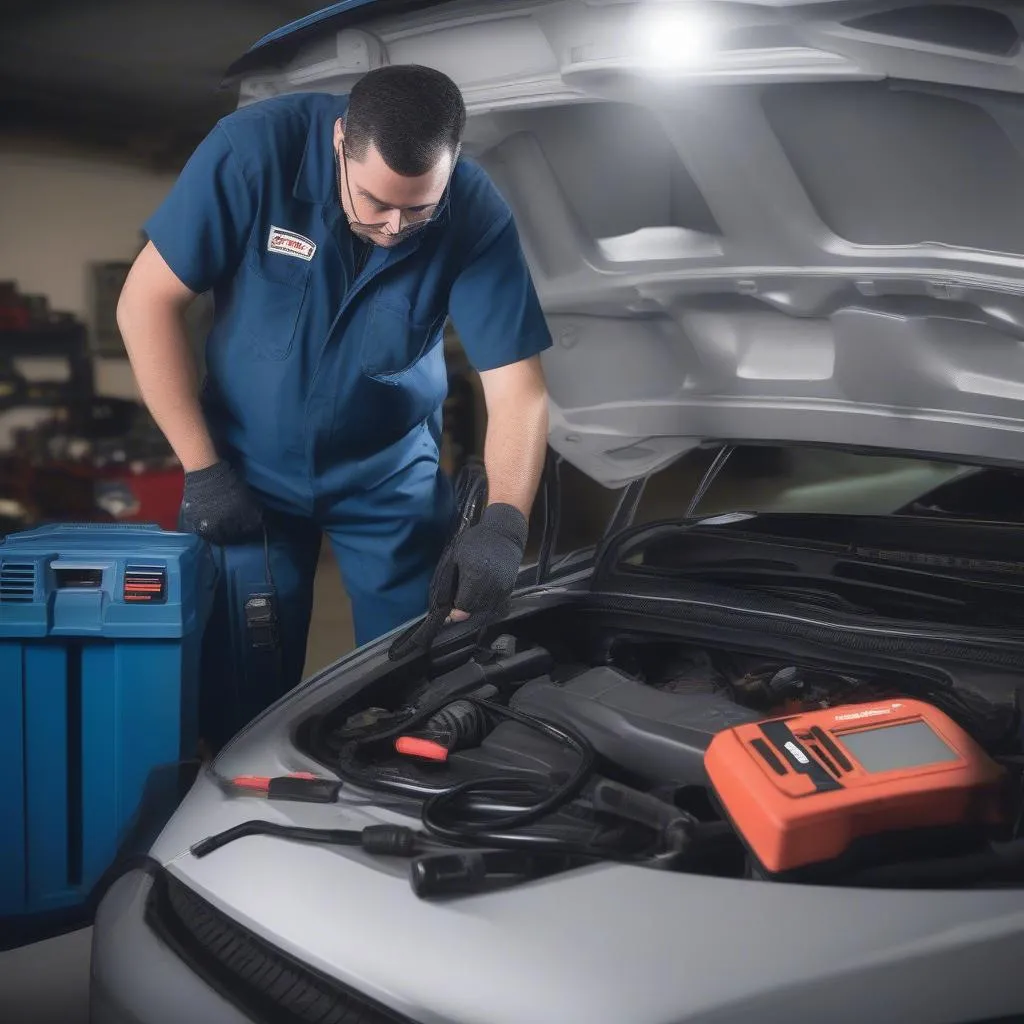 Mechanic Diagnosing Car Problems
“Regularly checking your vehicle’s OBD system is like taking its pulse,” says automotive expert John Miller, author of “The Complete Guide to Car Diagnostics.” “Early detection of issues through DTCs can save you time, money, and potential headaches down the road.”
Similar Questions and Topics
- How to reset the check engine light on a 1999 Dodge Dakota
- Understanding Dodge Dakota error codes
- Recommended OBD scanners for Dodge vehicles
- DIY car diagnostics and repair
Need Help with Your Diagnostics Tool Setup?
We’re here to help! Contact us on WhatsApp at +84767531508 for 24/7 support from our team of expert automotive technicians. We can guide you through the installation and use of various diagnostic software and tools, ensuring you have the knowledge to keep your 1999 Dodge Dakota running smoothly.
Conclusion
Mastering the 1999 Dodge Dakota’s OBD pin layout empowers you to communicate with your truck effectively, diagnose problems accurately, and maintain its peak performance. Whether you’re a seasoned DIY mechanic or prefer professional assistance, understanding this system is key to a smoother, more enjoyable driving experience. Don’t hesitate to explore our other articles on Tech Car USA for more tips and insights on keeping your vehicle in top shape!