“My ’90 Civic is running rough. What’s this OBD thing everyone keeps talking about?” Sound familiar? You’re not alone. Many classic Civic owners find themselves scratching their heads when it comes to the early days of On-Board Diagnostics (OBD). Fear not, fellow enthusiast! This guide will demystify the world of 1990 Honda Civic Obd, empowering you to diagnose issues and keep your legend running smoothly.
Understanding OBD in the Time of Cassette Tapes
Imagine this: it’s 1990. MC Hammer’s “U Can’t Touch This” is blasting on your cassette player as you cruise in your brand new Civic. Back then, diagnosing car problems often felt like reading tea leaves. Then came OBD – a system designed to monitor your car’s engine and emissions control systems.
Think of OBD like your Civic’s early warning system. When it detects something amiss, it lights up the “Check Engine” light on your dashboard. Unlike the more advanced OBD2 systems we see today, your 1990 Civic uses OBD1, a simpler system that communicates with a single connector under the hood.
What Makes 1990 Honda Civic Obd1 Unique?
- Location, Location, Location: The OBD1 connector in your 1990 Civic is typically found under the hood, near the fuse box. It’s a two-pin connector, unlike the later 16-pin OBD2 connectors.
- A Language of Its Own: OBD1 uses manufacturer-specific codes, meaning the codes pulled from your Civic won’t be the same as those from, say, a 1990 Toyota Corolla.
Taming the Check Engine Light: Diagnosing Issues with Your 1990 Honda Civic Obd1
Seeing the “Check Engine” light can be unnerving. Here’s how to decode what your 1990 Civic is trying to tell you:
- Locate the Two-Pin Diagnostic Connector: Pop the hood and look for the connector labeled “Service Check Connector.”
- Jump the Connector: With the ignition off, use a jumper wire or paperclip to bridge the two pins in the connector.
- Turn the Ignition On: Don’t start the engine. Observe the “Check Engine” light. It will either blink a series of long and short flashes, or it will stay lit continuously.
- Decode the Flashes: Refer to a 1990 Honda Civic specific OBD1 code chart (easily found online) to decipher the meaning of the flashes.
For example, a series of five slow flashes followed by five quick flashes could indicate a problem with the oxygen sensor.
Beyond Codes: Common 1990 Honda Civic Obd1 Issues
- Oxygen Sensor Woes: As emission control pioneers, Hondas of this era often had issues with oxygen sensors, impacting performance and fuel efficiency.
- Distributor Cap and Rotor Problems: A faulty distributor cap or rotor can disrupt the spark to your engine, leading to misfires and a rough idle.
- EGR Valve Troubles: The Exhaust Gas Recirculation (EGR) valve can become clogged, causing various engine performance issues.
Keep Your Classic Civic Thriving
Remember, a little knowledge goes a long way. Understanding your 1990 Honda Civic’s OBD1 system empowers you to address issues head-on. Regular maintenance, timely repairs, and a good understanding of your car’s inner workings will ensure many more miles of joyful driving.
Need a Helping Hand?
We understand that tackling car repairs can feel daunting. For expert advice on diagnosing and fixing your 1990 Honda Civic or to explore the world of OBD further, don’t hesitate to reach out to our team of automotive specialists via WhatsApp at +84767531508. We’re here to keep your classic Honda running smoothly!
Looking for More Automotive Insights?
Delve deeper into the world of OBD and car diagnostics with these related articles:
Let us know in the comments below if you found this guide helpful, and share your own experiences with your 1990 Honda Civic!
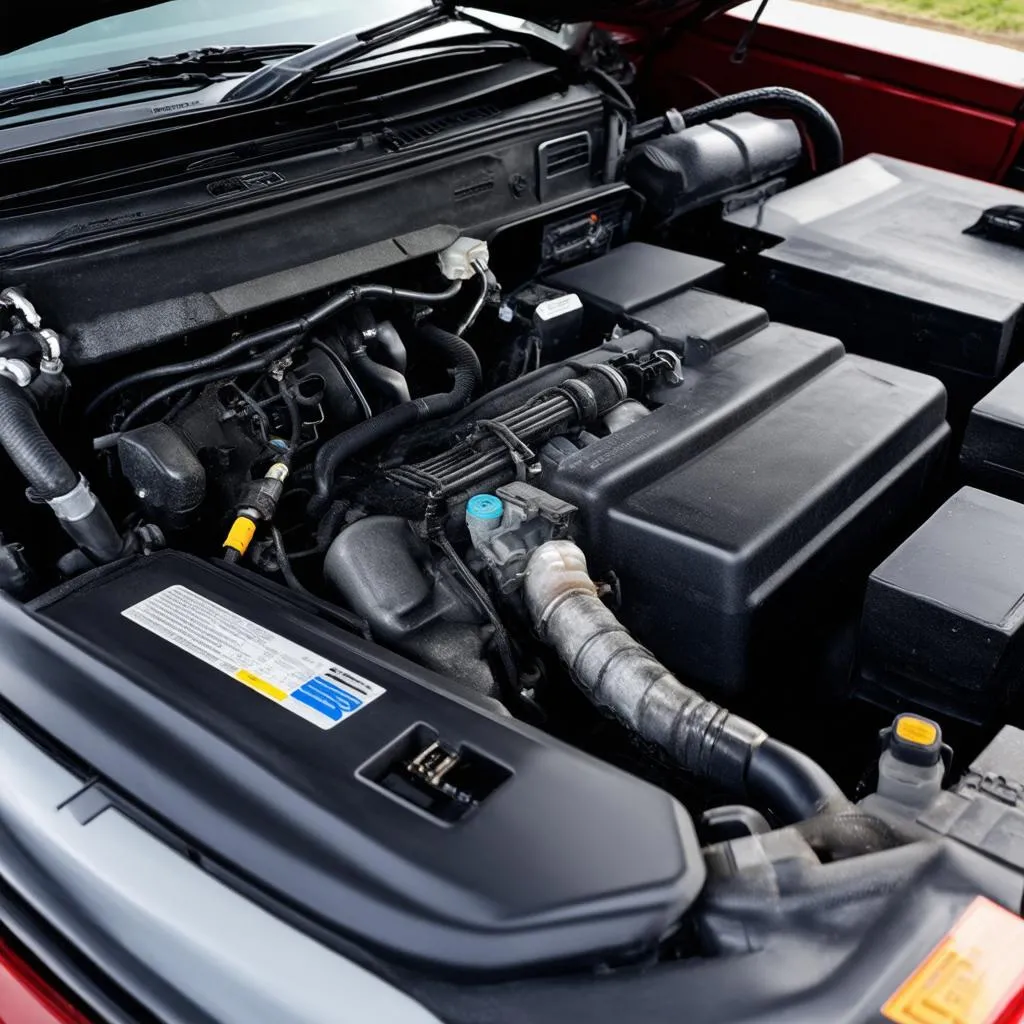 1990 Honda Civic Engine Bay
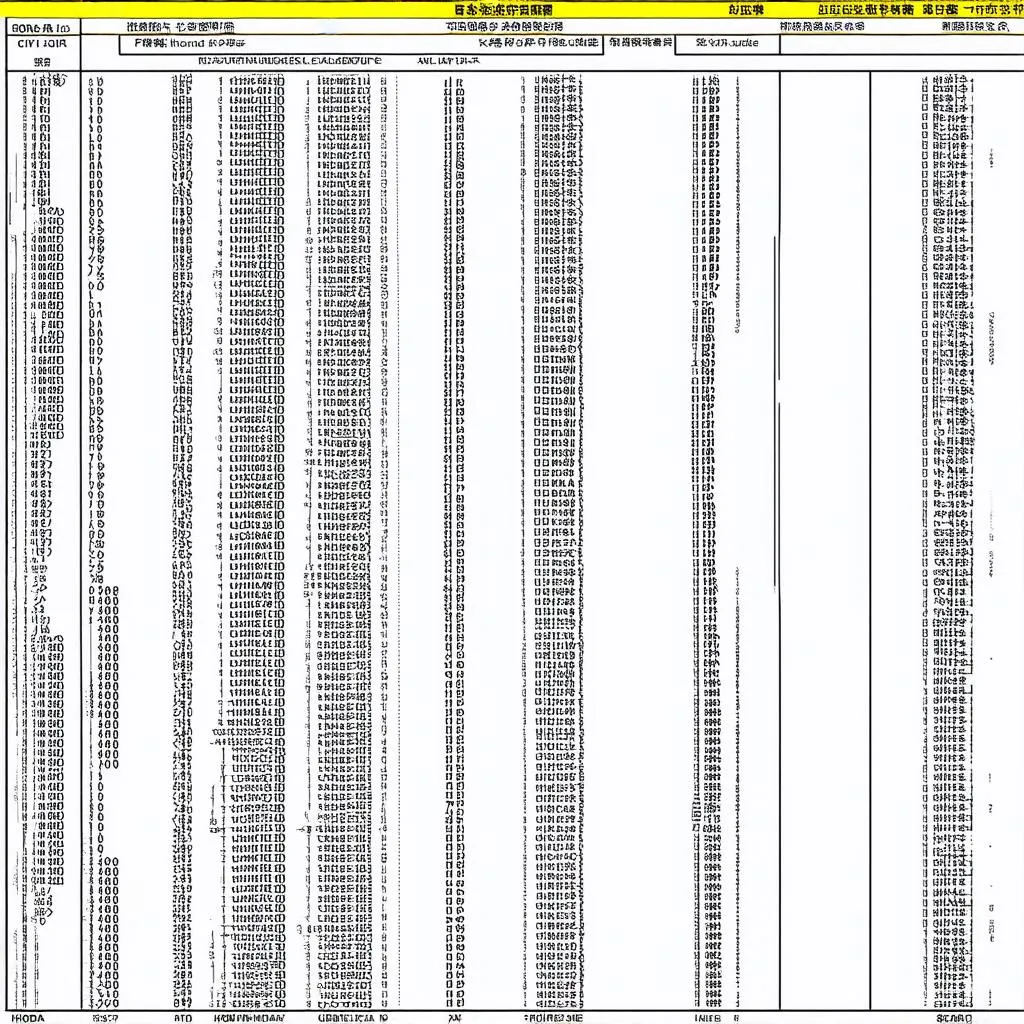 Honda Civic OBD1 Code Chart