“Just got my new 10-inch Android car stereo, but the installation manual looks like it’s written in ancient Greek!” Sound familiar? You’re not alone. Upgrading your car’s entertainment system with a sleek 10-inch Android head unit is exciting, but the installation process can often seem daunting. Fear not, fellow tech enthusiast! This comprehensive guide is here to demystify the process and empower you to conquer the installation like a pro.
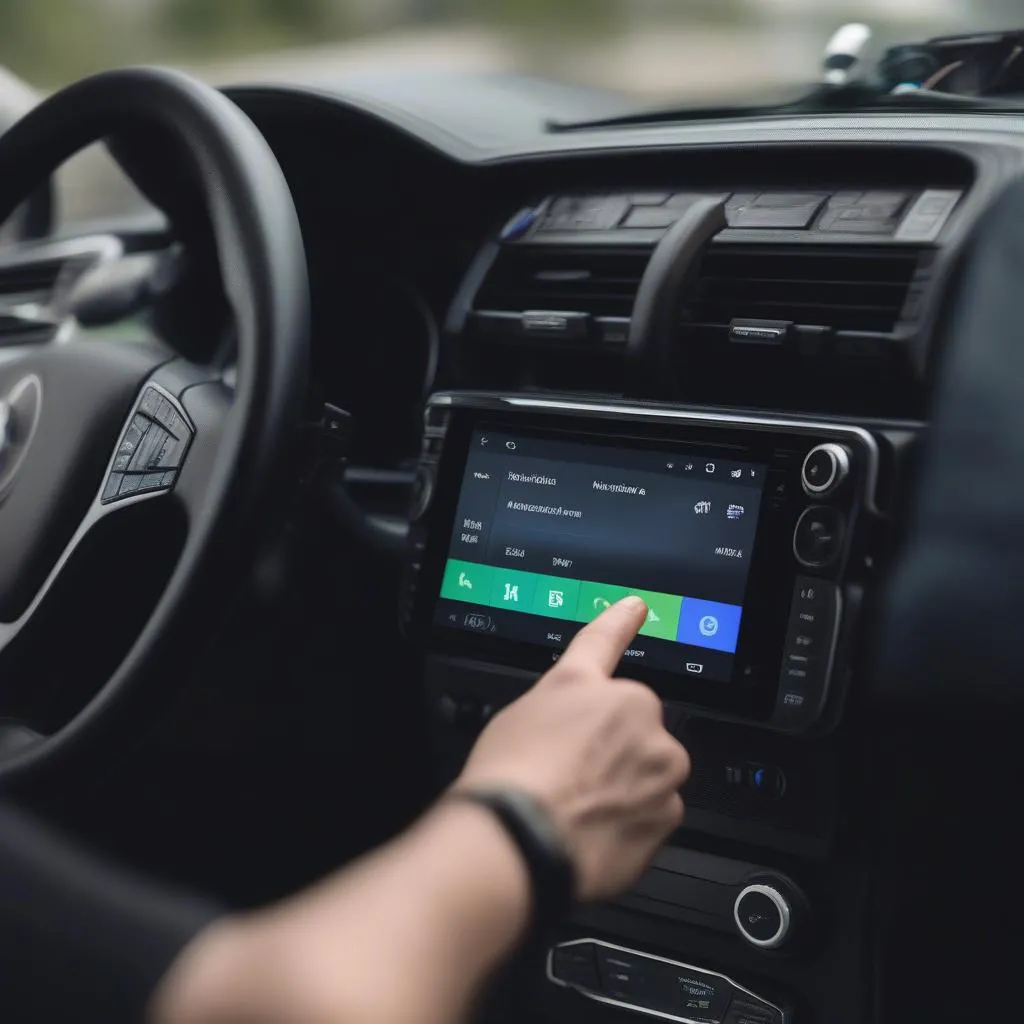 Installing Android Car Stereo
Decoding the Jargon: Understanding 10 Inch Android Car Stereo Installation
Before we dive into the nitty-gritty, let’s break down what this all means from different perspectives:
The Mechanic’s Take: For a seasoned mechanic like John from Chicago, specializing in European cars, “a 10-inch Android car stereo installation” translates to integrating a powerful infotainment system that often requires an understanding of CAN bus systems, wiring harnesses, and potentially using dealer-level diagnostic tools for certain high-end vehicles.
The Tech Perspective: From a purely technical standpoint, we’re talking about seamlessly blending a powerful Android operating system with your car’s existing electronics. This involves understanding power management, signal processing, and potentially leveraging software tools for customization and diagnostics.
You, the Driver: You envision a world of crystal-clear navigation, booming music, hands-free calling, and maybe even a cheeky peek at your favorite streaming service while stuck in traffic. This installation is your ticket to that connected driving experience!
Installing Your 10 Inch Android Car Stereo: A Step-by-Step Journey
Now, let’s turn that dream into a reality. Here’s a simplified guide to installing your new 10-inch Android car stereo:
1. Gather Your Arsenal
Just like a knight needs his armor, you’ll need the right tools:
- Your New Head Unit: That shiny new 10-inch Android car stereo is the star of the show!
- Installation Manual: Your new best friend, though it might need some deciphering.
- Dash Kit (if needed): This ensures a seamless fit for your specific car model.
- Wiring Harness Adapter: A lifesaver that avoids splicing into your factory wiring.
- Antenna Adapter: Keeps those radio tunes flowing.
- Tools of the Trade: Screwdrivers, wire strippers, a panel pry tool, and electrical tape are your trusty sidekicks.
- Patience: Rome wasn’t built in a day, and neither is a perfect car stereo installation!
2. Safety First, Always!
Before you begin, disconnect your car’s negative battery terminal to prevent any electrical mishaps. Safety always comes first!
3. Out with the Old
Carefully remove your old car stereo. This usually involves removing trim pieces around the dash and unscrewing the unit from its housing.
4. The Wiring Puzzle
This is where things can get a bit tricky, but don’t panic! Your wiring harness adapter is here to help.
- Match the Colors: Connect the corresponding wires from the harness adapter to your new head unit. Refer to the wiring diagram in the manual for guidance.
- Power Up: Connect the power and ground wires according to the diagram.
- Antenna In: Connect the antenna adapter if needed.
- Speaker Symphony: Connect the speaker wires to their designated outputs.
5. Test Before You Set
Before you button everything up, it’s crucial to test your handiwork. Reconnect the negative battery terminal and power on your car. Make sure your new stereo turns on, the speakers are working, and the radio is receiving a signal.
6. Button It Up
Once you’ve confirmed everything is working smoothly, carefully reassemble your dash and enjoy the fruits of your labor!
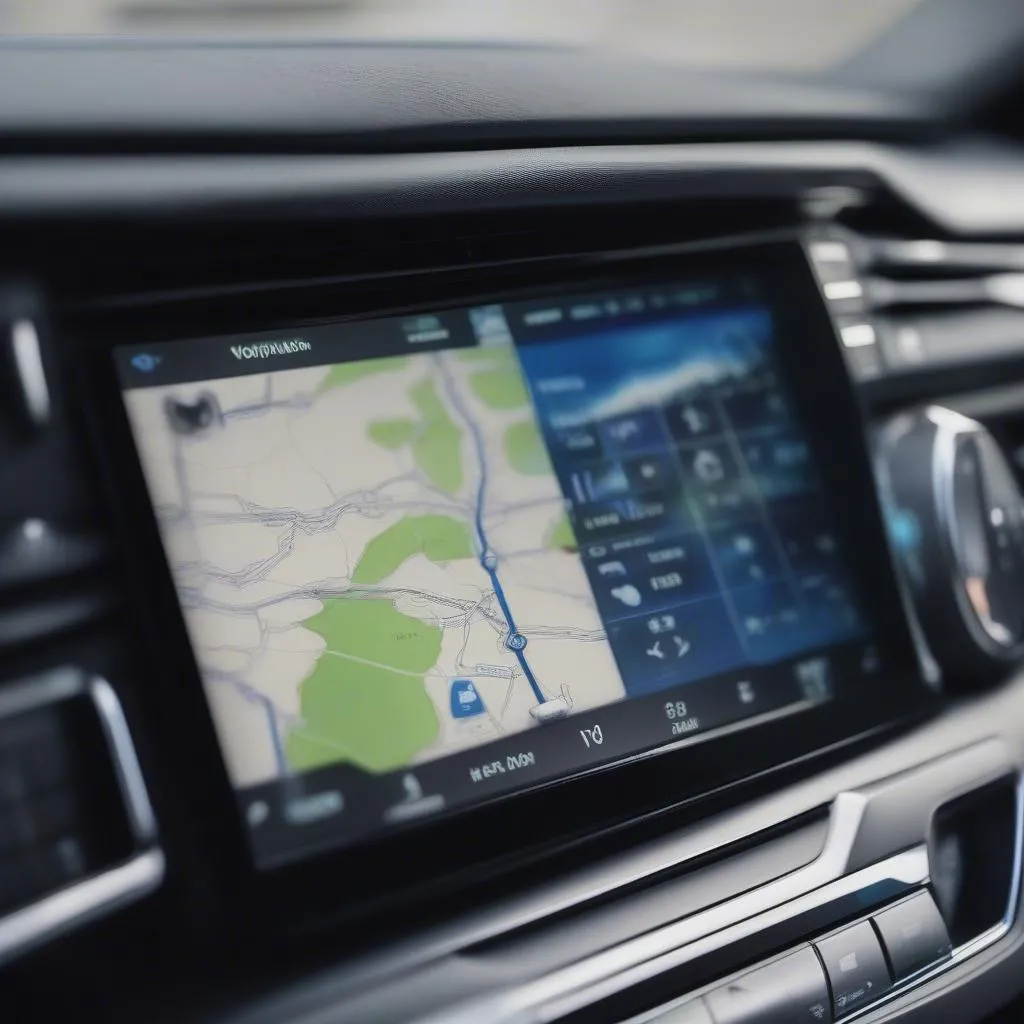 Car Dashboard with Navigation
FAQs: Your Burning Questions Answered
Here are some common questions people have about 10-inch Android car stereo installations:
Q: Do I need any special tools for installation?
A: While basic tools are often enough, some cars may require specialized trim removal tools to avoid damaging the dashboard.
Q: Can I install it myself, or should I seek professional help?
A: If you’re comfortable with basic car electronics, self-installation is achievable. However, if you’re unsure, seeking professional installation is always a good idea.
Q: What are steering wheel control adapters, and do I need one?
A: These clever adapters allow you to retain the functionality of your steering wheel controls with your new head unit. Check if your car and stereo require one.
Q: My stereo isn’t working! What should I check?
A: Double-check all your wiring connections, ensure the fuse for the stereo circuit is not blown, and consult your installation manual for troubleshooting tips.
Beyond the Installation: Exploring Further
Here are some additional questions you might find helpful:
- What are the best 10-inch Android car stereo brands?
- How do I connect my phone to my new car stereo via Bluetooth or USB?
- What are some must-have apps for my Android car stereo?
- Can I use navigation apps like Google Maps on my car stereo?
For expert guidance and support with installing diagnostic tools and software for your new head unit, our team of automotive specialists is just a message away.
Contact us on Whatsapp: +84767531508 We’re available 24/7 to assist you!
Drive into the Future of Car Entertainment
Congratulations! You’ve successfully navigated the world of 10-inch Android car stereo installation. Crank up the music, plot your next road trip, and enjoy the seamless connectivity and entertainment your new head unit provides.
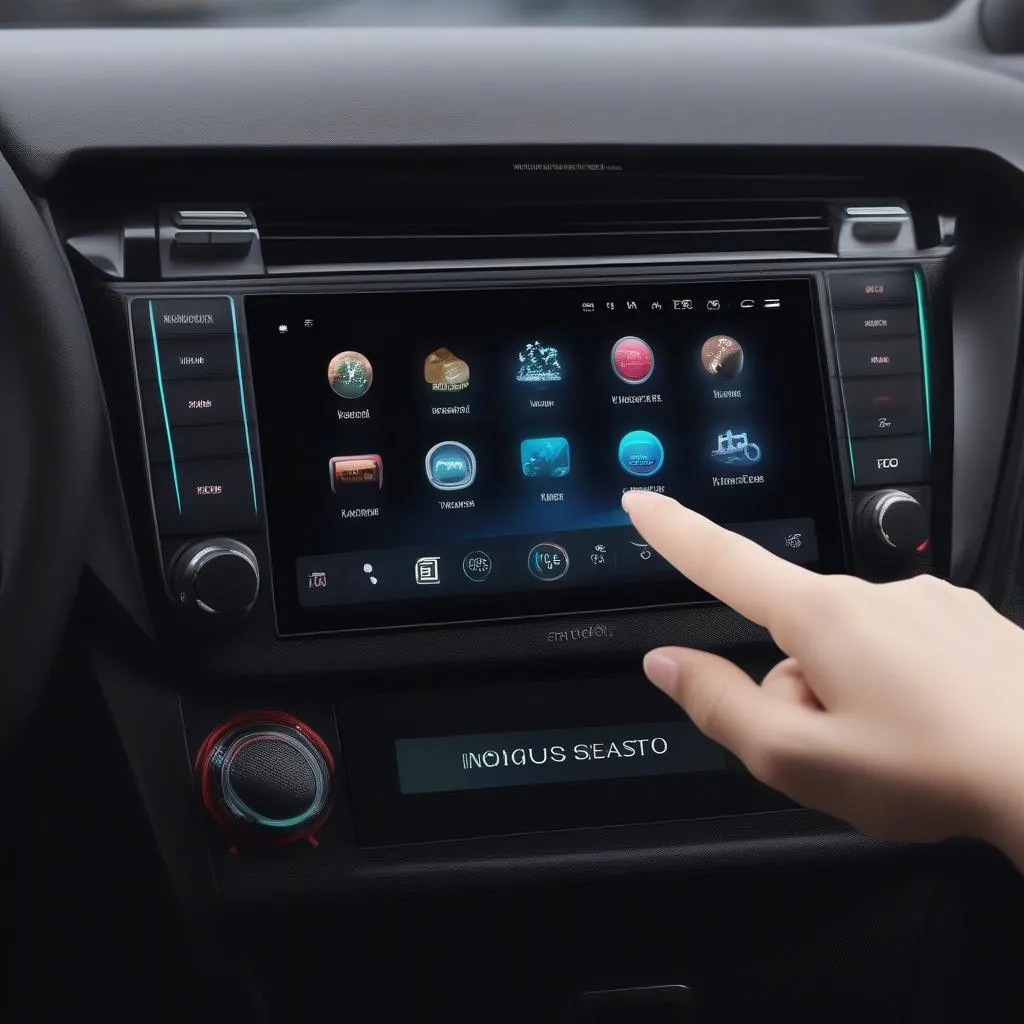 Android Car Stereo with Music Playing
Remember, the open road awaits, and with your upgraded sound system, every drive is a concert, a podcast session, and an adventure rolled into one. Safe travels!